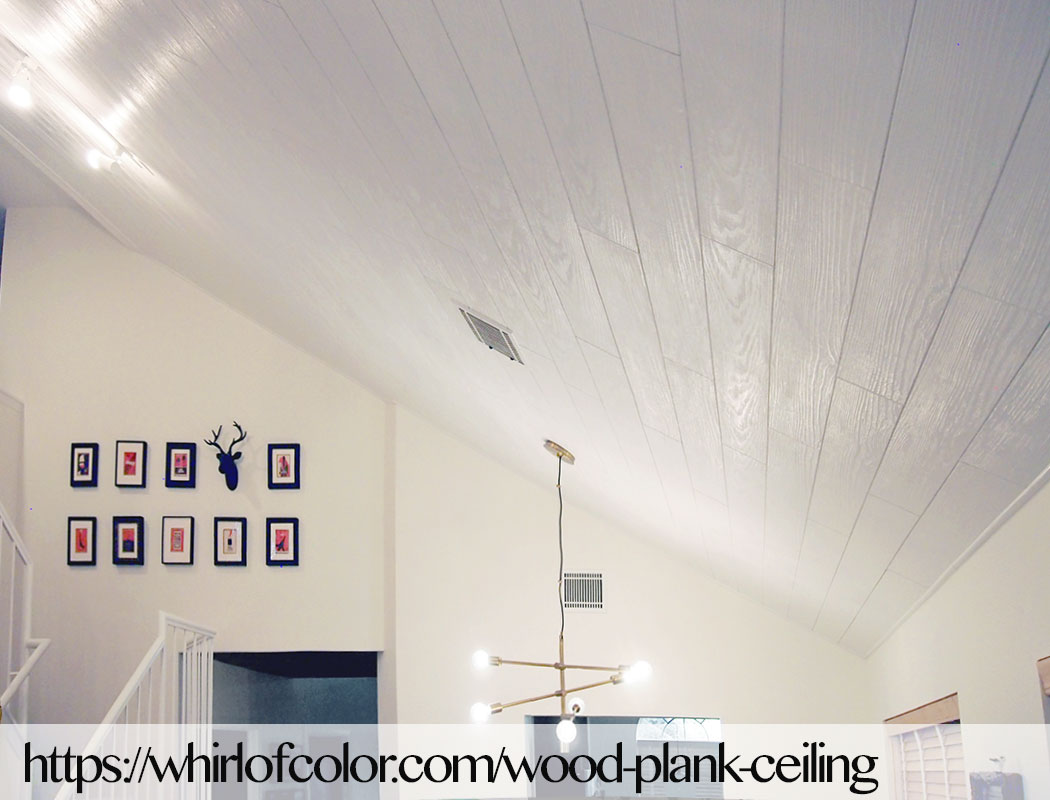
White plank ceiling using Armstrong Model #480
Long-Term Review, Last Updated: Winter 2022
After living with the white planks for several years there are no issues to report, still bright & on the ceiling. Would install again using the same materials & methods. No yellowing, cracking, discoloration, staining, drooping, or any other weirdness to report (occasional spider webs are easy to spot and wipe away without issue).
We used some easy to install Armstrong wood ceiling planks for our vaulted living room ceiling to highlight the openness and add some interest to an otherwise unremarkable view. Since we live, work, and play in our living room, we wanted something that would help bounce light around, cover up previous damage, and was fun to look at.
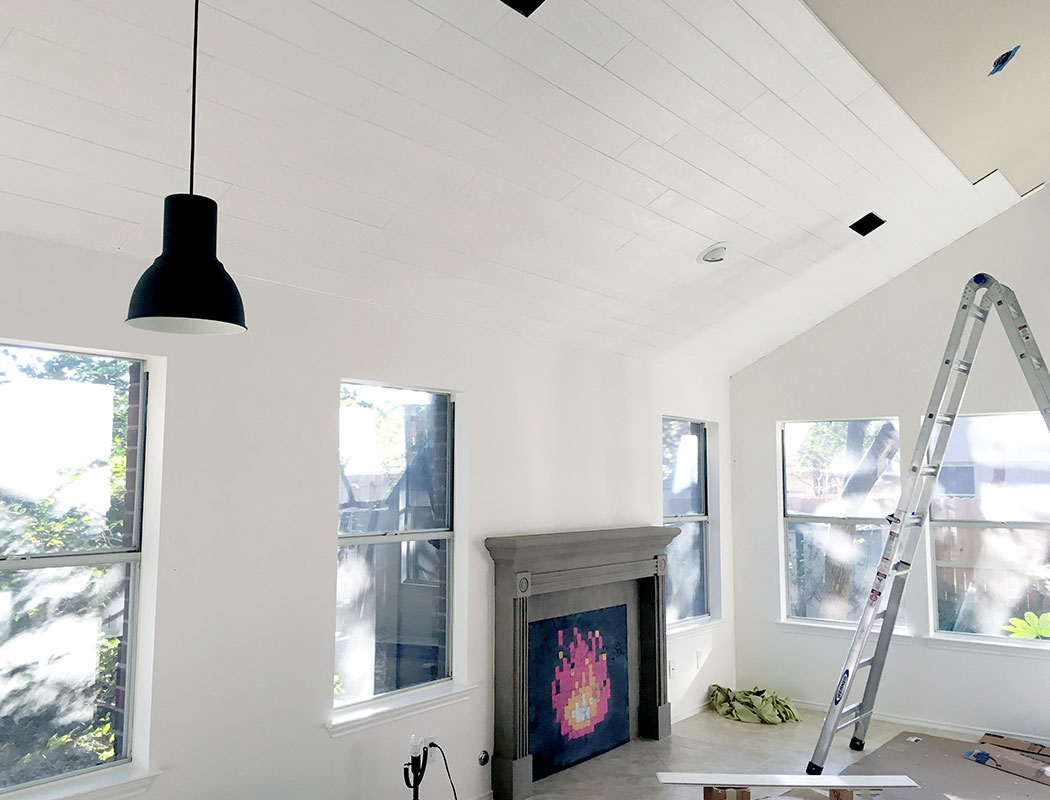
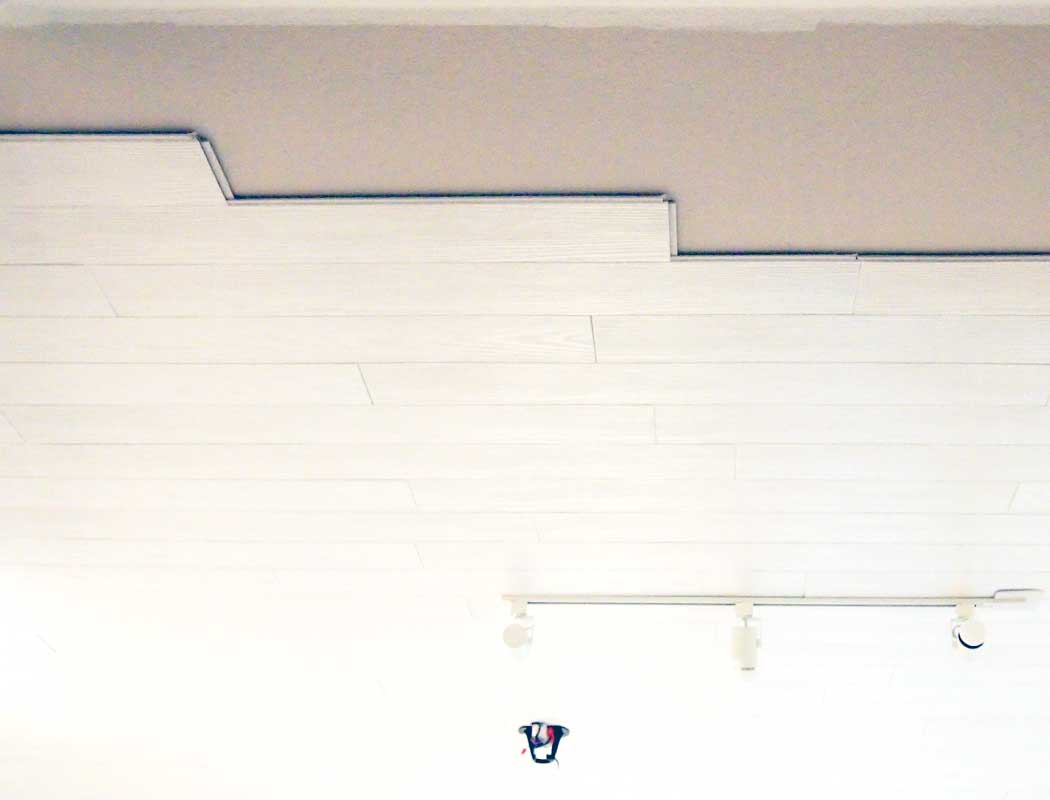
After: a Modern Wood Ceiling Look
First, the results, for around $2 per square foot in materials for acoustic faux wood ceiling planks, adhesive, & paint (doesn’t include the replaced fixtures):
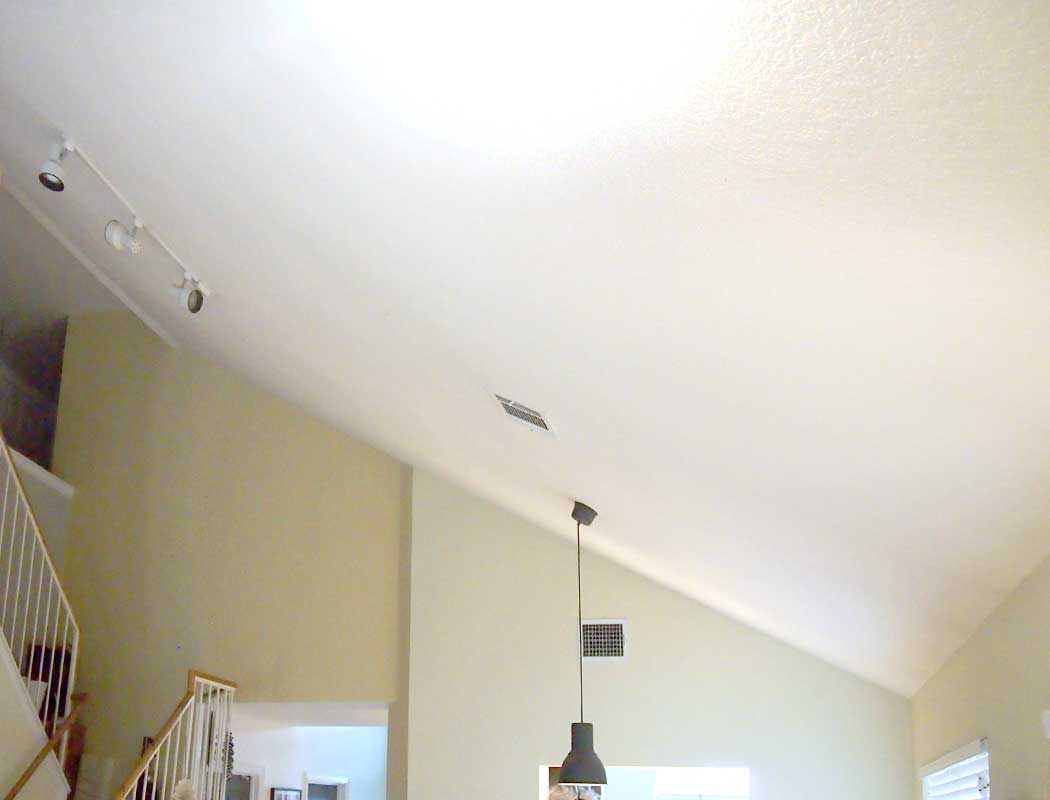
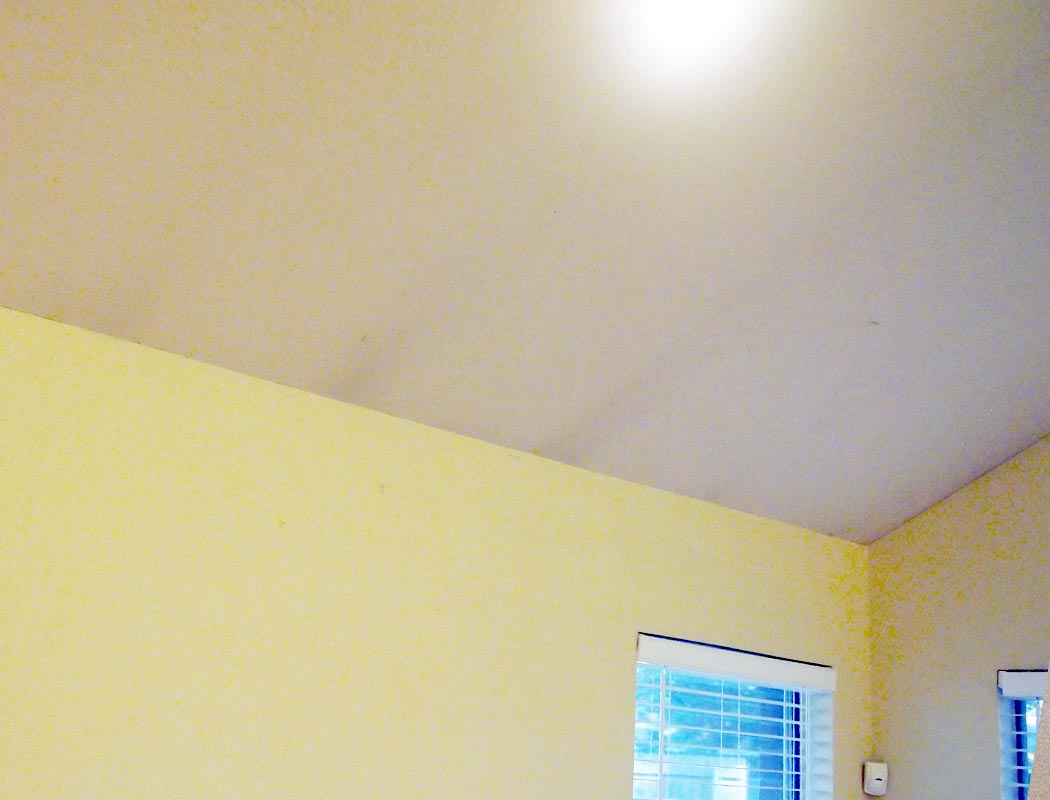
Before: an Ocean of Stained Knockdown Texture to Cover Up
Our living room ceiling had a variety of cosmetic issues and while structurally there weren’t any problems, we were positive a coat of paint was not going to cut it.
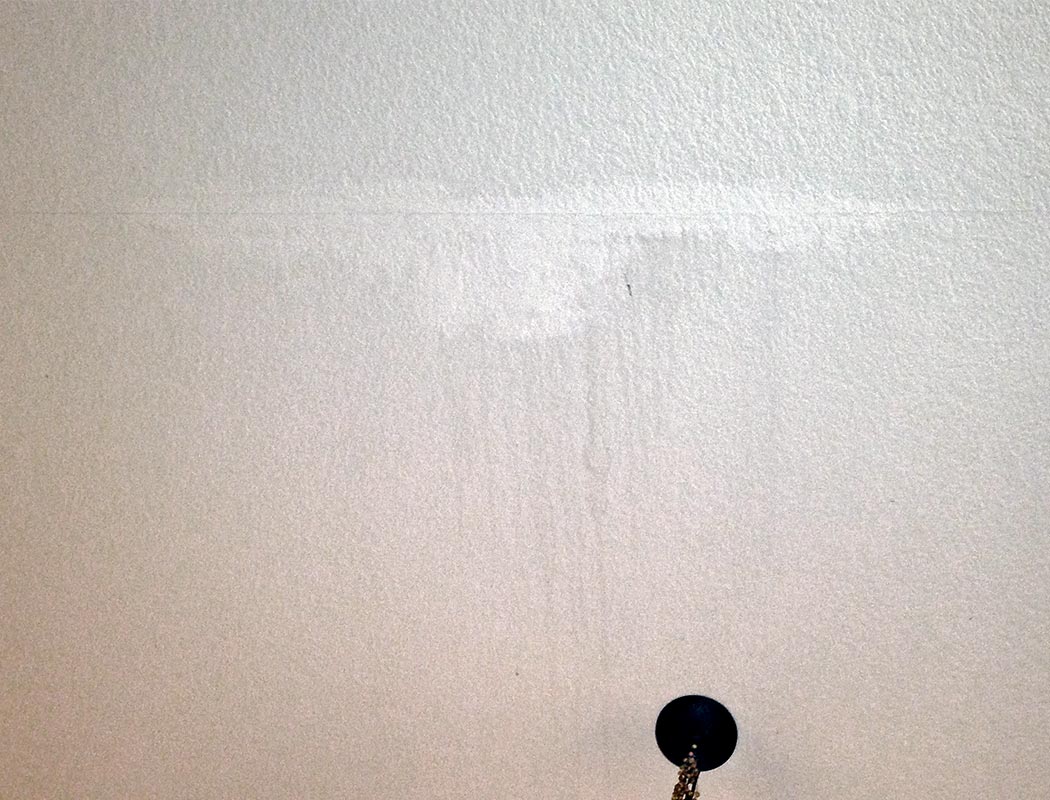
Specifically, directly above a prominent light source, there was some poorly painted over water damage that we wanted to work around. The mediocre drywall tape work was flashing at various angles, and the texture was generally underwhelming.

Materials: Planks and Slats and Shiplap, Oh My!
We’ve been pinning ceilings with painted wood planks for a while, but that leaves a wide variety of material choices for the actual execution. Real wood planks, very thin wood planks and veneers, vinyl, shiplap ceiling, and acoustic tiles all pop up on Pinterest and Houzz images of similar projects. Ultimately we ruled out real wood boards in order to reduce the amount of weight we were adding (and the downside potential for any installation errors).
Drop Ceiling Panels? Like an old Office Ceiling?
We ended up selecting the wood plank shaped acoustic tiles based on the approachable installation options. The potential for adding sound dampening and insulation to a large open space we spend most of our time in was icing on the cake. Also, we were pretty attached to the idea of painting whatever we chose to match the trim, which made a cheaper material preferable as it was just going to be covered by paint.
The primary downside to the plank ceiling tiles we saw in reviews was that they are comparatively fragile. (Though most of the complaints regarding this issue seemed to be around shipping and receipt of damaged product). We dismissed the fragility issue due to the ceiling being generally out of reach. We felt comfortable knowing that if we tacked it up, we could probably repair any issues down the road. (We are thrilled to report this has not been an issue to date). Also, by using “ship to store” options for local retailers that we verified had some stock of the product already, we were confident we could quickly exchange any boxes that arrived with smushed corners or ends.
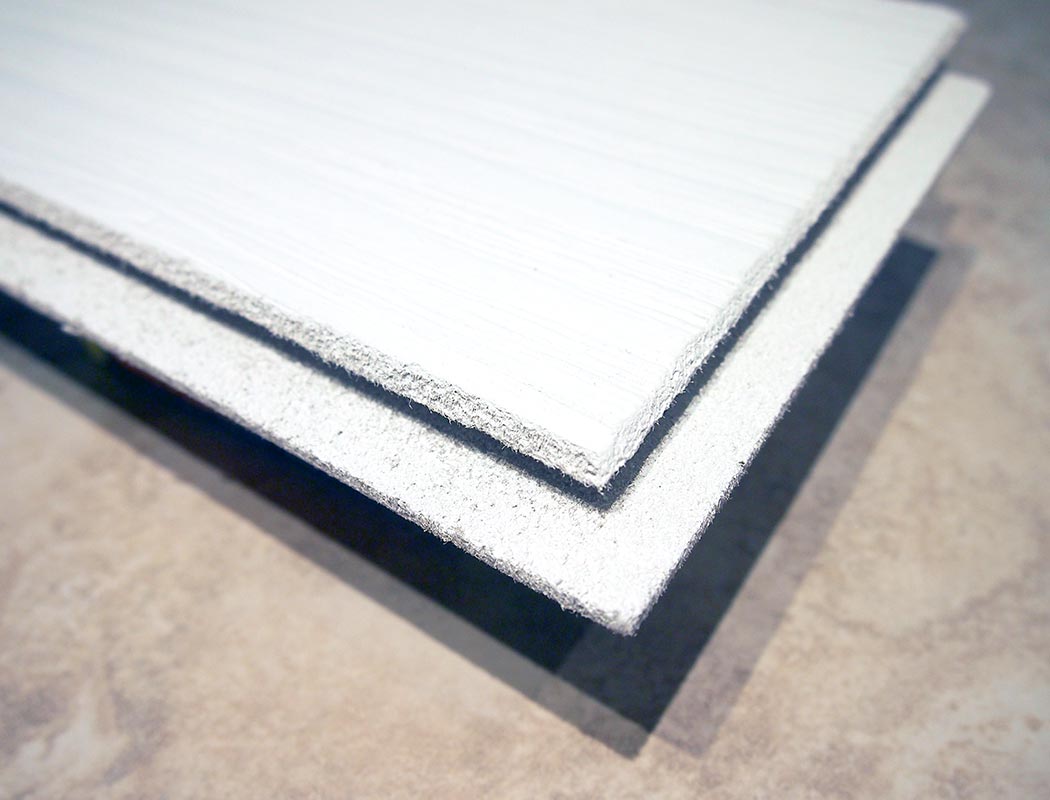
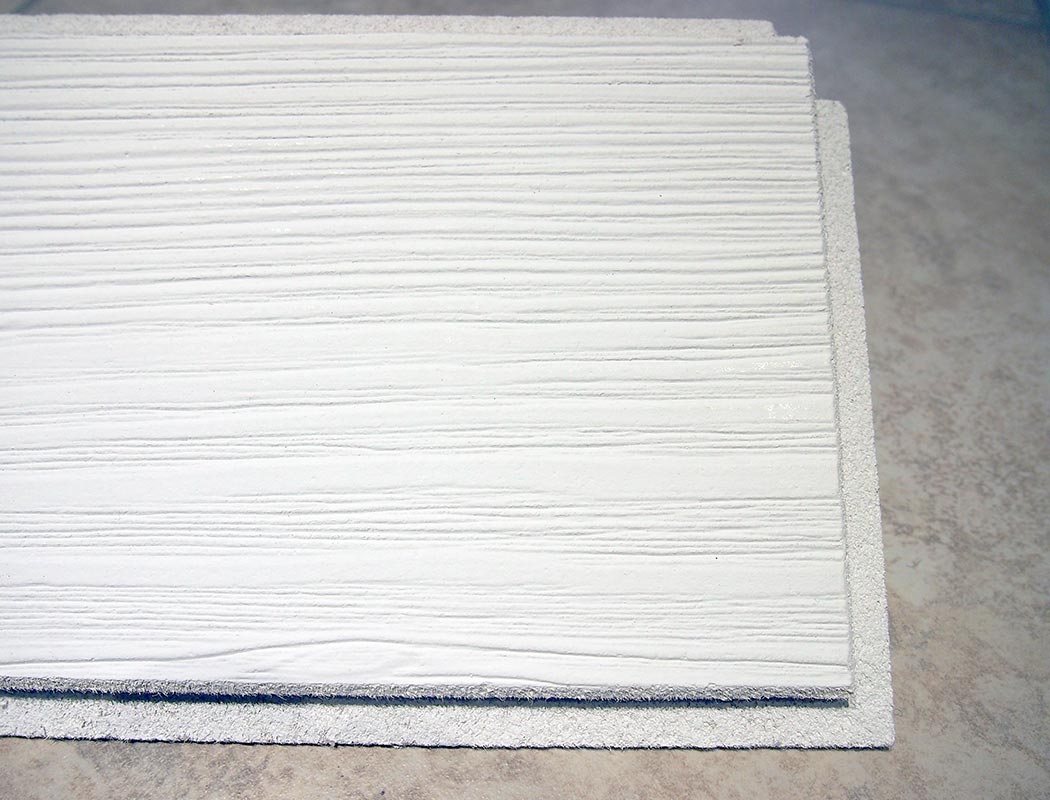
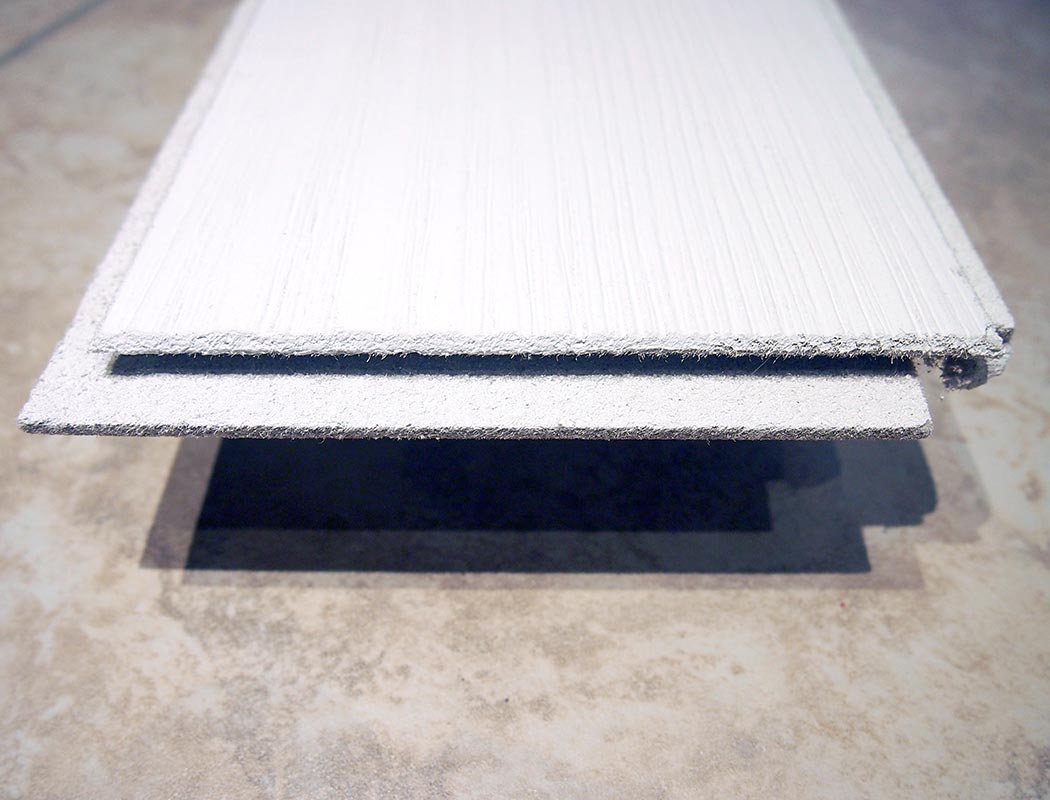
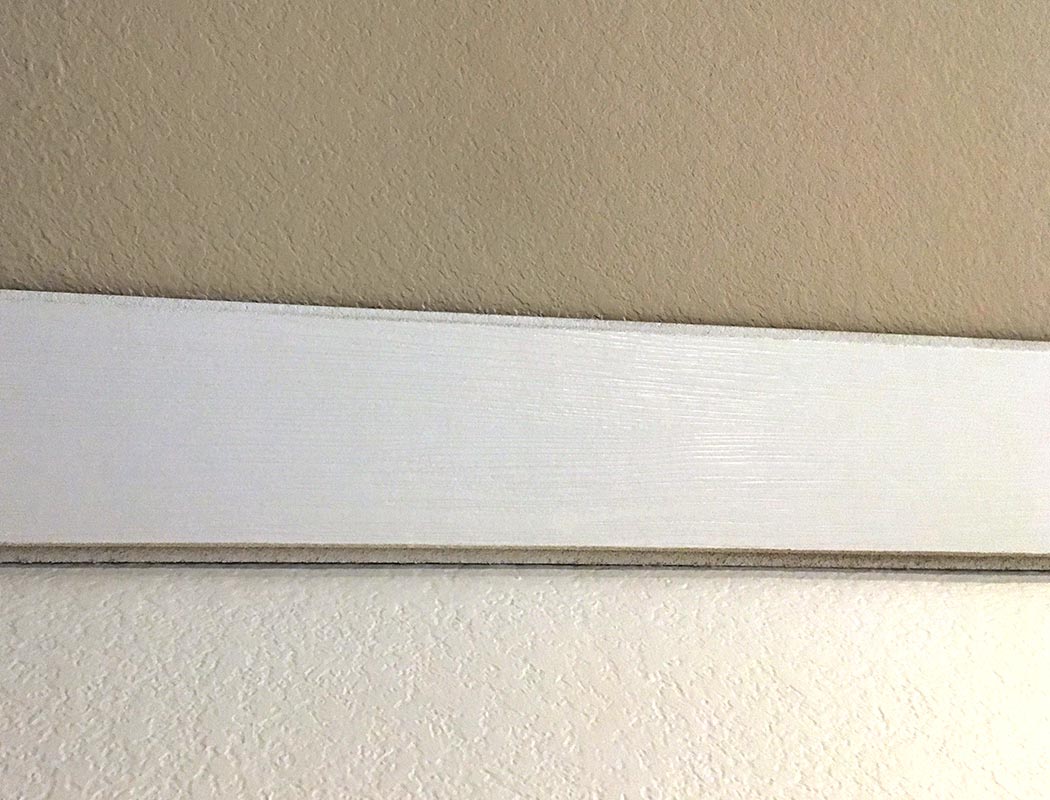
You might be wondering what these things look like in practice or how the tongue and groove boards work. The sample pictured hasn’t been painted and just has the pre-finished primer surface on the front they arrive with (they could be used as is if you’re happy with color and mostly matte finish):
Note
If you’re planning to use them without paint it’s worth mentioning that as they rub against each other in the shipping boxes some areas of the matte finish end up shiny. I don’t think it would be enough to make me want to paint them if I had previously decided I wasn’t going to, but you might want to buy a box locally before placing a large order to be sure you’re pleased with the appearance.
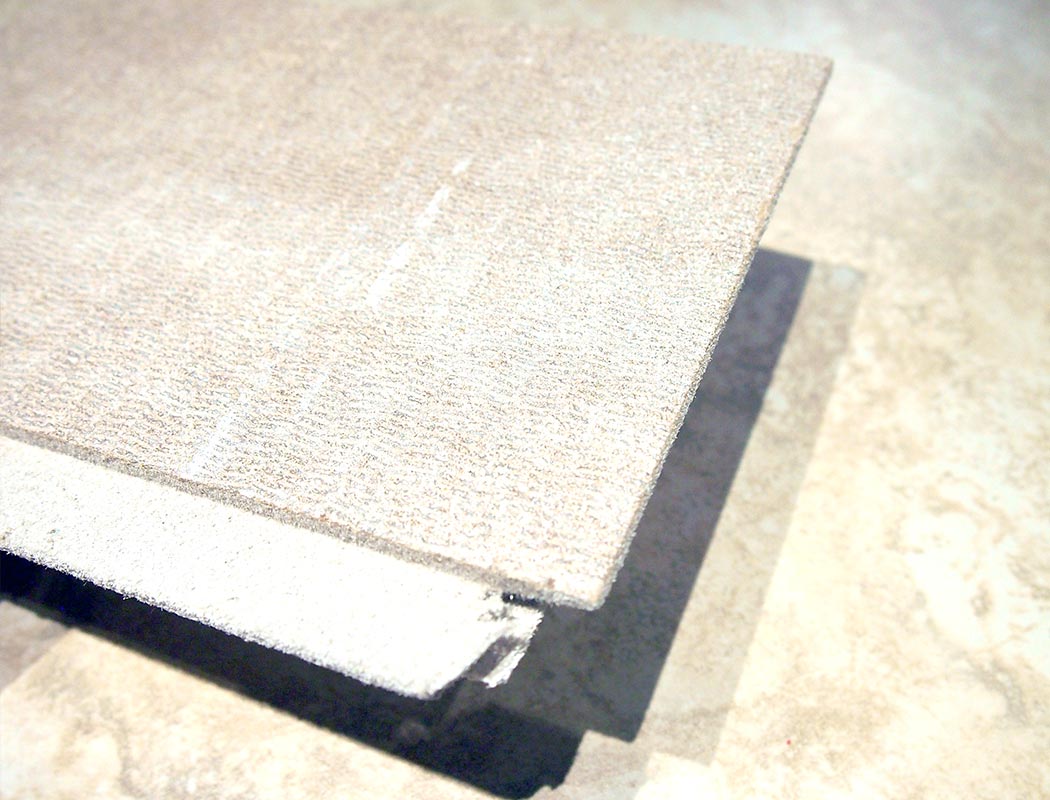
Damaged Planks
We encountered around half a dozen planks that had an issue at an end, but it wasn’t enough to impact the project overall. We just set anything that wasn’t pristine aside and then used them for edges, corners, or other places were the damaged portion would be discarded. Ultimately we ended up returning a full unopened box of the product as we essentially didn’t need any of our calculated overage. That said, based on other peoples experience it seems like boxes that are on the pallet corners or generally unlucky can end up with damage that makes them either visually unusable or structurally unable to easily interlock with neighboring tongues and/or grooves. We recommend shipping a large order to a local store that carries these for the ability to easily exchange any boxes damaged in transit. For example Lowes or Home Depot’s “ship to store” option for a location you’ve verified has local stock. You should be prepared to carefully inspect each box before use and deal with exchanging a few if necessary.
Installation (Tracks vs Adhesive)
Armstrong easy up track system was an appealing installation option– it seemed like a way to hedge your bets. For example, if the tiles aren’t turning out as expected they could be easily removed and replaced with any of their other ceiling products which would be mountable on the same system. That said, it presented the same weight issue we were trying to avoid with wood. The track system would also requires multiple passes over the entire ceiling, which I saw as a lot more ladder moving. We ended up committing to the plank tiles and using a tile adhesive. My impression is that either method would work great to cover a popcorn ceiling, and our low orange peel knockdown texture didn’t present any issues.
Specific items * this post contains affiliate links
Armstrong Ceilings Model #480 Country Classic Planks Amazon Lowes
These 48 x 6 Armstrong ceiling planks totally transformed our space and gave us the white wood ceiling we'd been wanting. They painted very nicely, and were at the price point and weight we were looking for.
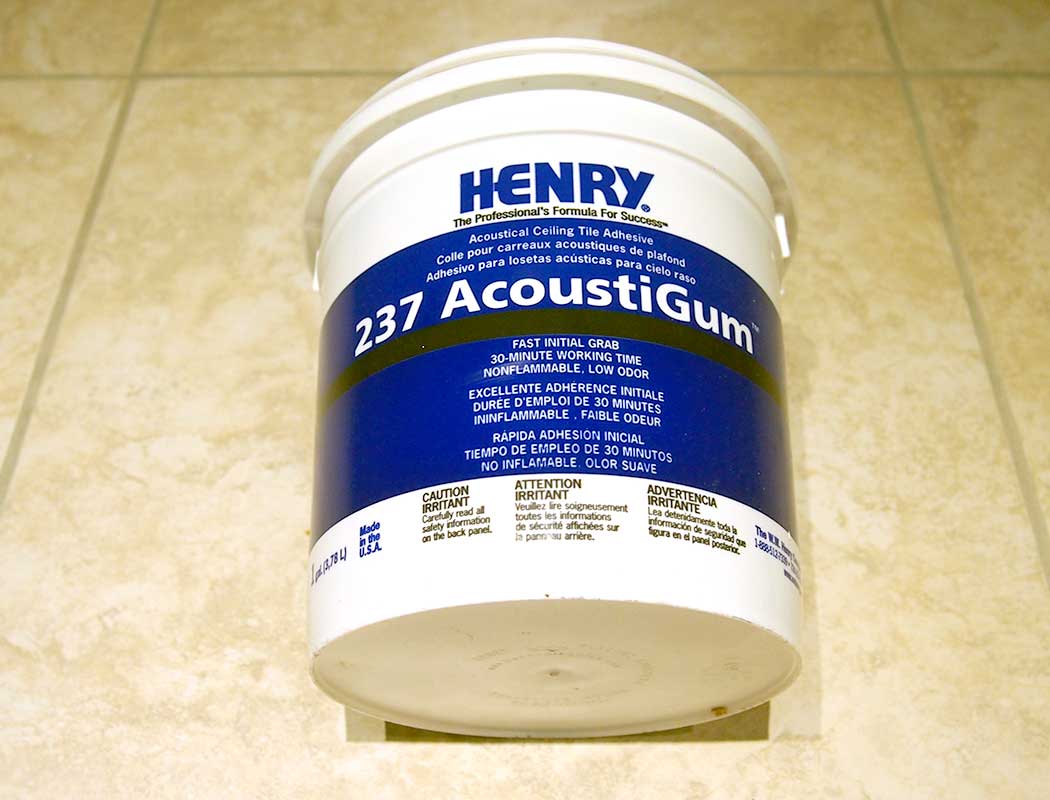
Henry 237 AcoustiGum Acoustical Ceiling Tile Adhesive available here
If you decide to substitute another adhesive make sure you do plenty of research and it's not just to avoid shipping times.
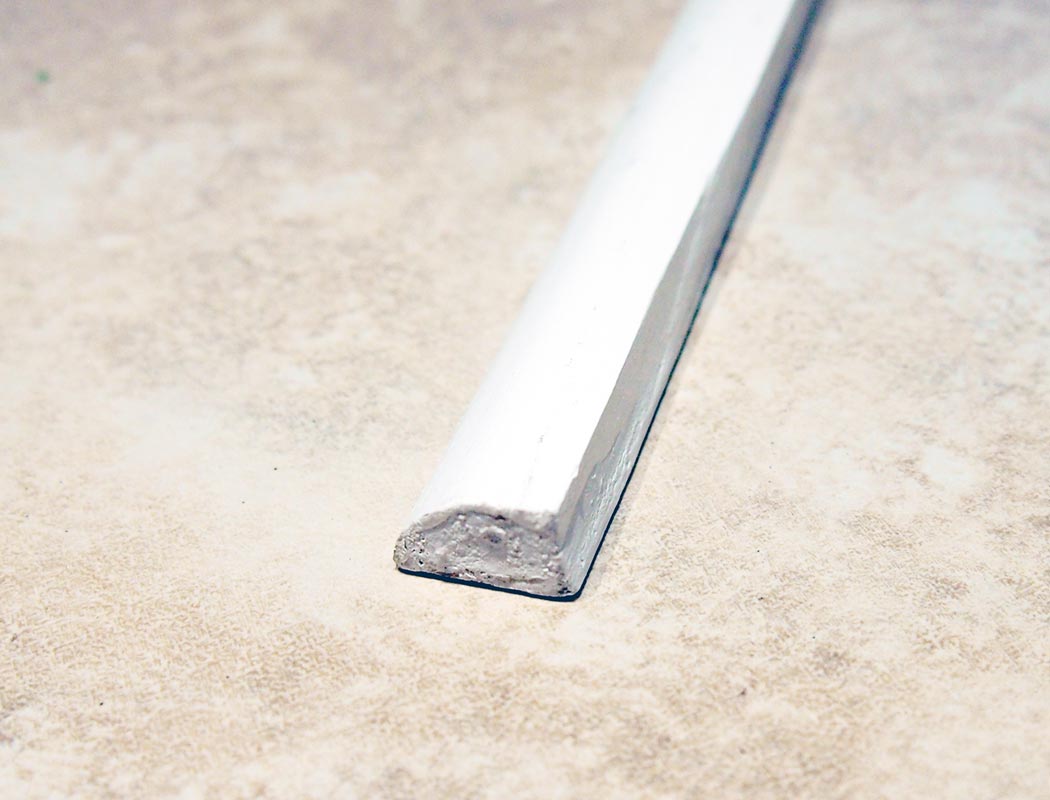
Generic wood trim (we used 11/16 shoe) available here
We picked a simple shape that compliments our existing house trim and doesn't draw attention to itself.
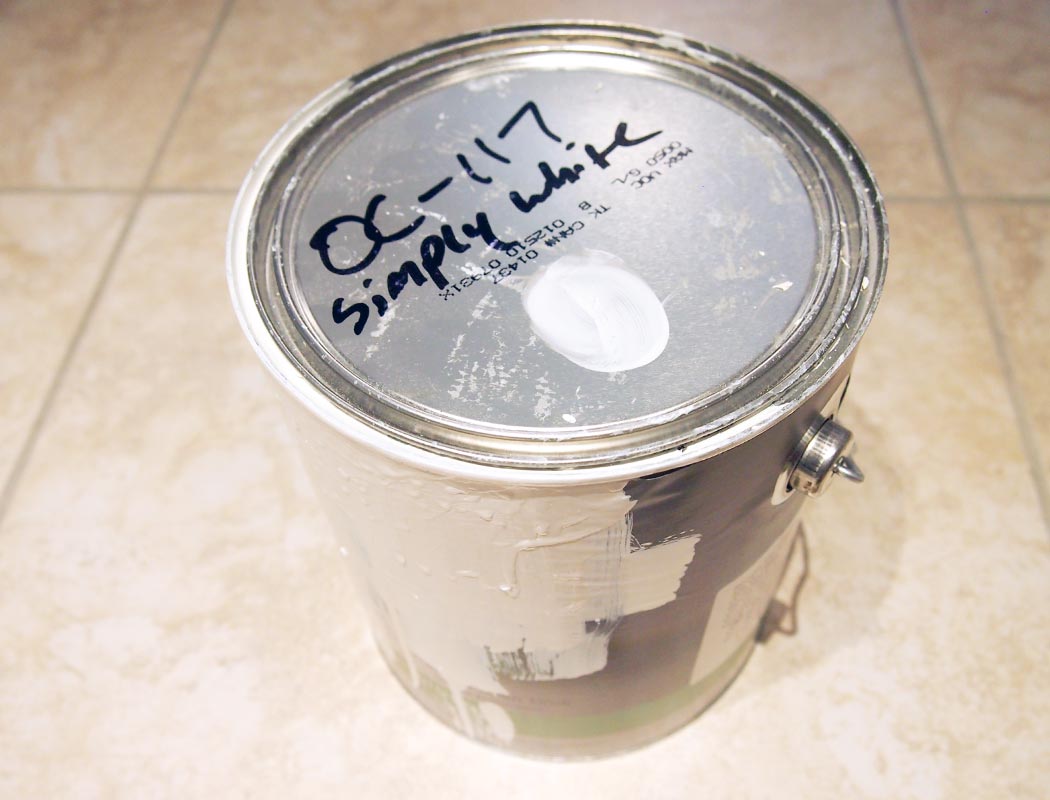
Benjamin Moore ADVANCE Semi-Gloss in Simply White (OC-117) available here
This is our go to trim, cabinet, and some furniture paint. It has a very long cure time and requires decent prep and time between coats, but our results so far have us enthusiastically recommending it.
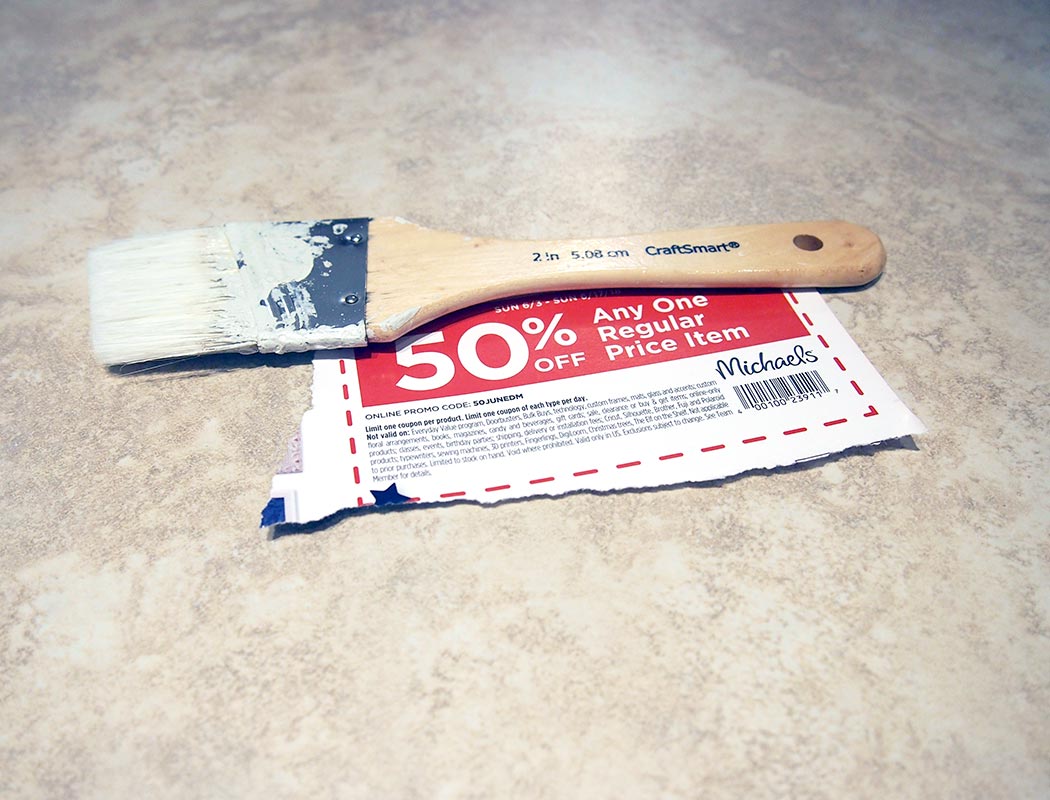
Michael's craft paint brushes available here
There are undoubtably much better brushes available, that said, these work great with the paint we're using and cleanup easily for multiple uses. Michael's regularly sends 50% off coupons by mail (or email, or phone app), so you could do worse than using one to try these handy brushes.
Miscellaneous extras available here
Finishing nails for the wood trim, masking tape, drop clothes, stepstools or ladders (depending on your space), caulk for the trim
* as an Amazon Associate we earn from qualifying purchases
Extras
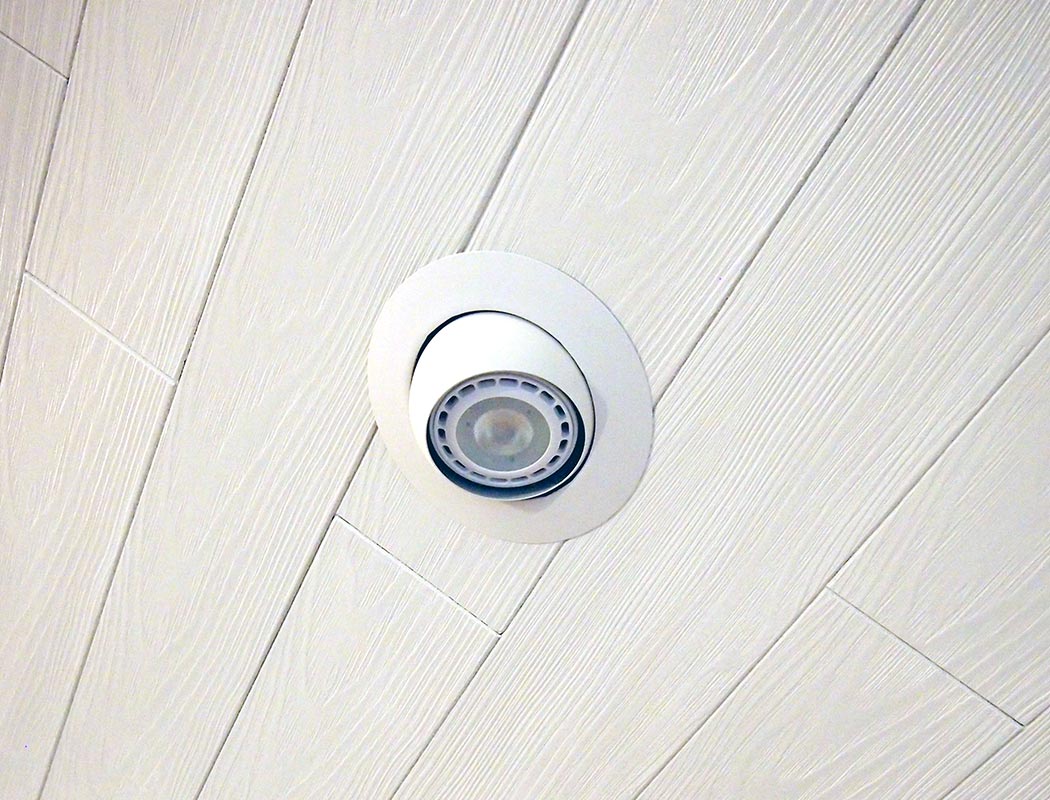
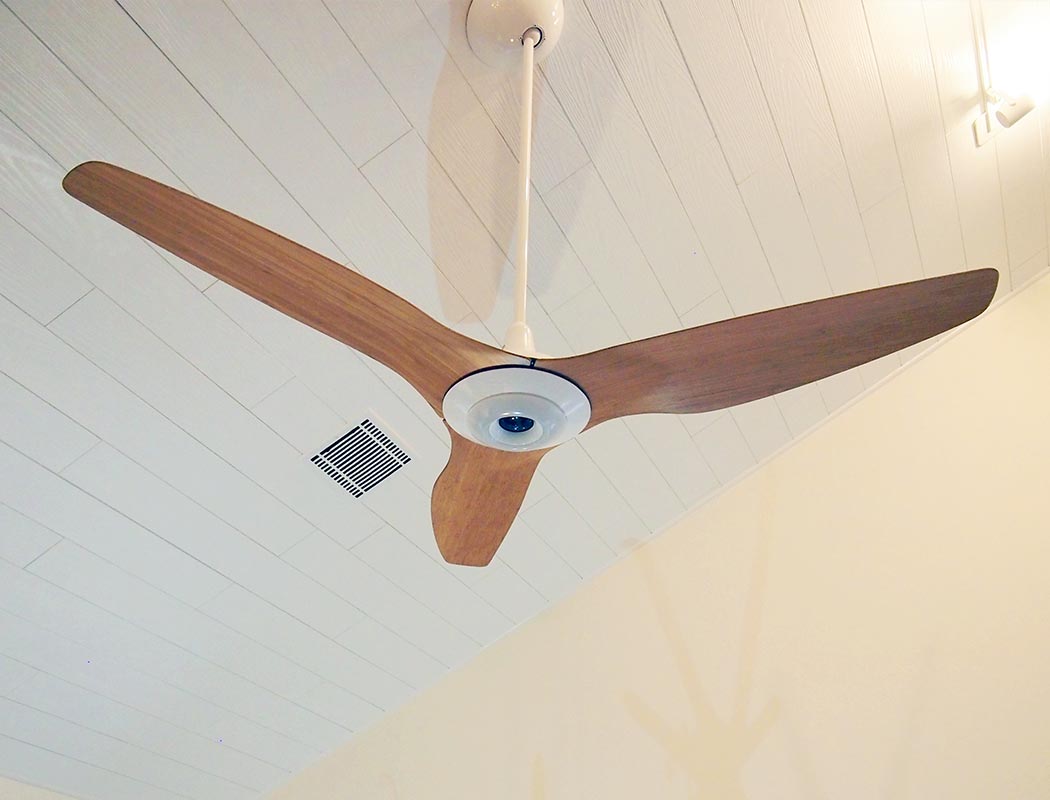
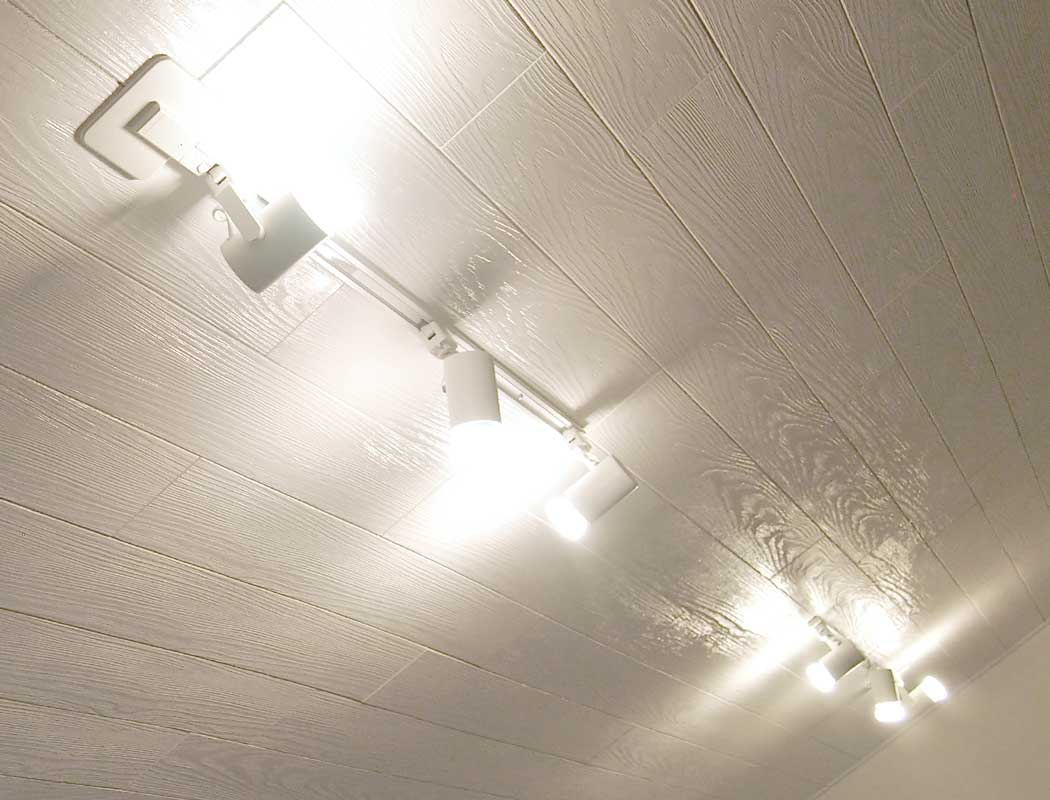
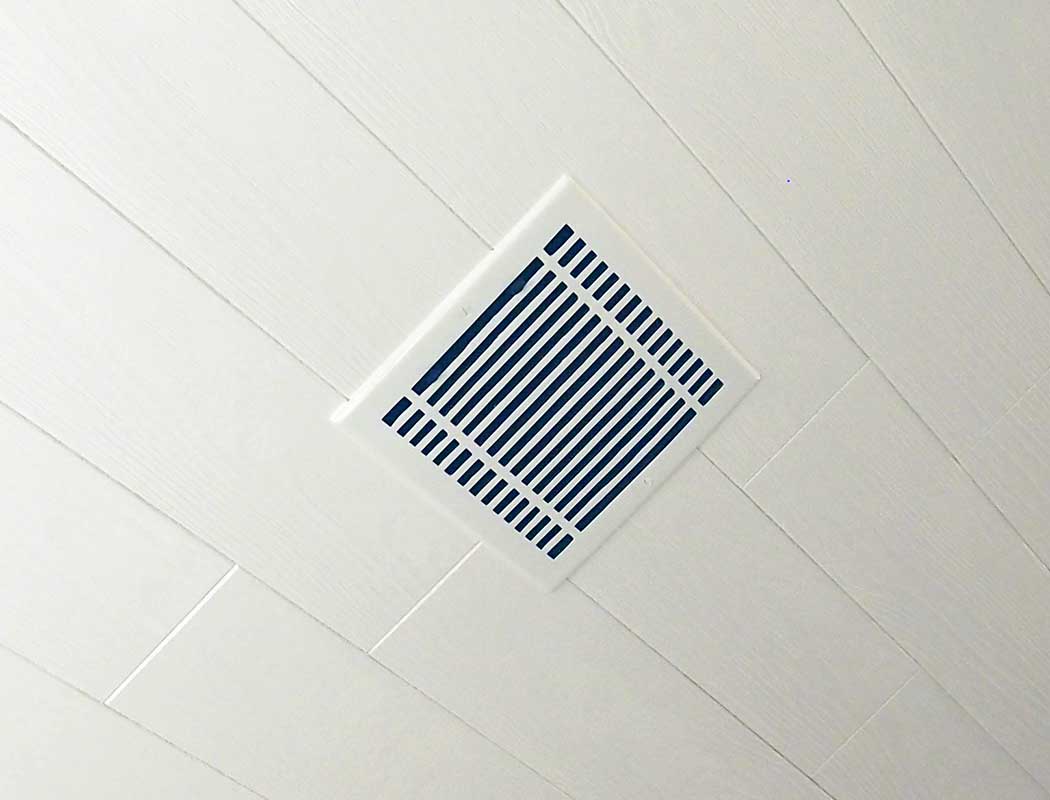
Since we’re getting up on the ladders anyway we replaced most of the hardware we ran into. That included a new enclosure for the can light (with an IKEA spot bulb – cheap, low wattage, and available in a reasonable color temperature), an updated fan, the simplest track lights we could find, and some vent cover replacements.
Installation of the tongue and groove ceiling planks
Decisions
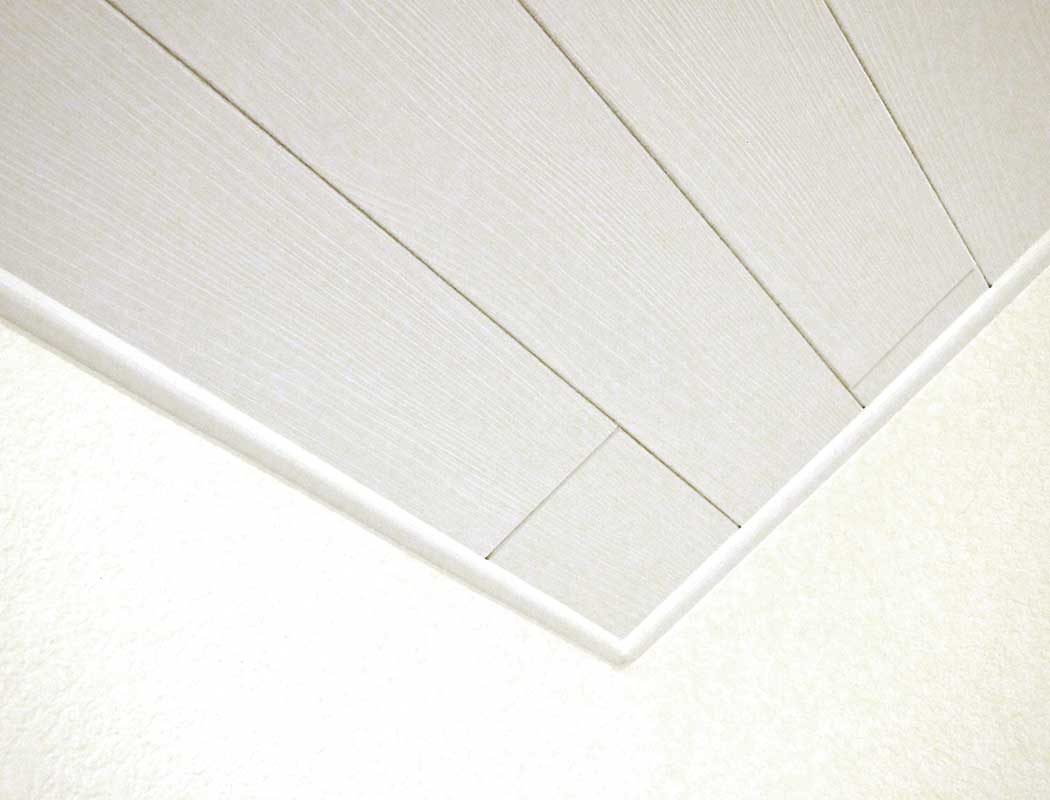
Working with planks that are all the same length means you have a choice to make — if you want a random staggering or a subway tile pattern, etc. I went for random pattern in order to reduce waste (ie using pieces leftover from the left edge for the right and vice versa) while generally trying to avoid having rows at the same offset very close to each other. Following a pattern (ie having each row split at the middle of the prior row) seemed like extra work for a look that I wasn’t sure I liked any better. If you’re not following a specific pattern then your goal is to avoid creating “rivers” where the gaps line up (or nearly line up) on adjacent rows which can draw the eye and seem like a pattern that isn’t there or a near miss.
How long is this going to take?
I’d read several reviews that talked about knocking out smaller rooms in evenings and weekends so I was quite optimistic getting started about the timeframe (even without painting). As it turned out, between spending time on the project intermittently and the larger size and geometry of the room, it took quite a bit longer than I had guessed. I spent four or five full days, in terms of total hours, which I spread out over a couple calendar weeks during my free time. All that said, I’m not the fastest DIYer.
Application: How to Install Tongue and Groove Ceiling Tiles
The procedure I followed was roughly as follows:
-
Empty the room, or at least move everything to the side you’re not starting on.
-
Turn off the electricity and remove any ceiling fans and hanging light fixtures (even if you plan to keep them).
-
Position step stool or ladder for where you’ll apply the first plank, then place drop clothes as needed (if necessary). I was working over tile and played pretty fast and loose with the drops opting instead to cleanup any issues.
-
Assuming you’re going for a random staggering pattern, randomly cut your first plank (I lopped off about a third of mine to get started). Going forward, for each row you’ll want to look ahead and consider any openings. My strategy was to try and make sure plank divisions didn’t almost line up with vent edges or the like to avoid drawing attention to them.
-
My system for painting and sticking the planks was to:
-
Cut the plank to the desired size (when needed). I did all my cutting out in the garage to be near a shop vac and avoid getting the fiber material all over. It’s fairly messy and not something I wanted kicking around the house.
-
Set the plank face down on the ground and apply three walnut sized blobs of adhesive (one several inches in from each end and one in the middle, for smaller cut pieces you may not need the middle). Don’t over or under size your blobs, follow the manufacturer’s instructions. It’s important to use the right size for the performance of the adhesive, and it’s important to be consistent about the size so that the thickness after you press them down is the same and the planks end up at a uniform height.
-
Carefully flip the plank over and set it on some small cardboard boxes on the ground (anything to lift the edges up for painting will work), watch to avoid your adhesive blobs when positioning the spacers.
-
Paint the edges and cut in on the top an inch or so. By pre-painting the edges you won’t have to try to paint edges up on the ceiling. This means you’re not going to accidentally end up with too much paint in the gaps and are generally less likely to mess with prior planks already in position and painted.
-
Get yourself and the plank into position — gently pinch over the wet edge and take the plank (which now has wet edges and adhesive on the back) up the ladder. Did I forget to mention this is a messy project?
-
Stick the plank — carefully use your palms to support the plank on the unpainted front face in spots directly on the other side of where the adhesive is and lift the plank up right next to where it needs to go. Gently mush the plank in a back and forth motion to slide the tongue and grooves into neighboring planks. Move your palms between each area with adhesive and work them all down together gently rocking back and forth until the plank is the same height as its neighbors and the edges are fully engaged. Avoid pressing on portions of the plank where there isn’t adhesive as you may crack or warp it. Also avoid pressing very hard, the planks will crush if you apply significant pressure, a gentle back and forth will spread the adhesive and lower the height of the plank more easily and with less risk of damage.
-
Paint the front face of the plank — stay away from the edges as you already did them on the ground and if you end up with extra paint in the grooves it may stand out.
-
Repeat for the next plank placing two rows as you move across (the lower row you’re working on should be one plank ahead of the upper). This saves quite a bit of ladder work vs doing one row all the way across at a time.
-
Repeat for the next two rows going back the other direction.
-
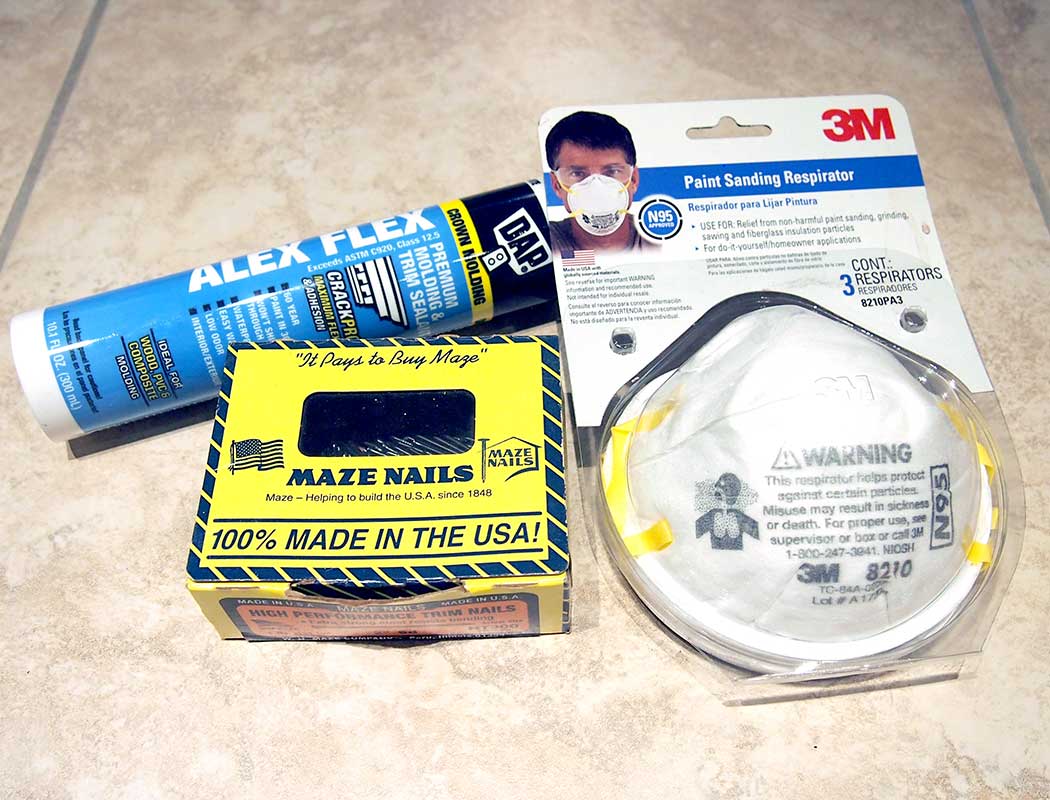
Special case: openings
When planking over openings my approach was to apply a full plank over the gap adjusting only the position of the adhesive blobs to place one on each side of the intended hole. Once the entire row was up, I would go back to the places I planked over openings and cut the holes using a multitool. You’ll definitely want to use drop cloths and a shop vac for each cut, as removing material from the planks is messy. Also, be kind to future you and use a dust mask anytime you’re cutting, sanding, or doing anything else that is removing material from objects.
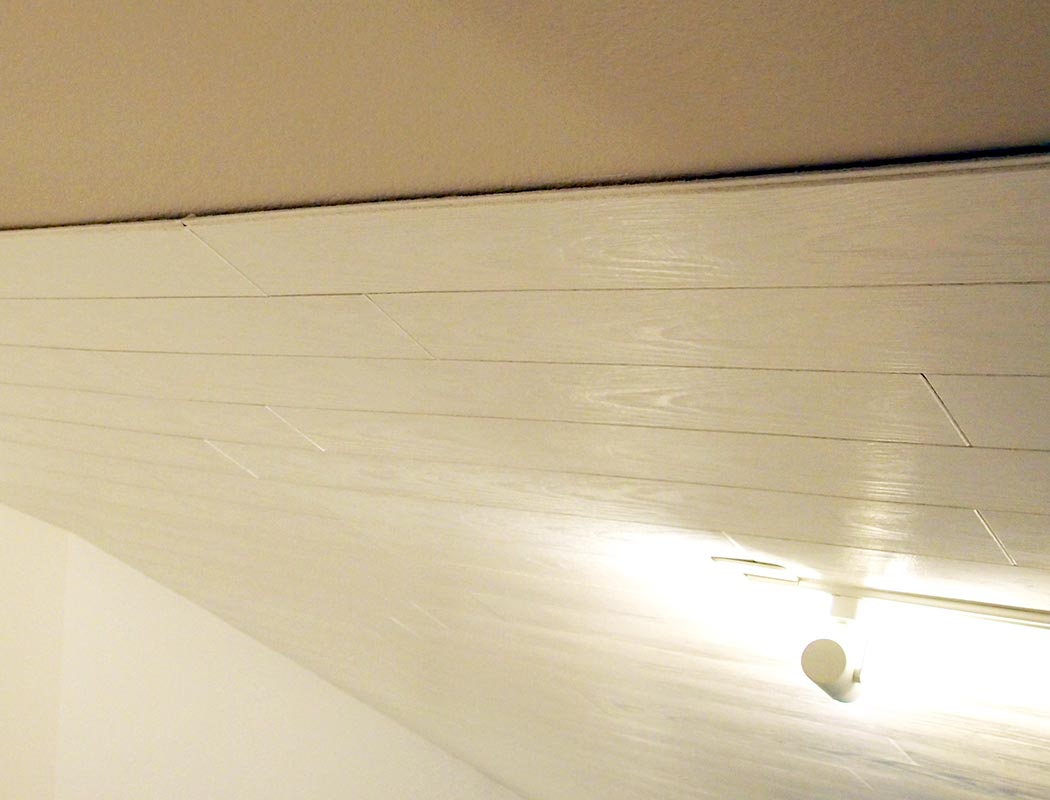
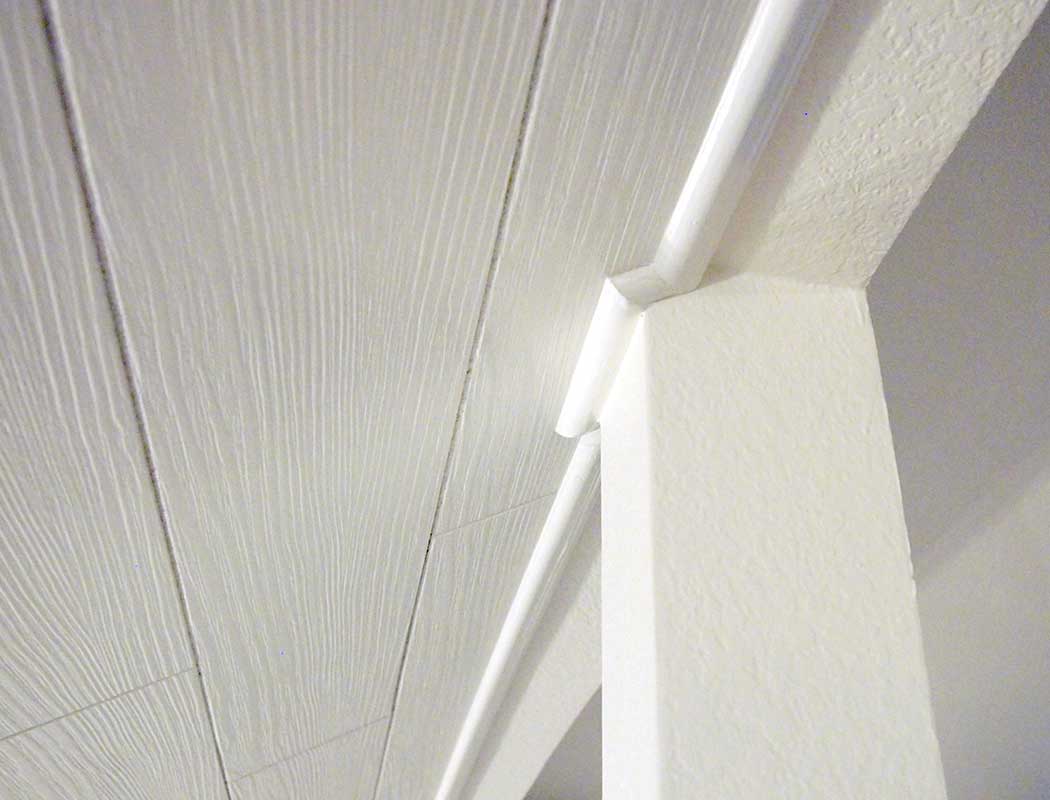
Finishing the edges with trim
You can treat the trim like crown (or any other moulding) in terms of how to deal with gaps or other weirdness you run into, here is an example of what we went with for supports and the top edge.

-
For installing the edge trim, I put two coats of paint on all the pieces on the ground then repeated the following:
-
Cut the trim edges to suit the location (ie a 45 degree bevel pointing away from the entrance of the room for two adjoining pieces, or flat/coped at the corners). Basically follow the same pattern as for installing crown moulding.
-
Use a stud finder and place a small bit of painting tape on the wall at each location that will be covered by the trim.
-
Hold the cut piece of trim up and place small bits of painting tape on the trim where the studs are.
-
Pre-drill holes in the trim for your finishing nails.
-
Nail the trim up, you can likely do this solo if you start with the nail nearest the center and work out.
-
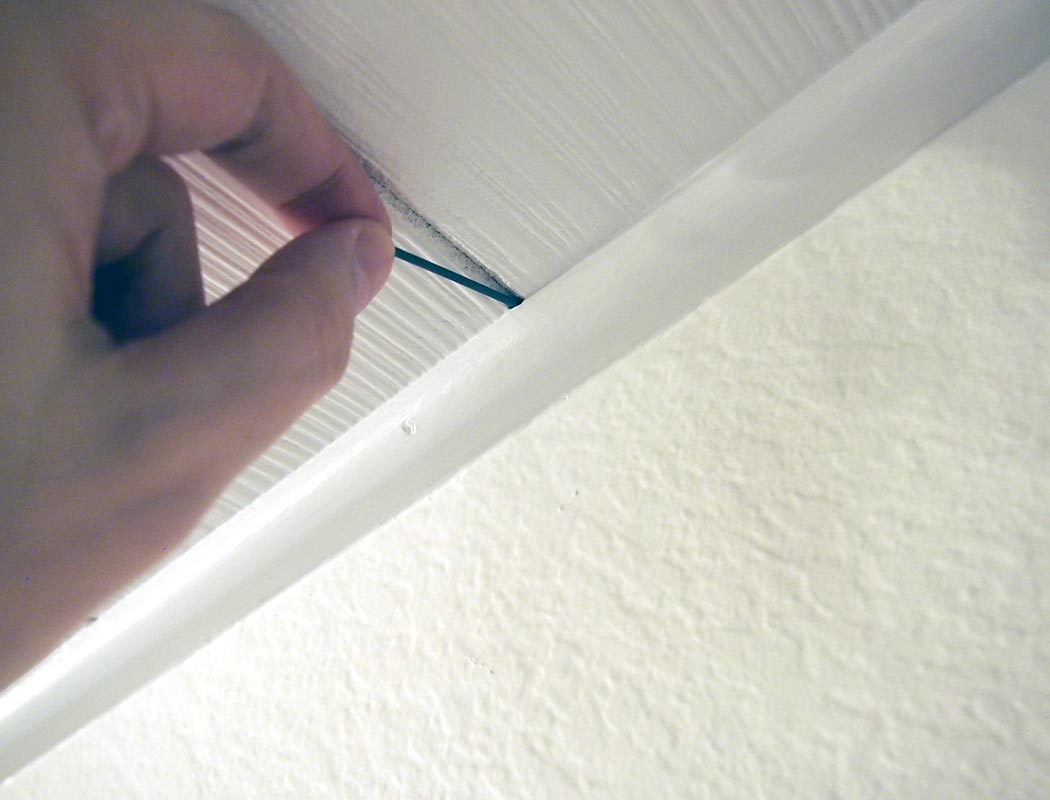
Once a side of trim is up caulk each side and the nail holes. Anywhere you run caulk over a gap between planks the caulk will flow in and look odd — gently insert a finishing nail into each gap to remove the excess caulk and wipe it off on a paper towel to get it back to the expected look (it should require no pressure at all and not stick into the planks, only the top groove of the gap between them).
-
Once caulk has dried paint the wall color up to the trim.
-
Once wall color has dried paint trim color on edges and nail holes.
-
Wrap-up & follow-up
The results are shockingly close to our original expectations. We try to be realistically prepared for a Pinterest fail when we set out on something new and try to factor in that a couple of attempts might be needed. We’ve had no issues with our wood plank ceiling since installation and would use the same materials and methods again without hesitation.
PS. We purchased everything shown full price or through publicly available sales (mostly sales lol), nothing was donated or unusually discounted.