Making the Laundry (Room) Fun
Long-Term Review, Last Updated: Winter 2022
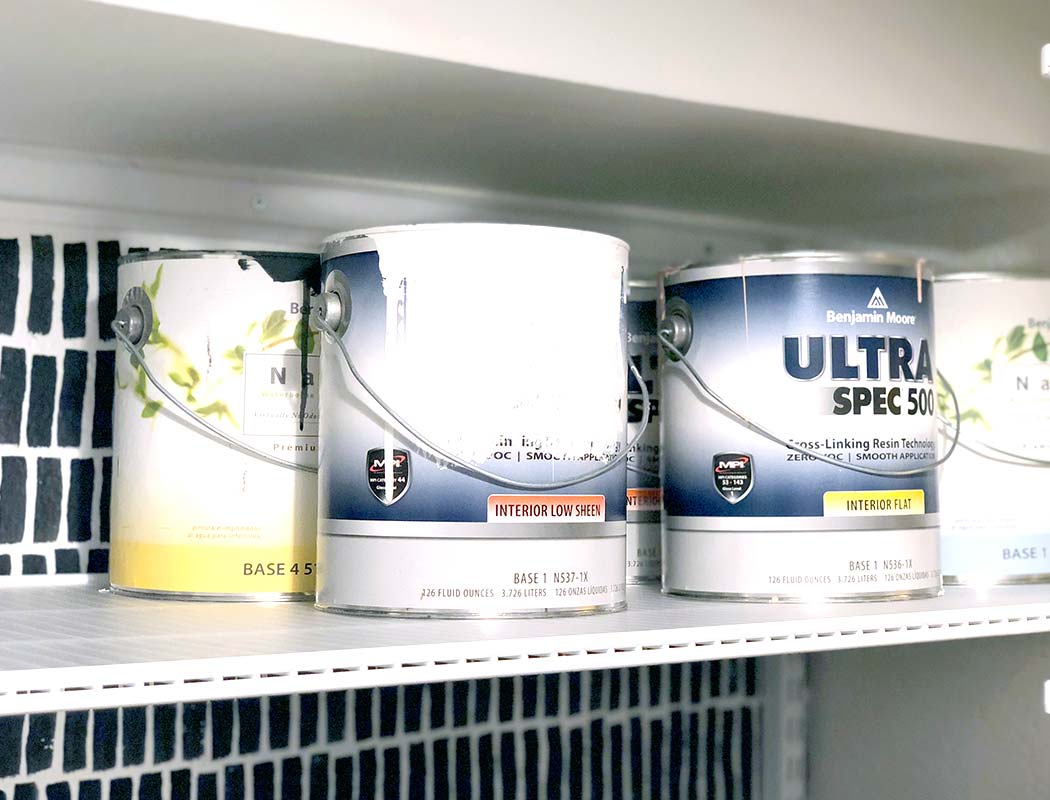
No trouble to report, everything still in place and not showing any significant signs of wear (a shelf with paint cans is deflecting perhaps half an inch in the middle, a reminder to keep heavier items near the brackets). Fun paint still adds a grin to laundry or cleaning chores (which is priceless). I would have expected some dings or shiny spots from wear in the areas closest to the shelves but nothing noticeable has presented.
I used to try to not spend much time in the laundry room. It was small, dingy, and the only thing to do in there was… laundry!
With a clean canvas of white walls, I set out to make my mark on our laundry room. It isn’t a large room, measuring 5’4” by just shy of 6’ deep, but I wanted to inject a lot of personality into this tiny space. My goals were simple and two-fold, make laundry fun and create LOTS of storage.
After: A Fun Room Makes Laundry More Pleasant
Ok, making laundry fun was probably not an achievable goal, but this makeover has made me smile a few times when I walk in the room, so I think that counts.
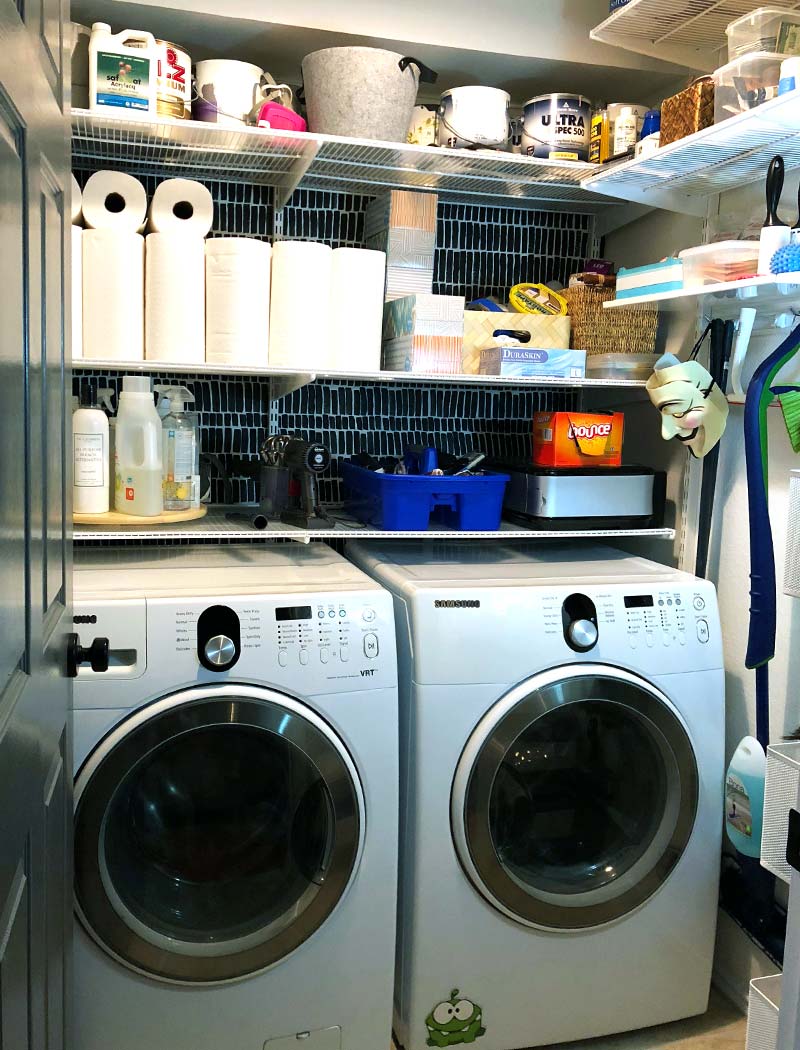
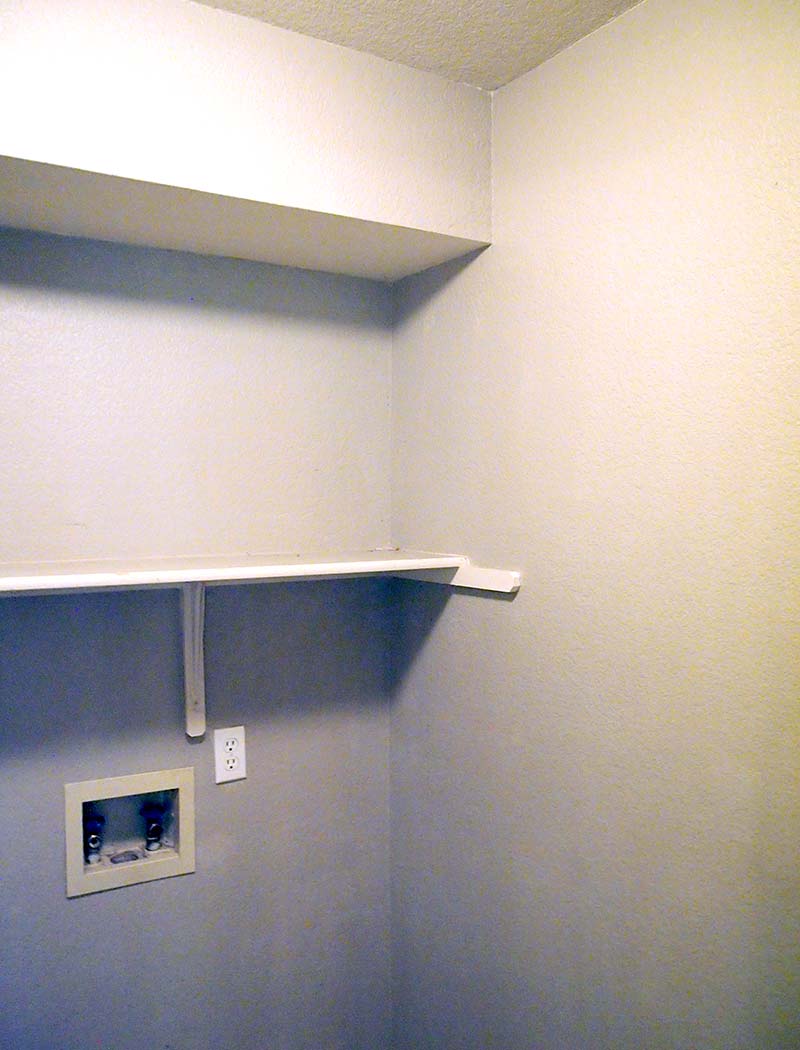
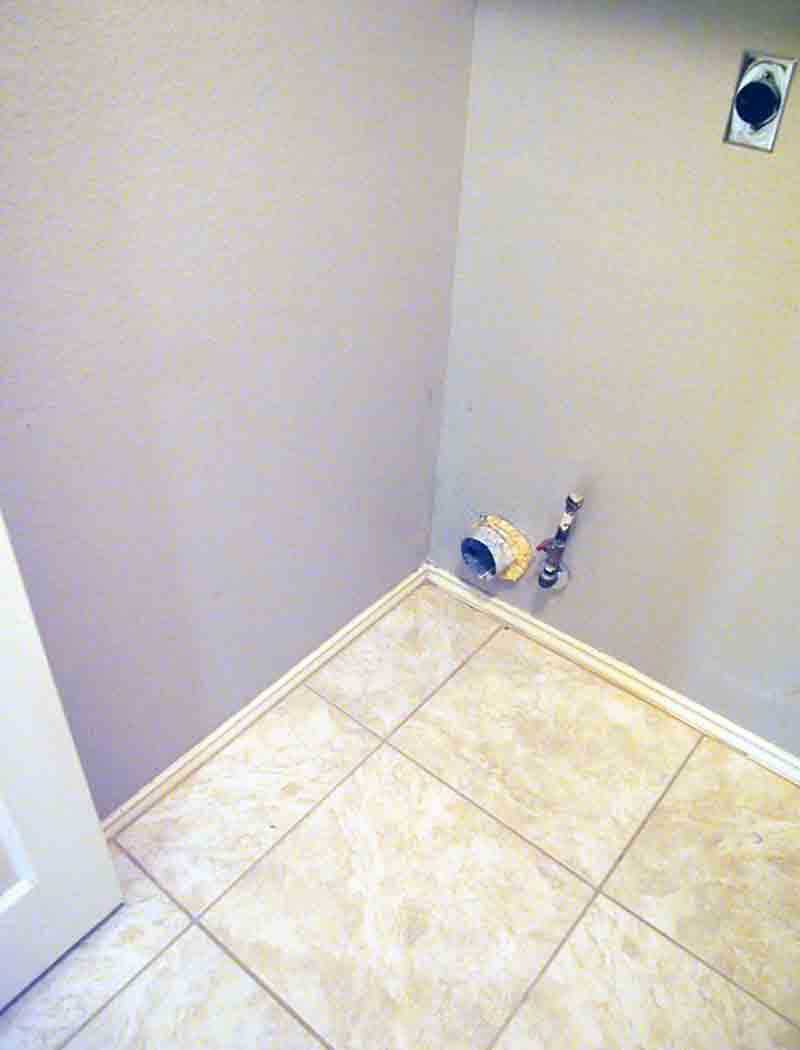
Before: An Unremarkable Laundry Room
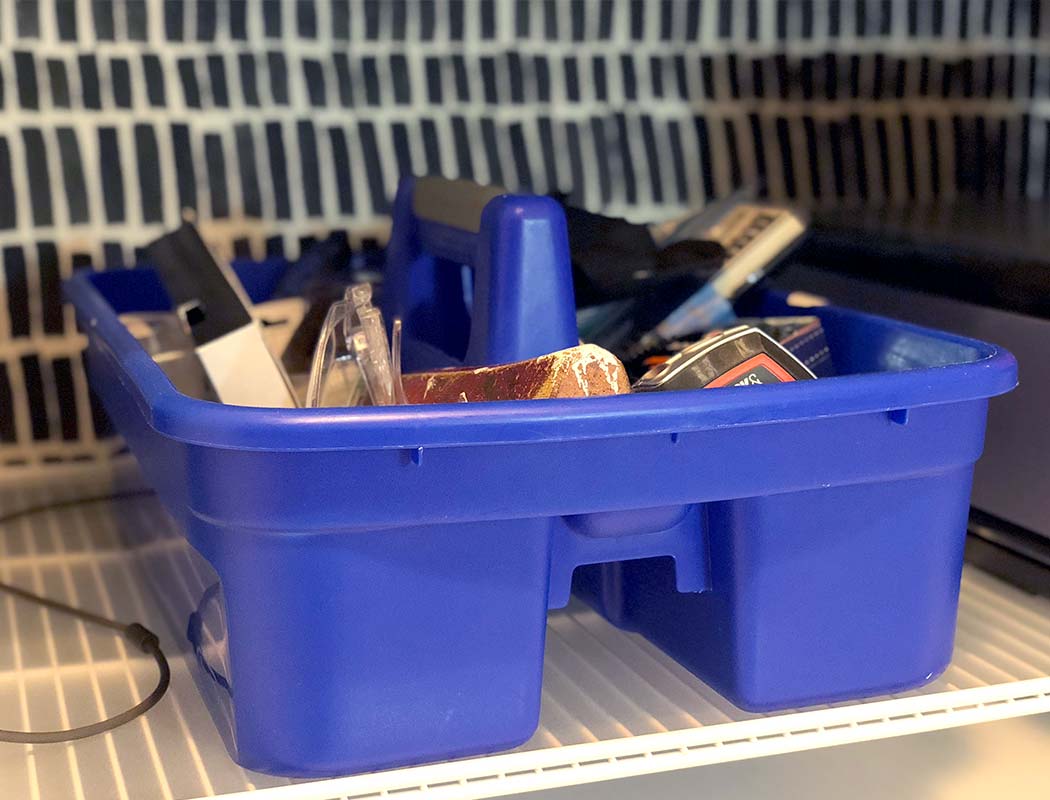
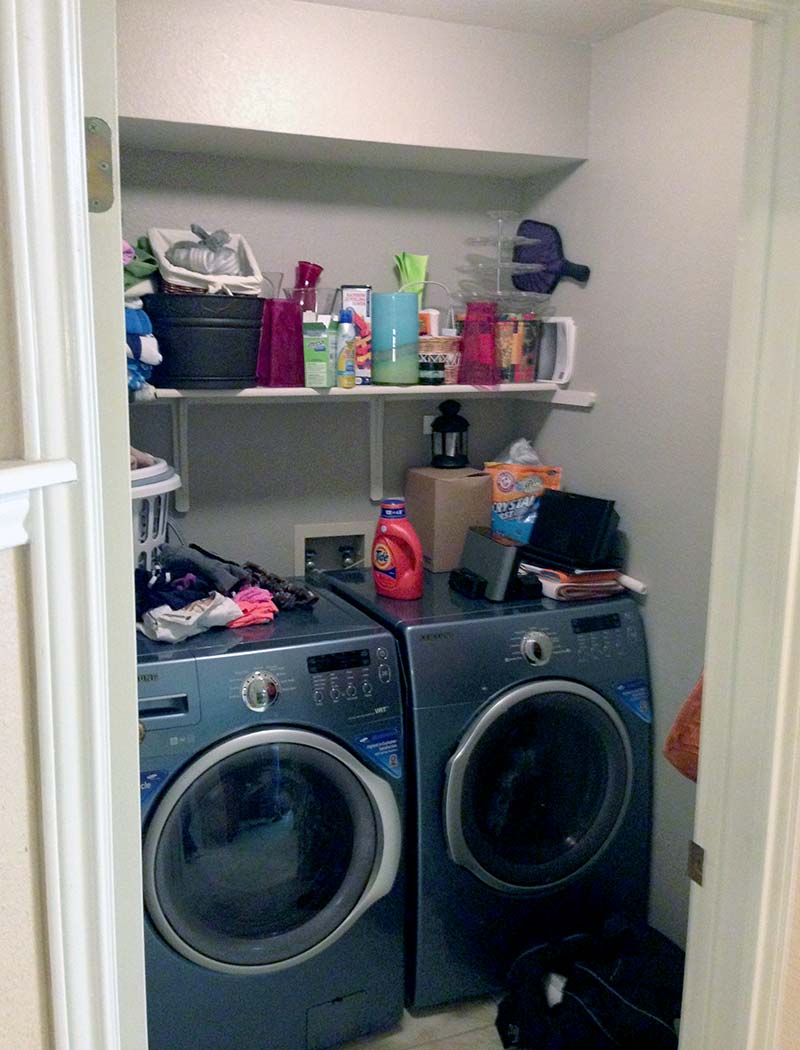
The first before picture is probably a bit unfair to the laundry room (and it’s previous inhabitants as this was how the laundry room looked when we toured the home). It represents why we needed to add so much storage to the room. Situated at the front of the house, it forms a triangle between the front door, garage, and kitchen. Rather than letting it become a dumping ground, I wanted to incorporate lots of shelving and hangers for cleaning supplies, paint (which should be stored in a temperature controlled environment), as well all the laundry necessities.
Inspiration
I was inspired this modern wallpaper look by Shauna of Beautiful Matters. A graphic pattern with a irregular tribal vibe really spoke to me.
My Materials * this post contains affiliate links
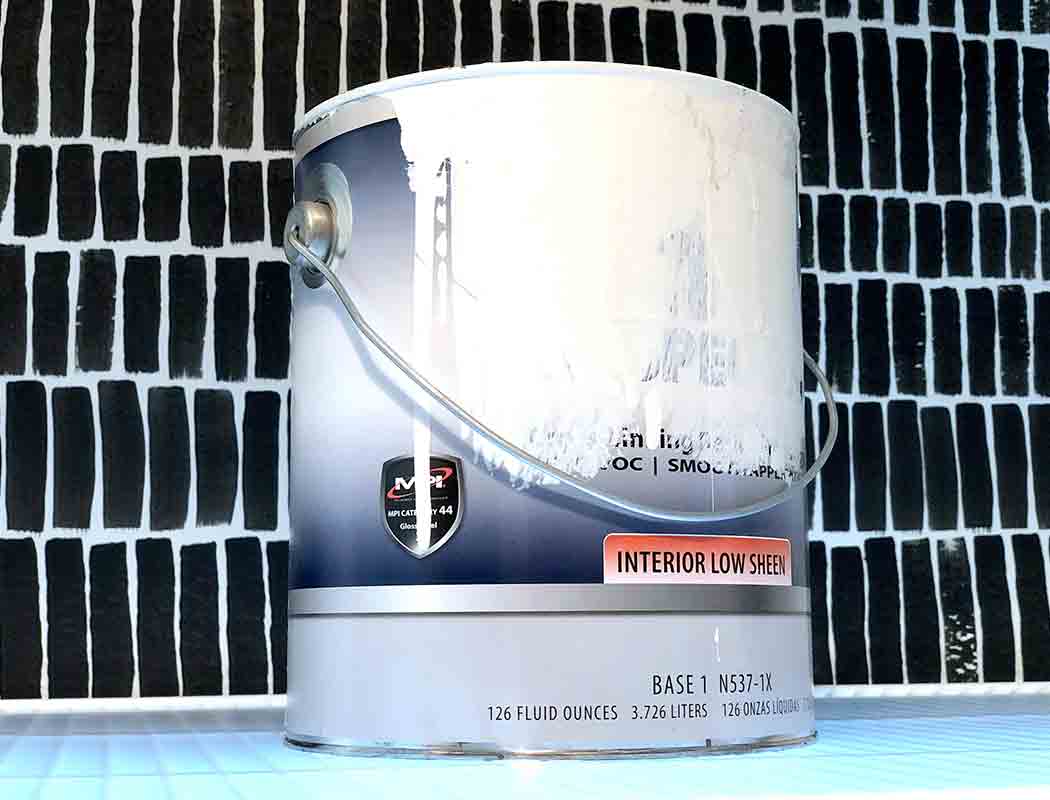
Benjamin Moore Ultra Spec - Low Sheen in Simply White (OC-117) available here
All the walls and ceiling were painted (as well as lots of the rest of the house) in our favorite white.
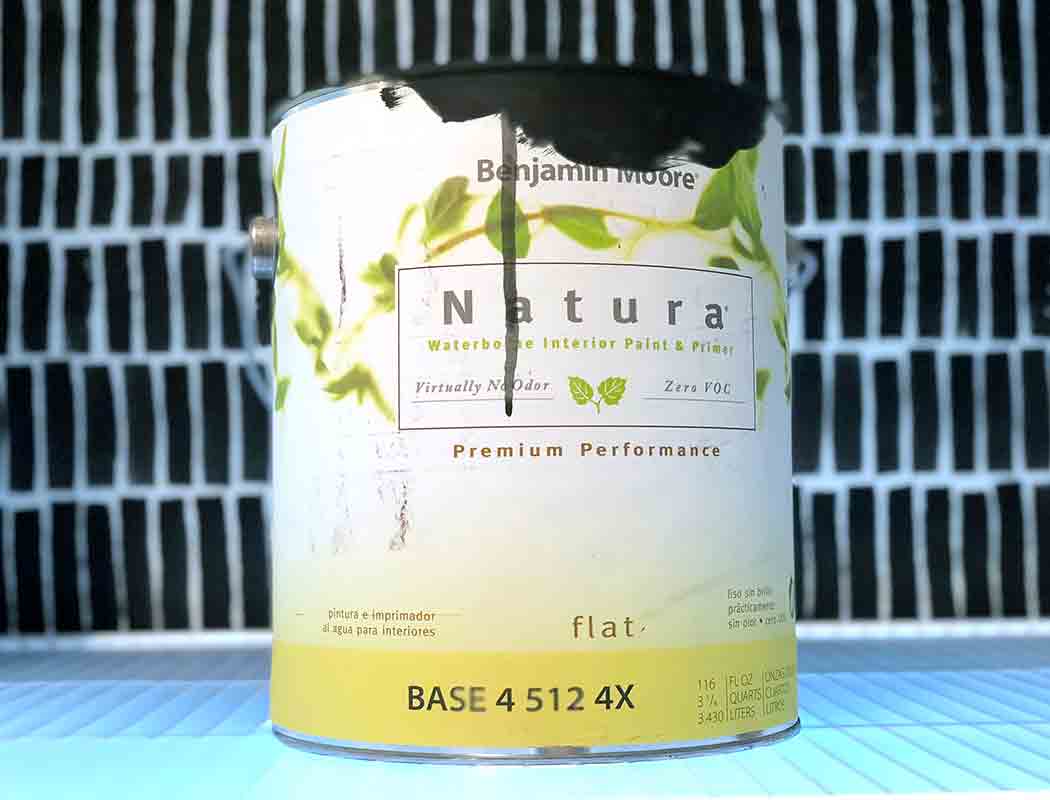
Benjamin Moore Natura Indoor Paint - Flat in Twilight Zone (2127-10) available here
I had this wonderful inky black on hand from E's closet, which works beautifully with the white.
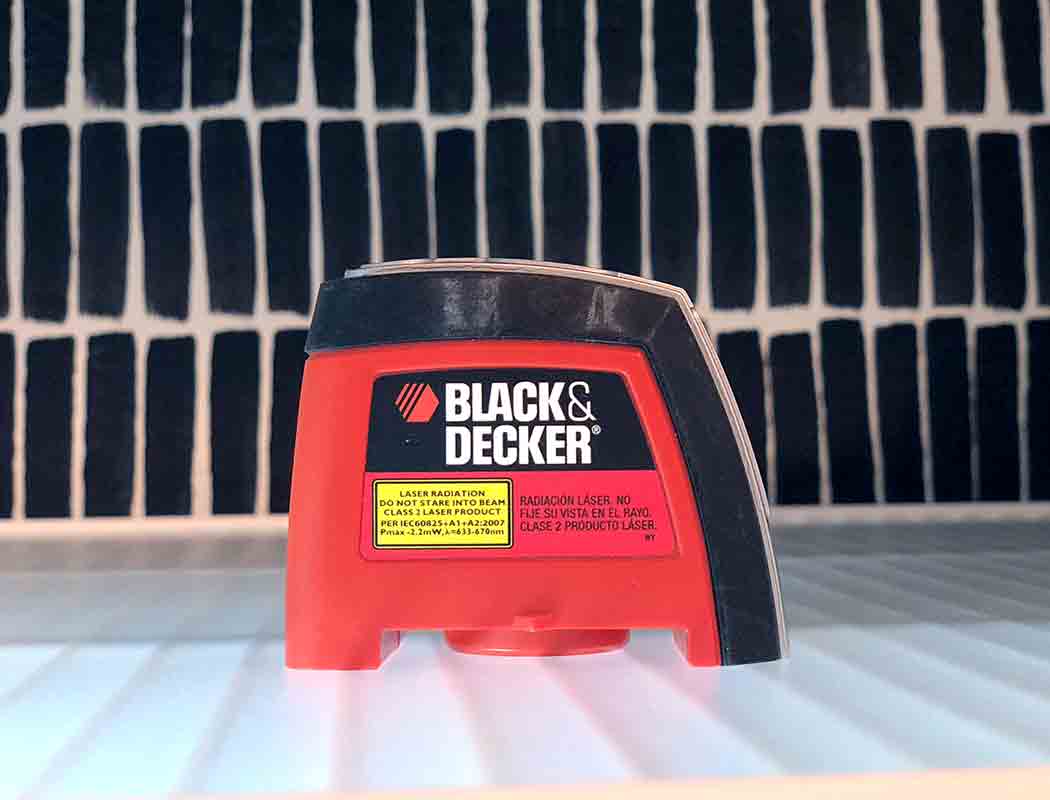
BLACK+DECKER BDL220S Laser Level available here
I bought the cheapest level that I could find at my local Home Depot. If you plan to use the level a lot, I would get one with a better mechanism for attaching to the wall, as this one requires a nail or a bit of creativity.
Flat Nylon 1/2" Craft Brush available here
We have collected many craft and paint brushes for various projects, these are what I had on hand at the time. Any flat brush would work, the important part is the width.
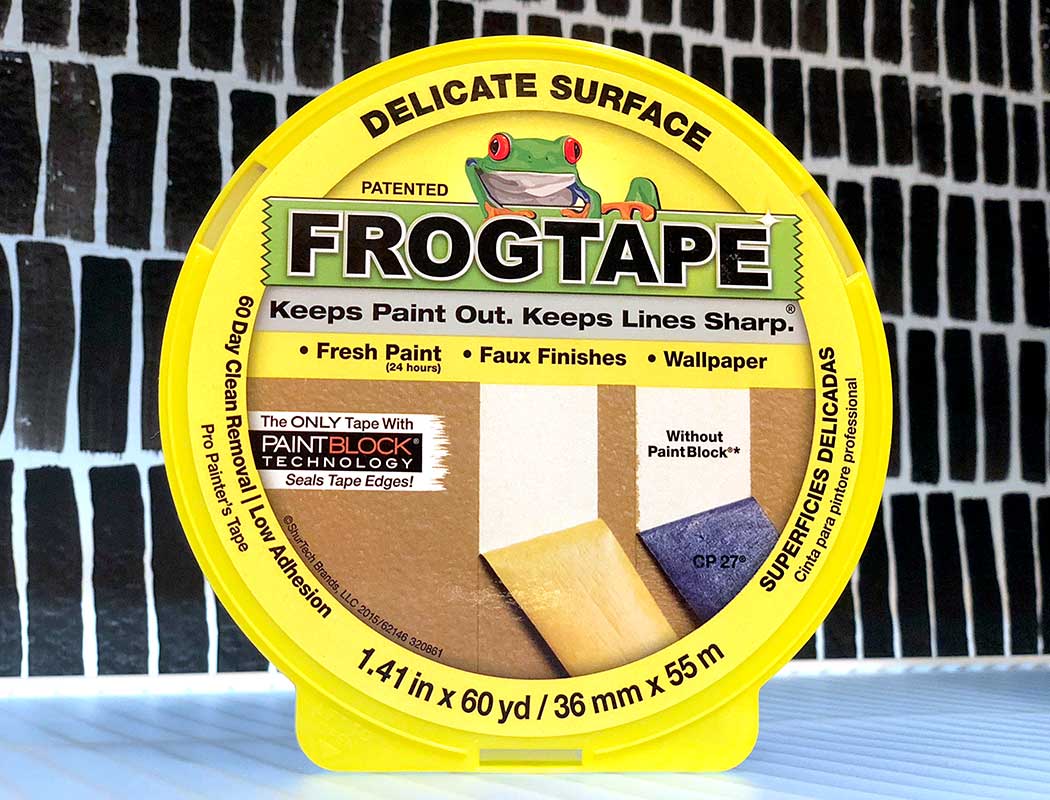
Frog Tape Delicate Surface Painting Tape available here
This is my favorite tape for taping off anything for painting. It works great, and allows me to get projects done quicker since I don't have to wait as long for the base paint color to cure.
Elfa Components from The Container Store
The lone shelf installed by the builder was just not providing enough storage for this small room. I used about $760 ($532-ish before tax during one of their fabulous 30% off sales) in Elfa components for this space, placing it on all four walls. I designed the layout and we did all of the installation ourselves.
* as an Amazon Associate we earn from qualifying purchases
My Process
The plan was to make the back wall an accent wall and leave the others white for simplicity. (Spoiler alert, I did a similar pattern on all the walls of my master closet shortly after this laundry room that I’ll be sharing soon.)
We cleared the room out, painted it white, and resealed the grout while the room was empty. Then moved the washer and dryer back since clean clothes are kind of a requirement. We placed the top Elfa tracks up close to the ceiling, and taped off the back wall. Hindsight being 2020, I should have painted the first row before hanging the top track. But since I knew there were going to be many things stored in here and shelves blocking the view of the top row, I didn’t take the time to fix.
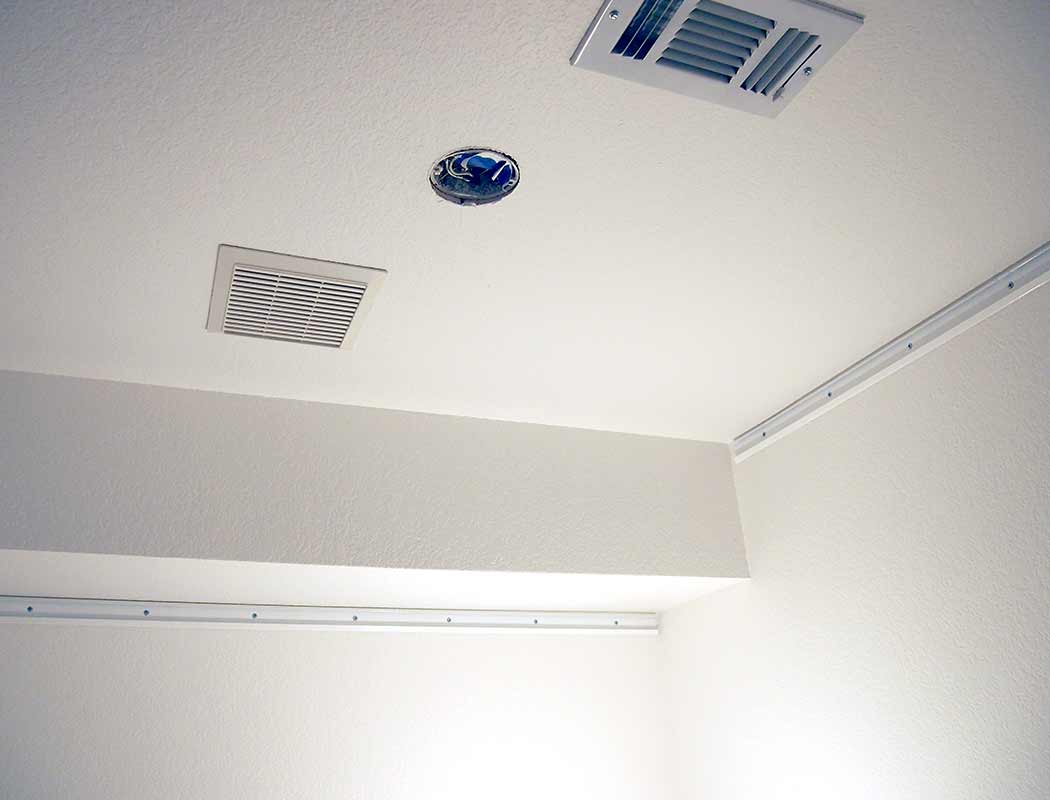
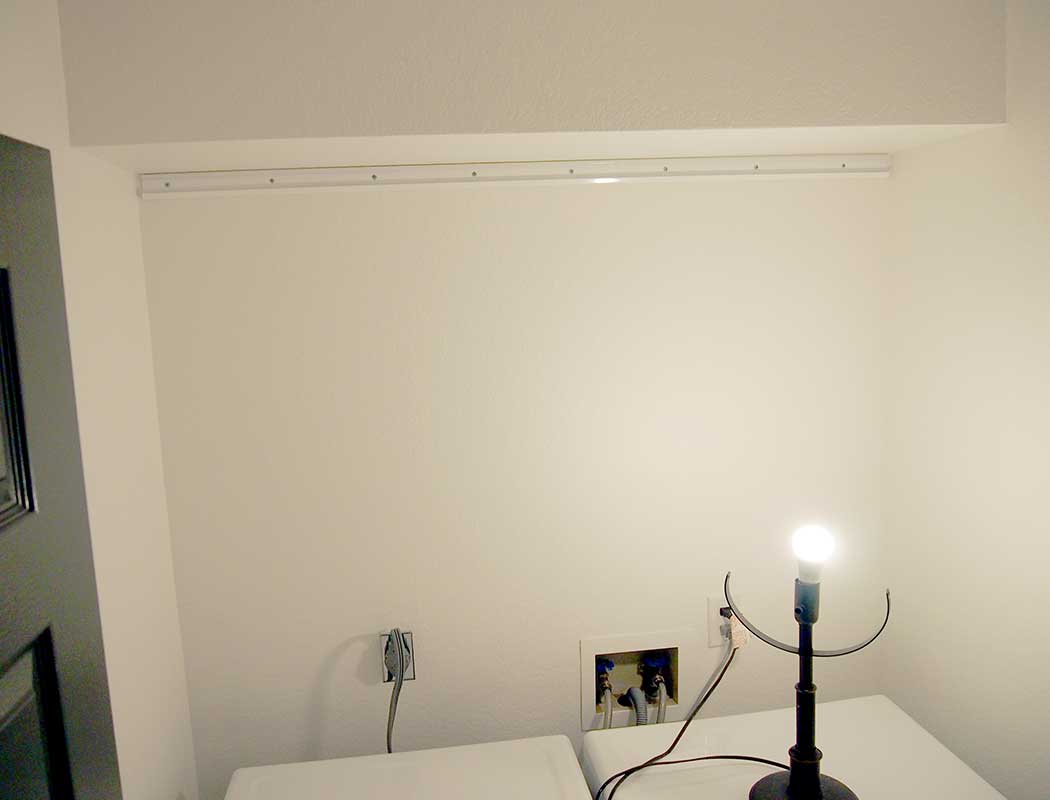
Yes, I did the painting by the light of that table lamp. I ordered the lighting after starting painting, and it arrived shortly after finishing up. I’m going to just name that lamp Illy (short for Illume), as she has illuminated every DIY project we’ve accomplished, and is in so many pictures it seems rude not to. Hi, Illy!
Between sitting on the washer & dryer and having very little light, I was afraid my freehanded lines would meander into odd curves territory, so I bought a laser level. The one I bought had a built in magnet that would attach to a nail on the wall. Since we had just painted the room and patched the holes, that wasn’t an option I was willing to consider so I got creative.
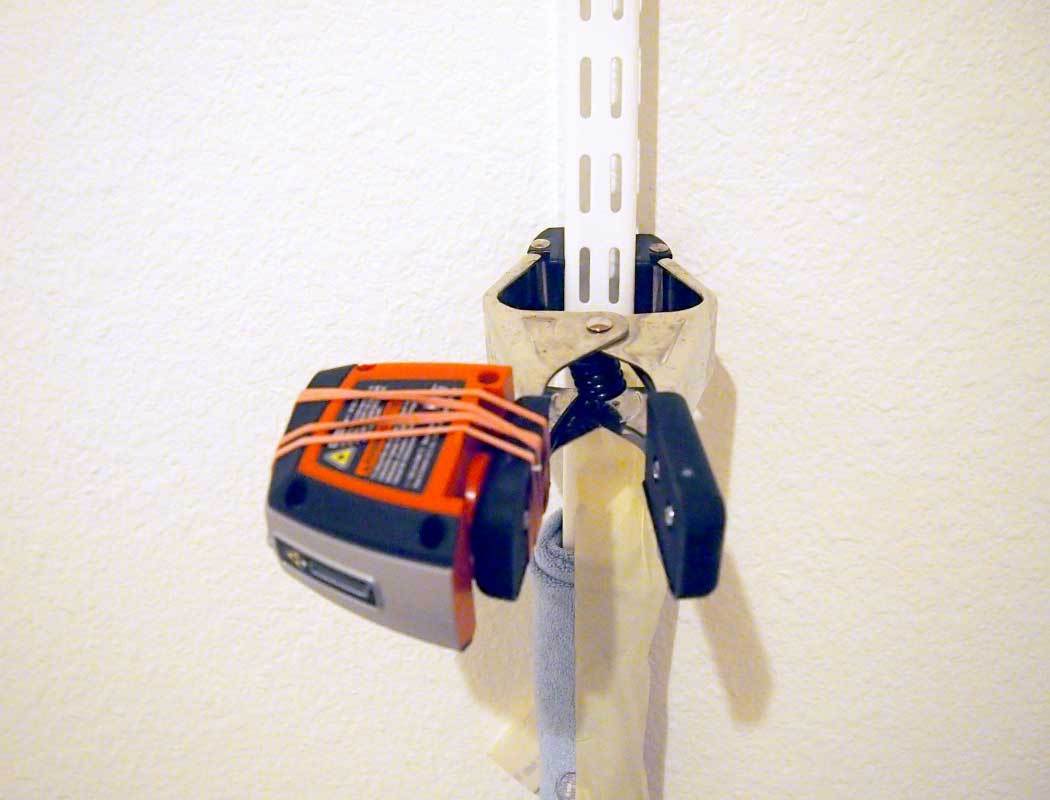
Using what I had on hand, I hung a hang standard (the vertical Elfa pieces) on a side wall, and with a hand clamp and rubberbands I attached my level. To protect the recently painted wall, I wrapped the hang standard in a soft cloth and attached it with masking tape. It isn't pretty, but it was easy to move around, and worked great!
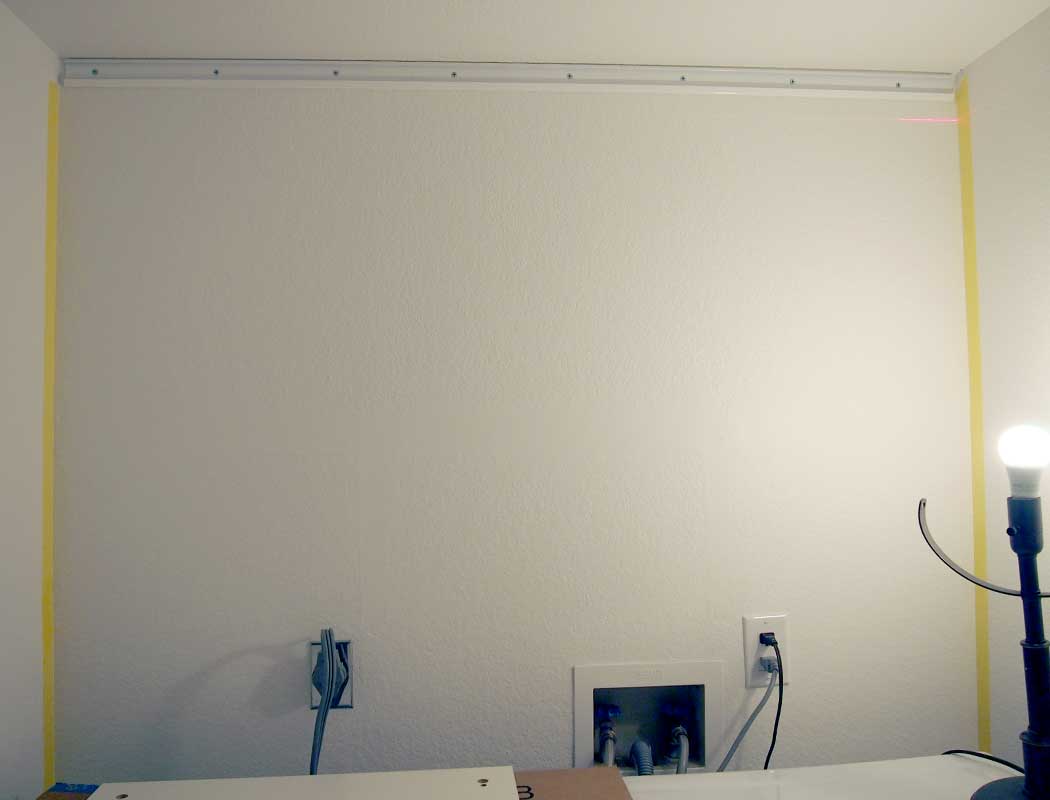
Even with Illy on, you can see the visible laser line I used to roughly mark the bottom of my first line. I took this picture and then did my first five rows, repositioning the laser for each one. The laser line was more of a guide on where to stop as this pattern has a graphic yet organic quality to it.

I loaded my 1/2" wide paint brush so that it was pretty saturated with paint and reloaded it pretty often. The texture is more visible through some of the marks, adding yet another variation to the pattern.
Looking back, it certainly seems that I changed my mind about how close together to put the lines, and got into a groove after the first row. I tried to vary my row width, which is more apparent when viewing the whole wall. This was very much a fun experiment, and I found it pretty relaxing to paint the tick marks, or lines, or whatever they are.
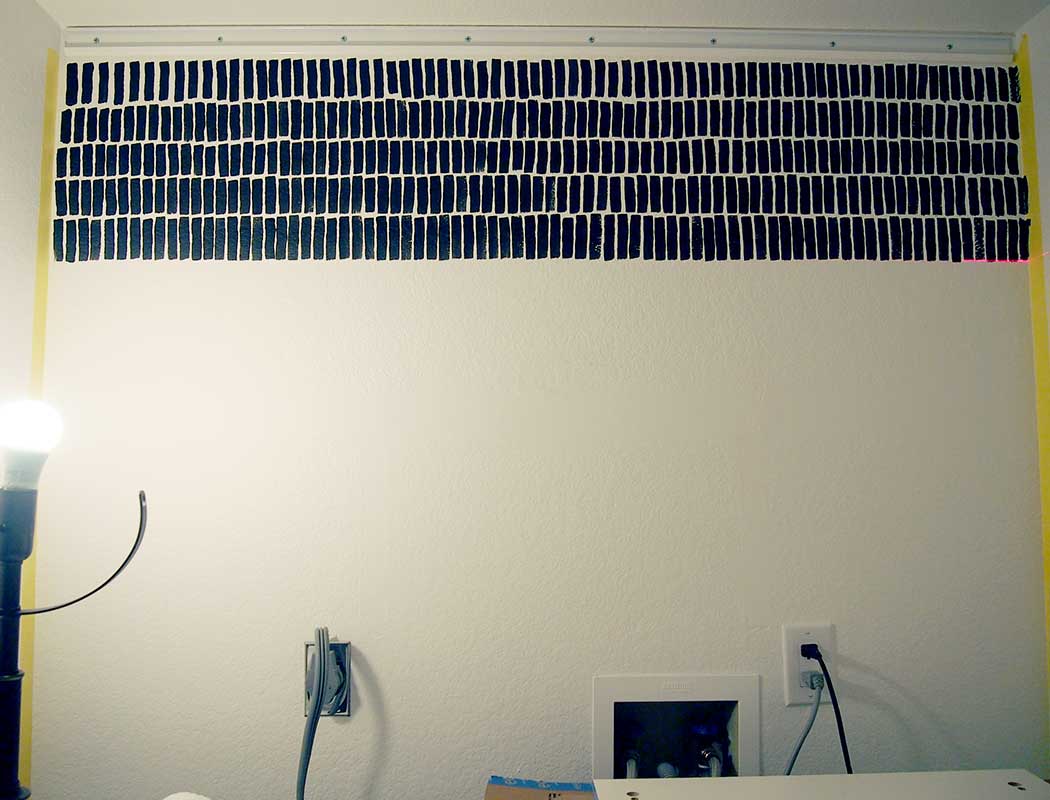
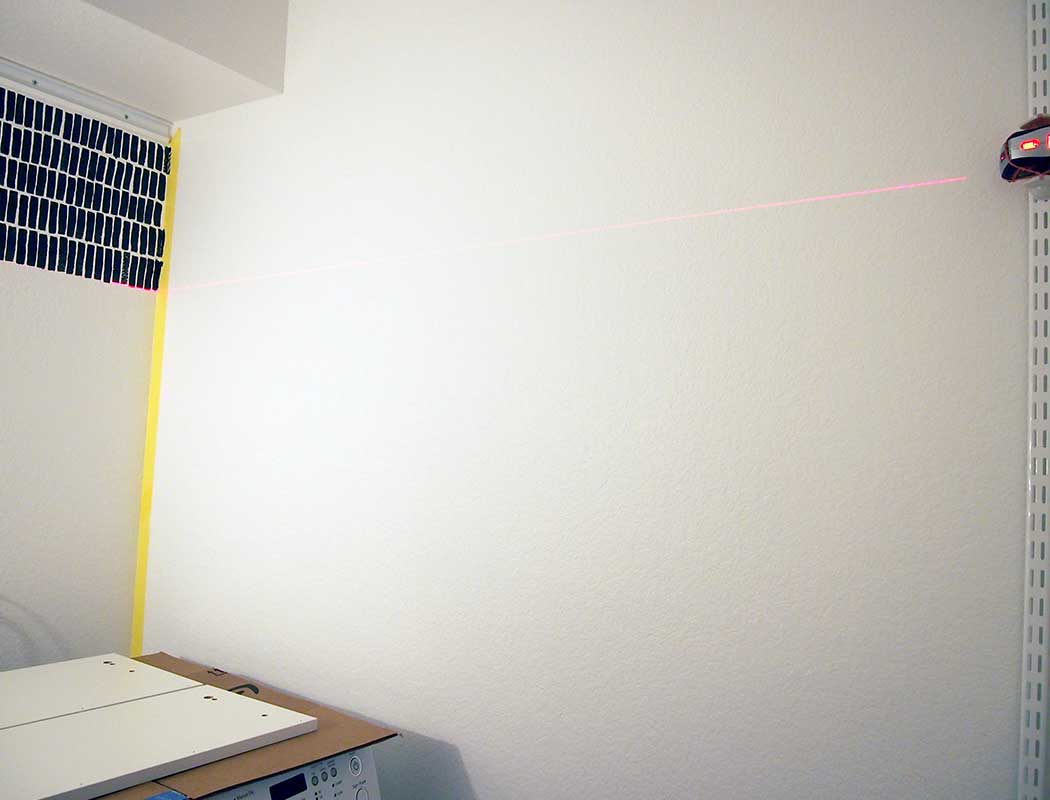
I found it easier to take breaks when I’d finished a whole row, as I would definitely get into a rhythm and also I wanted to avoid a visible change in the pattern.
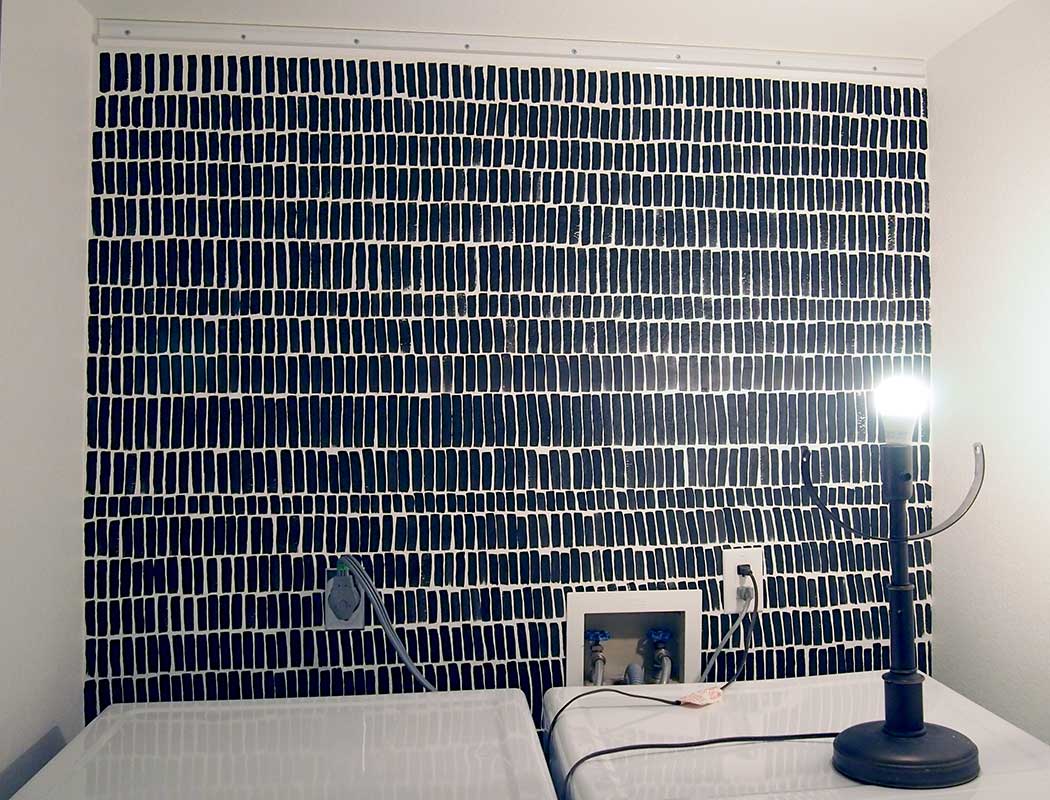
I didn't do any touchup to the black paint, and embraced any imperfections. This is a very forgiving pattern. If you attempt it, don't worry too much about any one line or row, when you step back to see the big picture, and start to put things back into the room, all the individual stripes and rows won't get the scrutiny that they do when you are up close.
Now that the lines are dry, it’s time for the fun part! Elfa installation! There is something incredibly satisfying to me about going from
this...
to this!
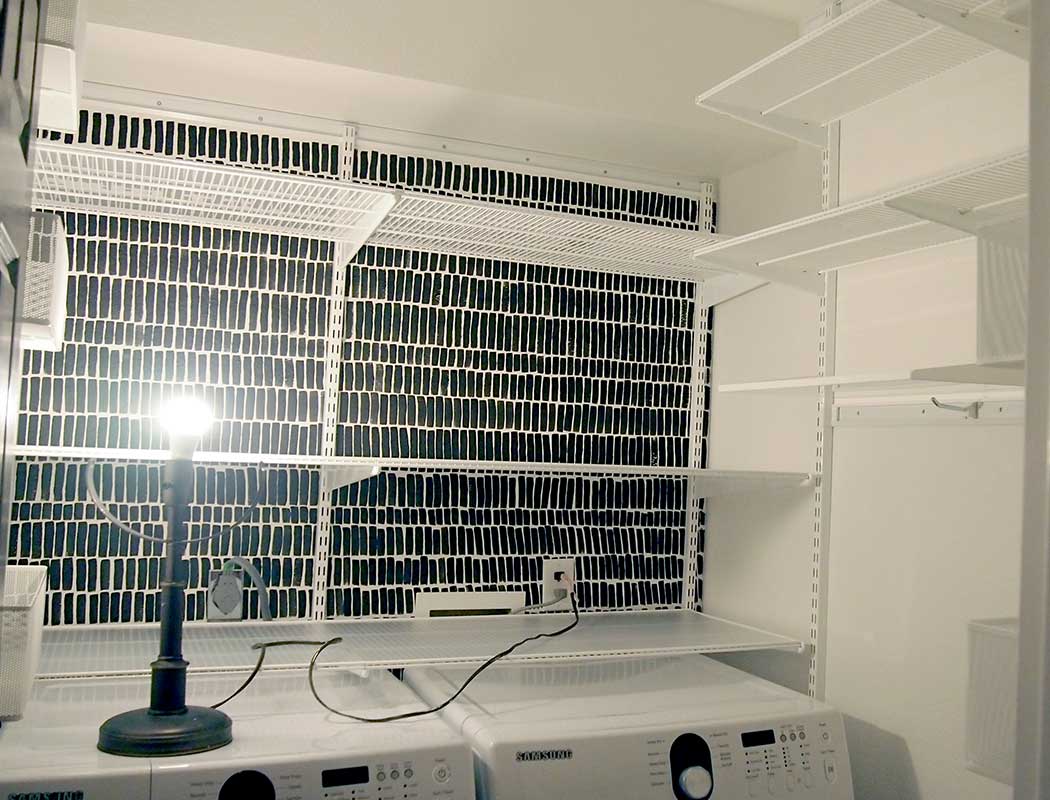
I really enjoyed designing the Elfa layout for this room. I played around with Elfa’s Design Center, plugging in my dimensions to get an overall idea of the size shelves I should aim for. But I thought it was lacking in letting me fully customize all of the amazing components that I wanted to incorporate. It provided a rough outline, and I filled in the details.
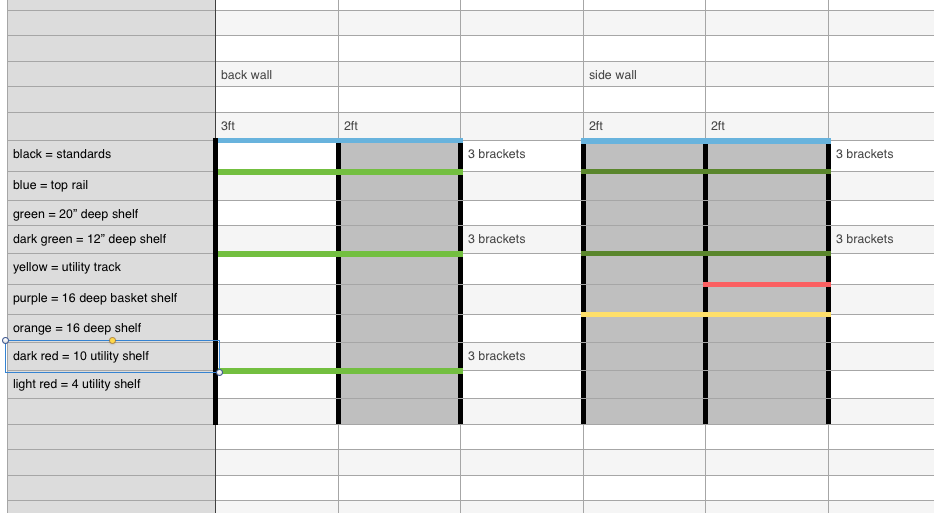
To finalize my design, I played around in Numbers on my Mac. I came up with a color coded system to indicate various components, and then roughly sketched out how they all fit together. You could sketch it out with graph paper, and there are probably other ways to work out your design, this is just what worked for me. Also, I believe The Container Store can provide design assistance.
For our Elfa installations, we used their top tracks. All of our rooms have had a stud all the way around near the ceiling which makes the tracks easy to position and attach, but you’ll want to check your walls before you commit to a top track. They do offer a method for Wall Mounted Standards if the top tracks won’t work for you, more details about installation in the videos at the bottom of their page.
After the rails were up, I found it fun to play with the various pieces, and it was easy to modify my design as needed. In my mockup, I had placed the 3foot shelves on the left. When I saw that the hang standard would be directly over the water hookups, I simply switched the shelves, placing the 3 foot shelves on the right. Who doesn’t love a flexible shelving solution?
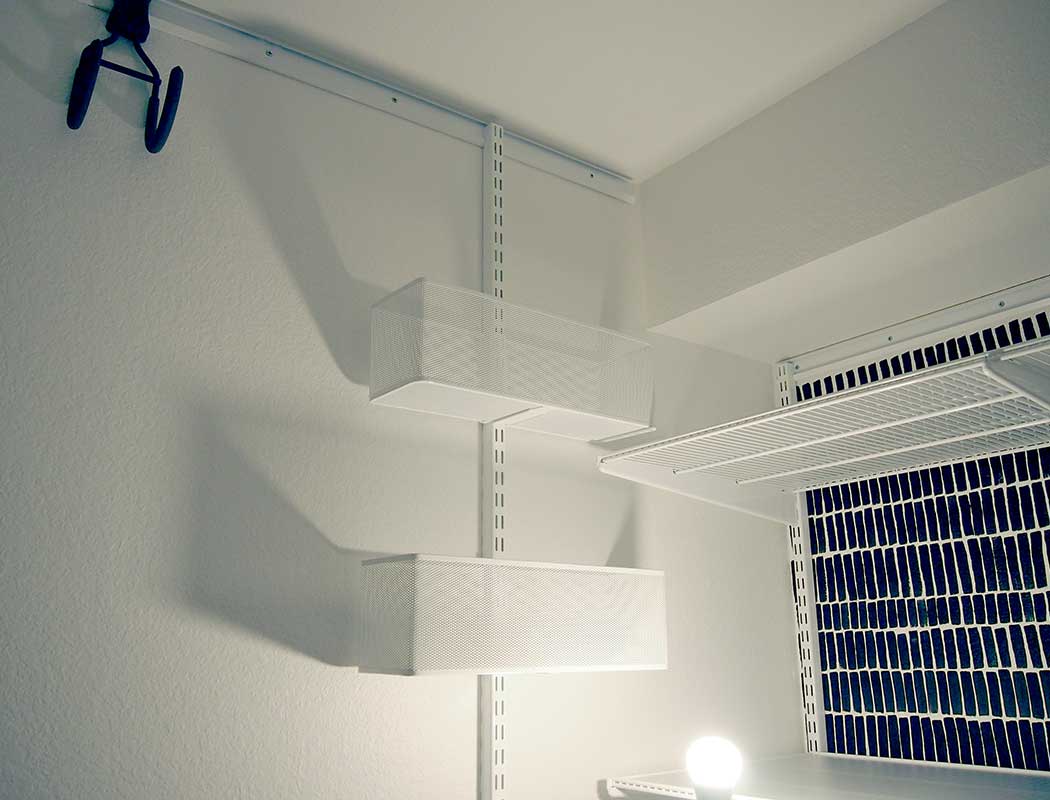
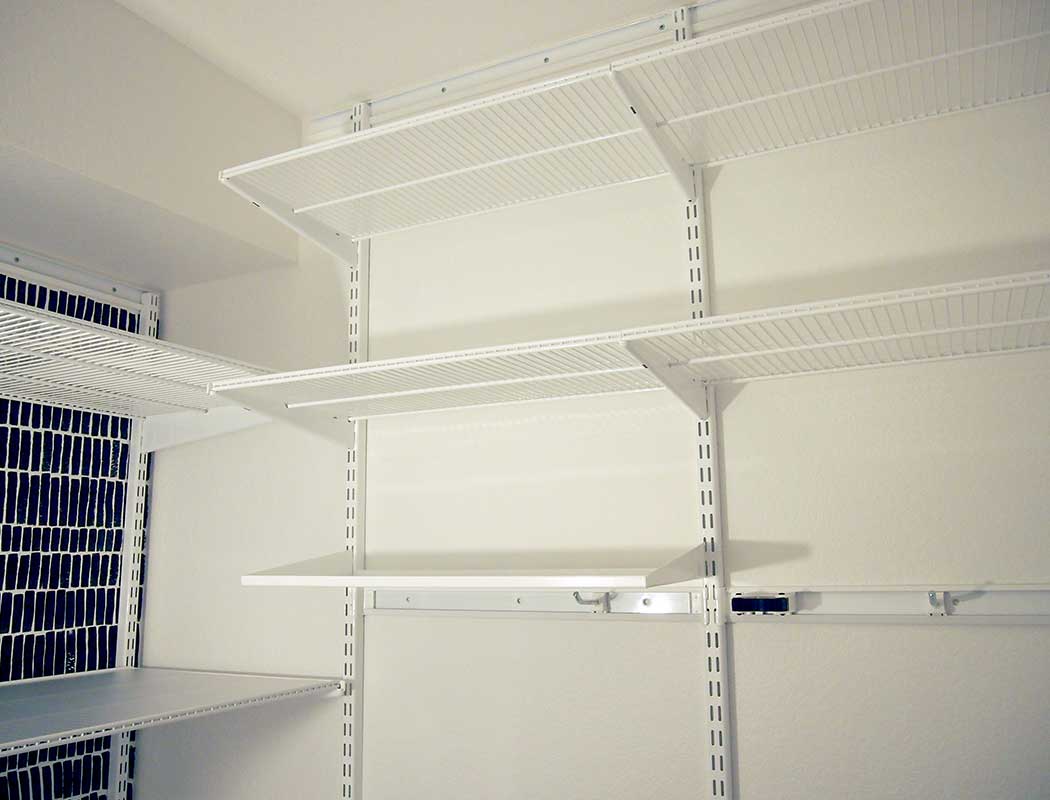
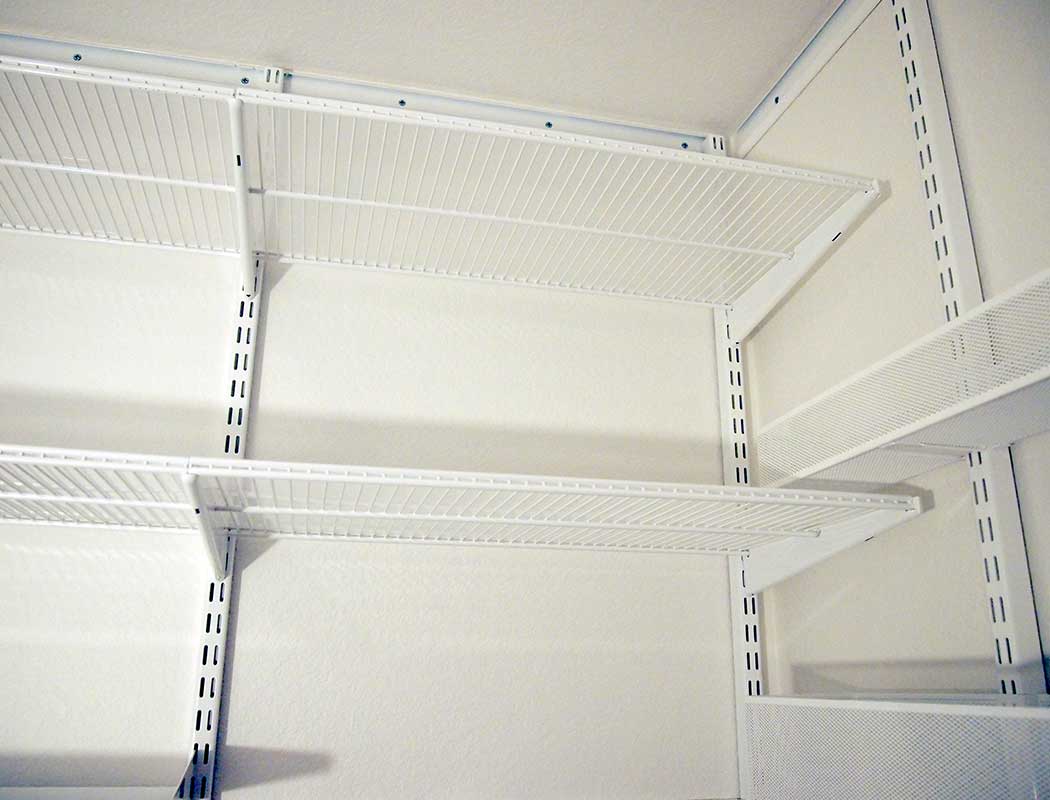
Store All The Things!!!
While it may appear cluttered, there is a door to this laundry room that stays closed most of the time. Knowing where things are, and where to put them when we’re done with them has really improved the organization of our home. (It has also cut down on the “honey, have you seen the _____” conversations. Cut down, not eliminated; storage isn’t a miracle worker.)
In case you are thinking about using Elfa in your space, I’ve broken down some of the components I used in the space.
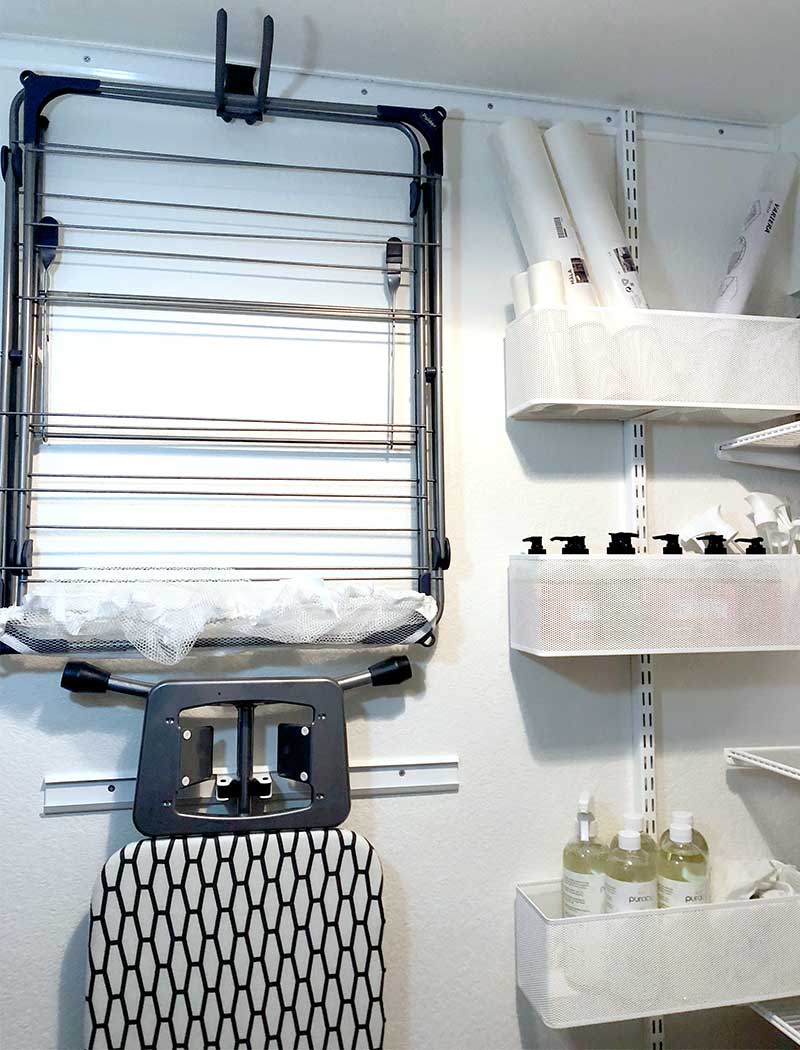
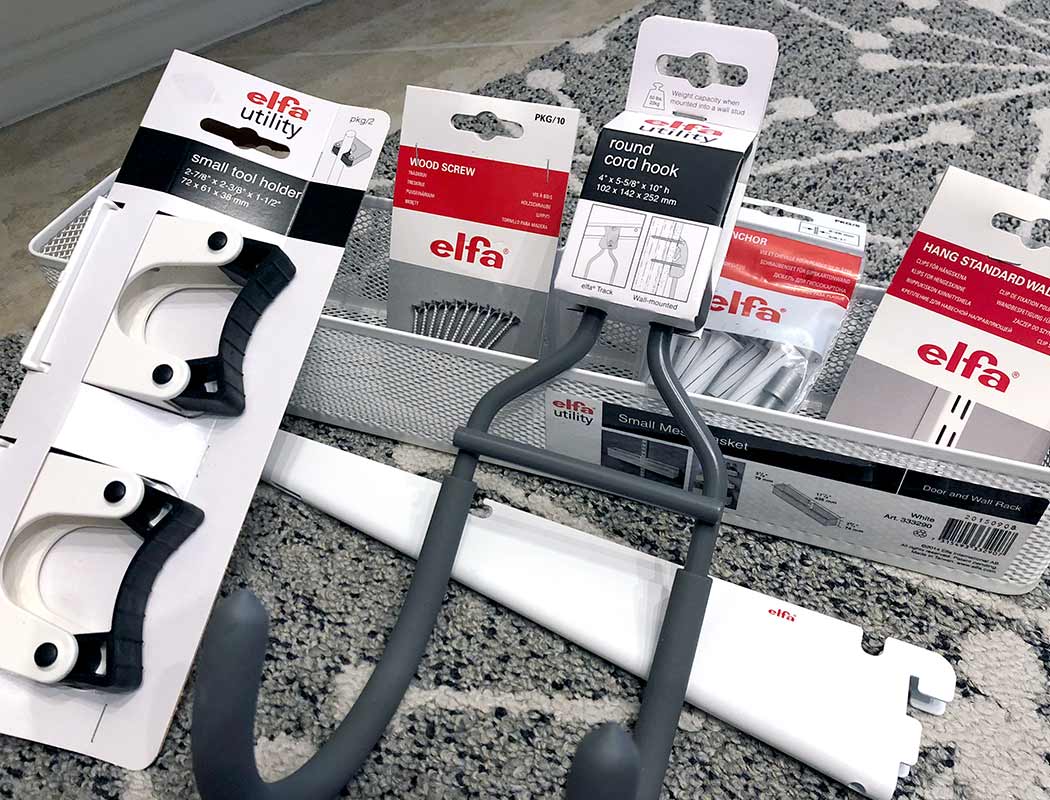
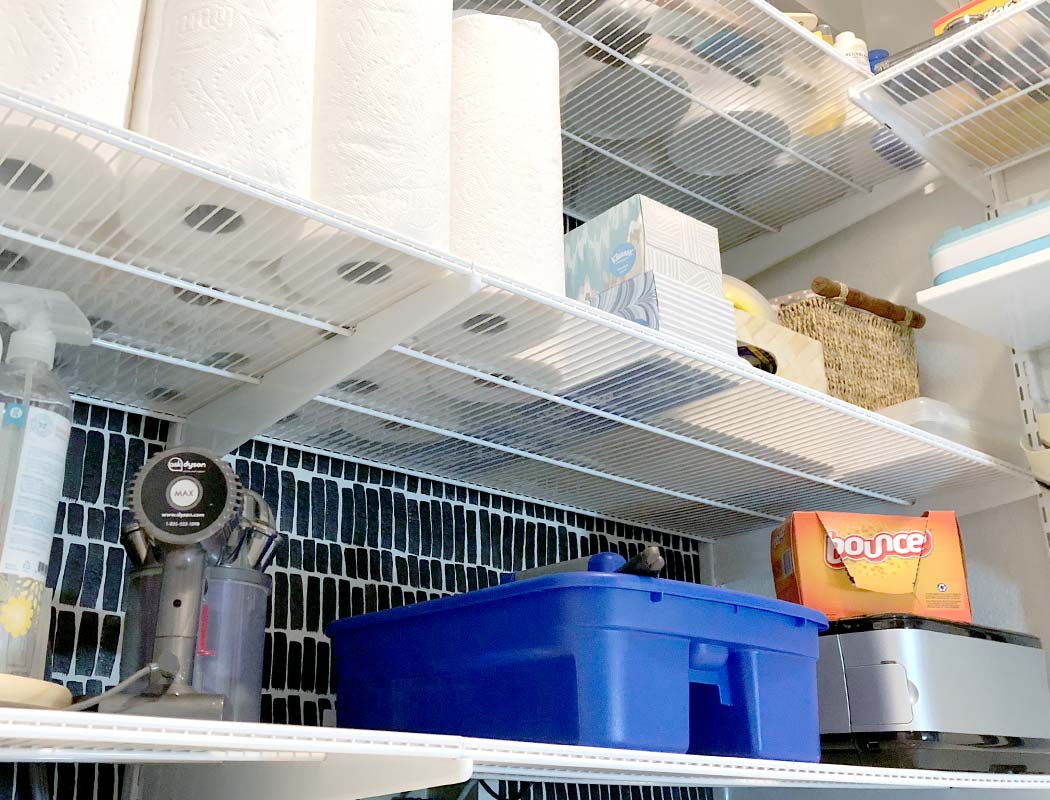
On the left wall I used a Straight Handled Tool Hook to hold a drying rack. I attached an extra utility track with a utility Tool Holder to hold an ironing board. To the right side of the wall, I placed an Easy Hang Standard with some Large Mesh baskets to hold various other supplies.
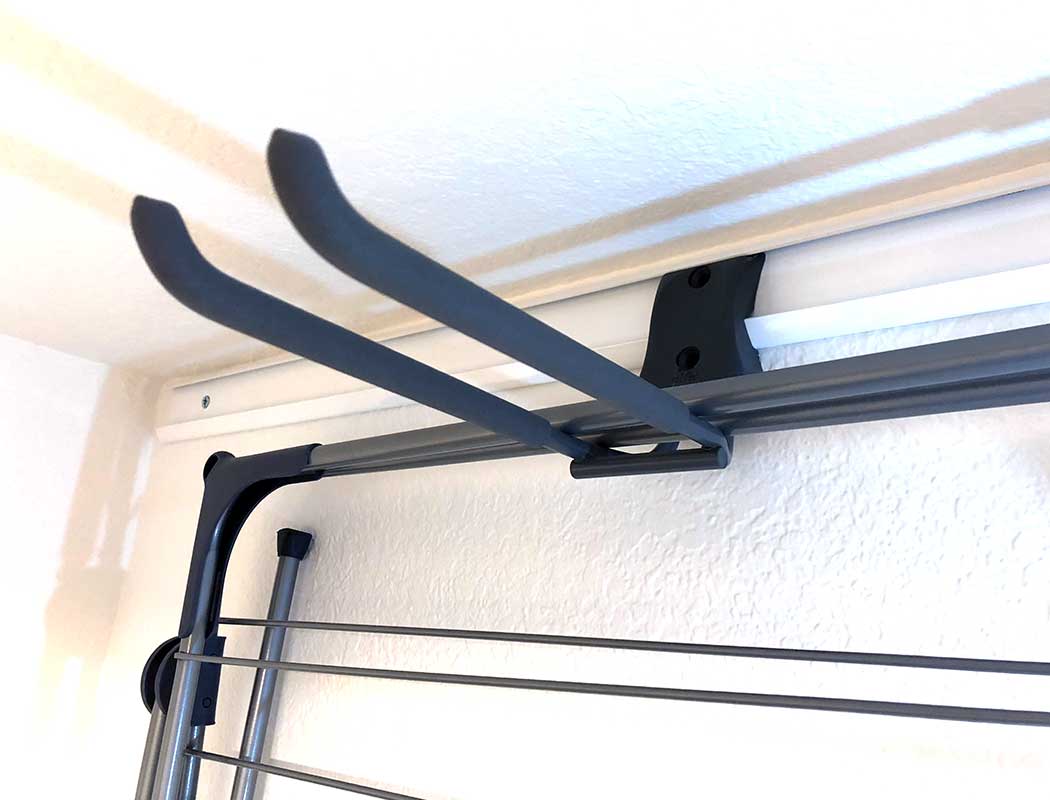
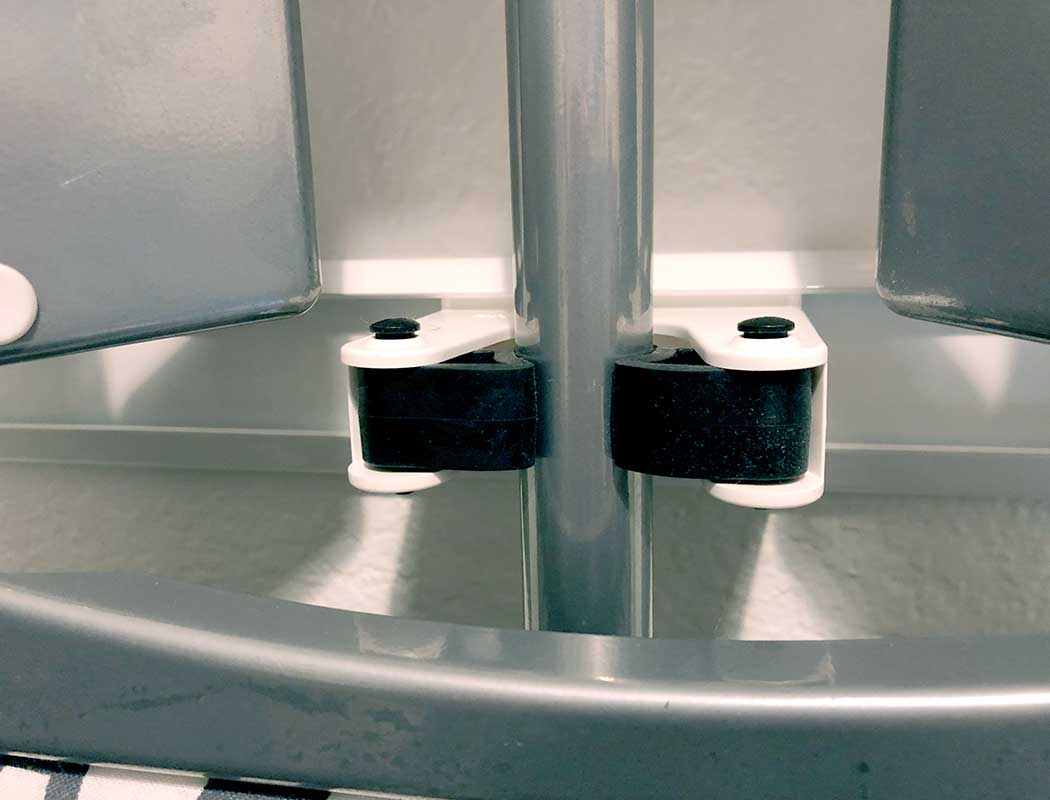
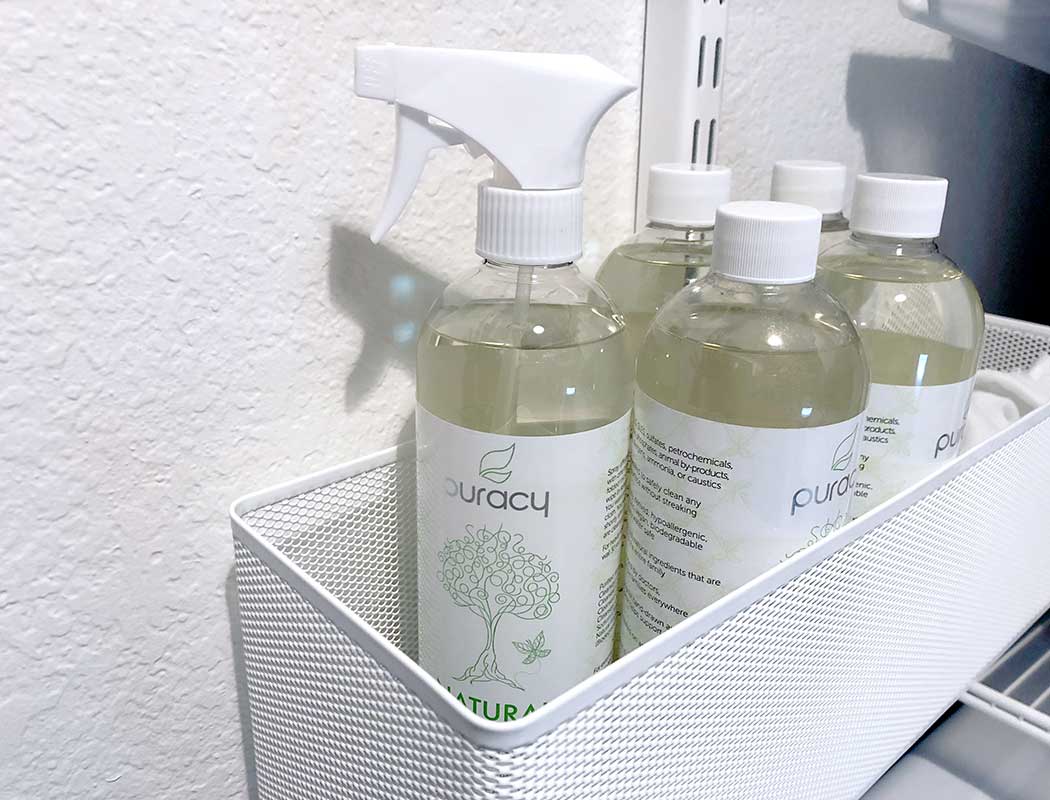
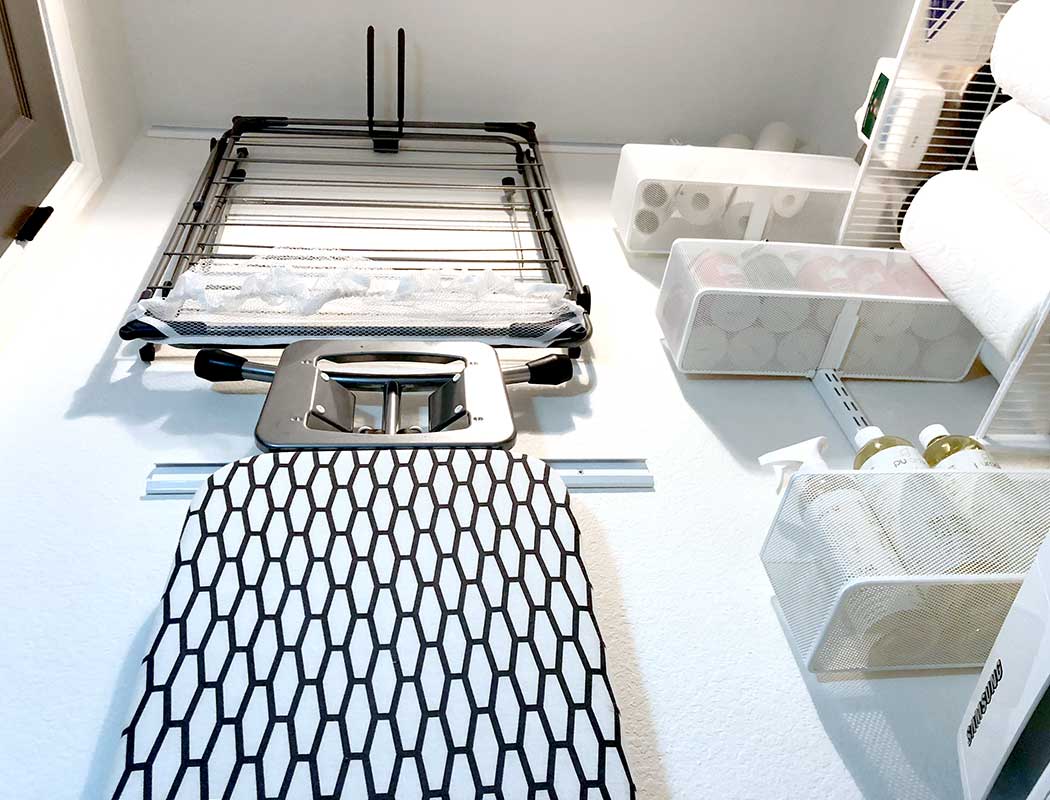
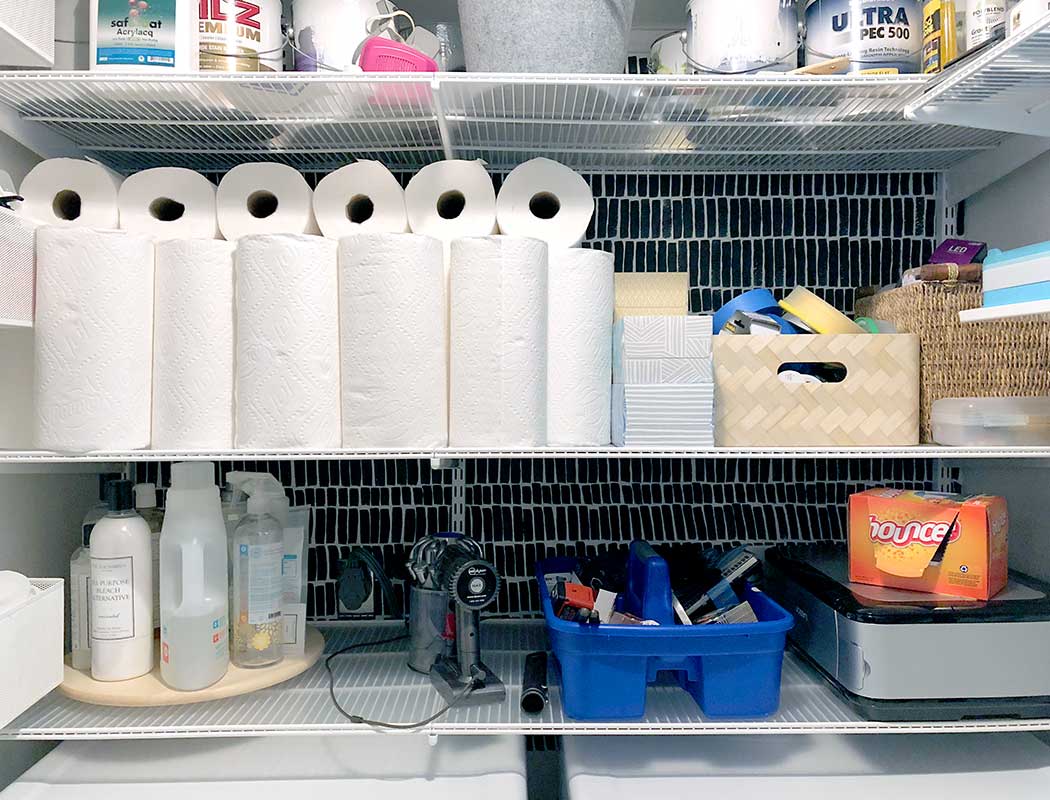
On the main back wall, I used three rows of 20" shelving. The shelves are deep enough to cover a good chunk of the washer and dryer, as well as house a Lazy Susan for the laundry supplies and even a printer. With easy access to a wall outlet, we store our Dyson hand held here, which we named Toto. (We have a Wizard of Oz naming theme with our vacuums, the upright is Dorothy, and our robot vacuum is Em.)
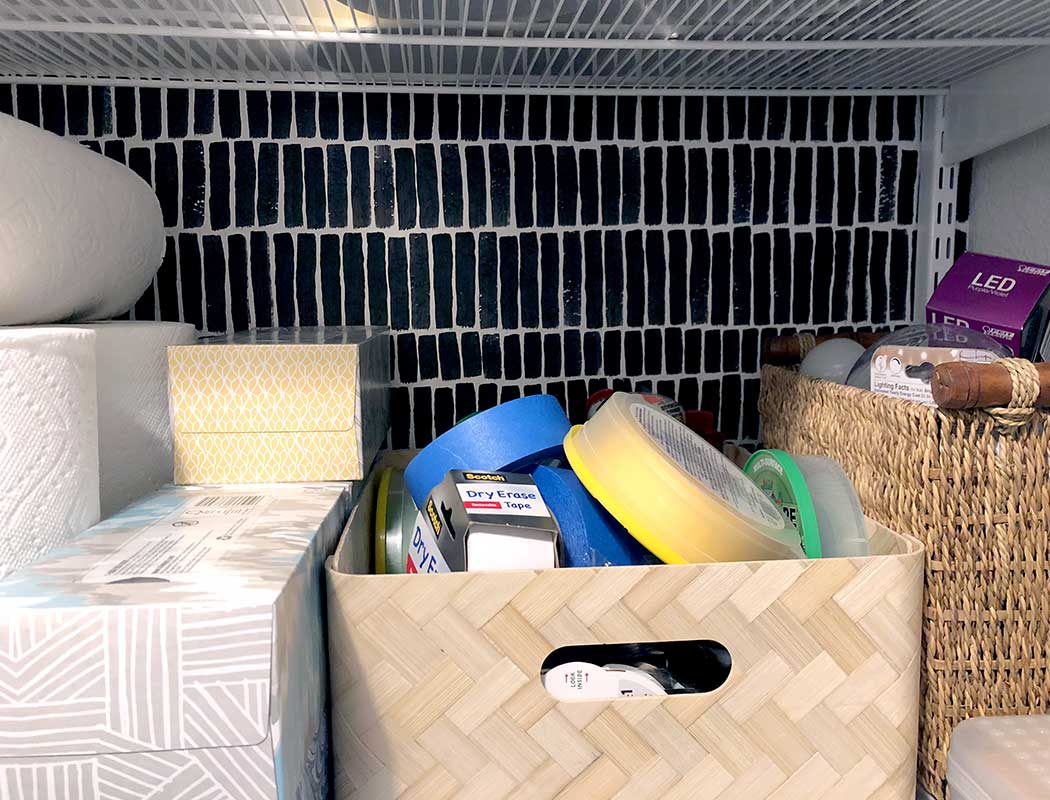
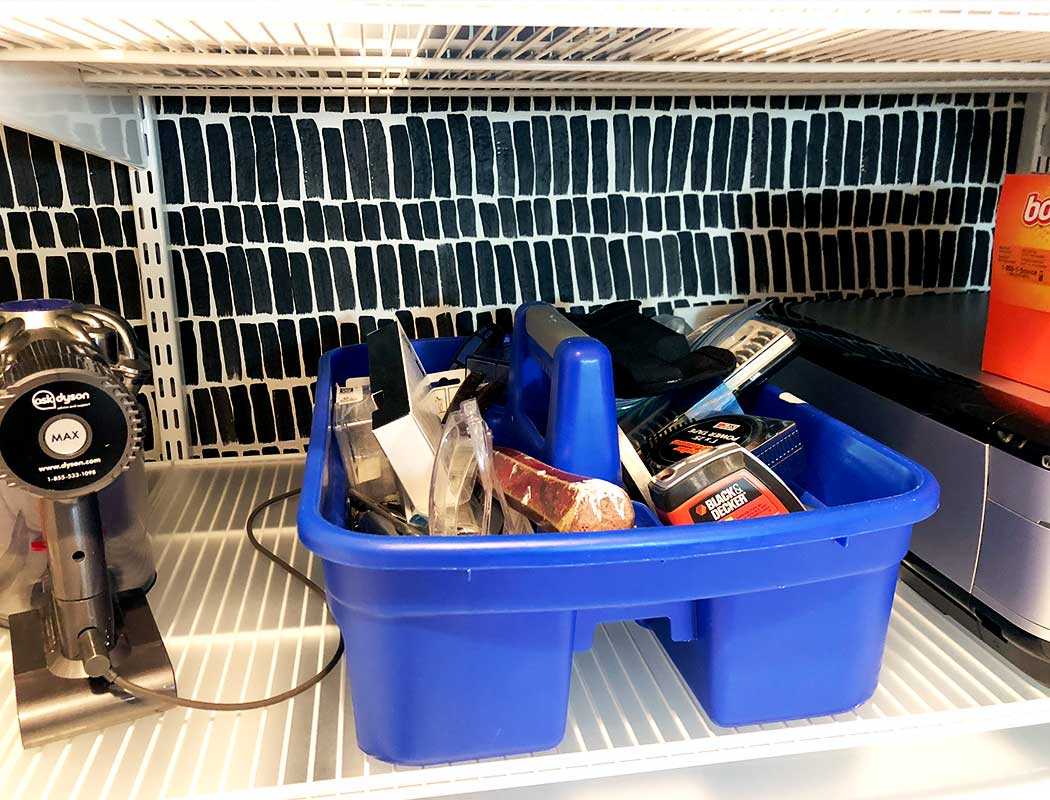
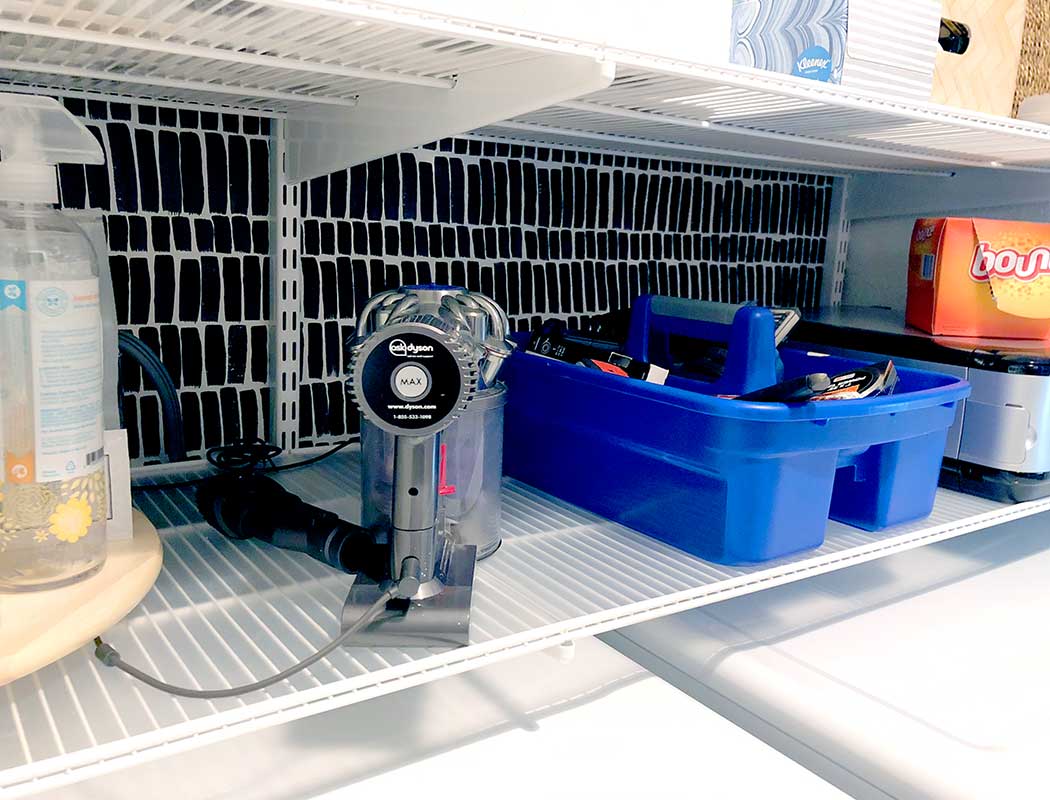
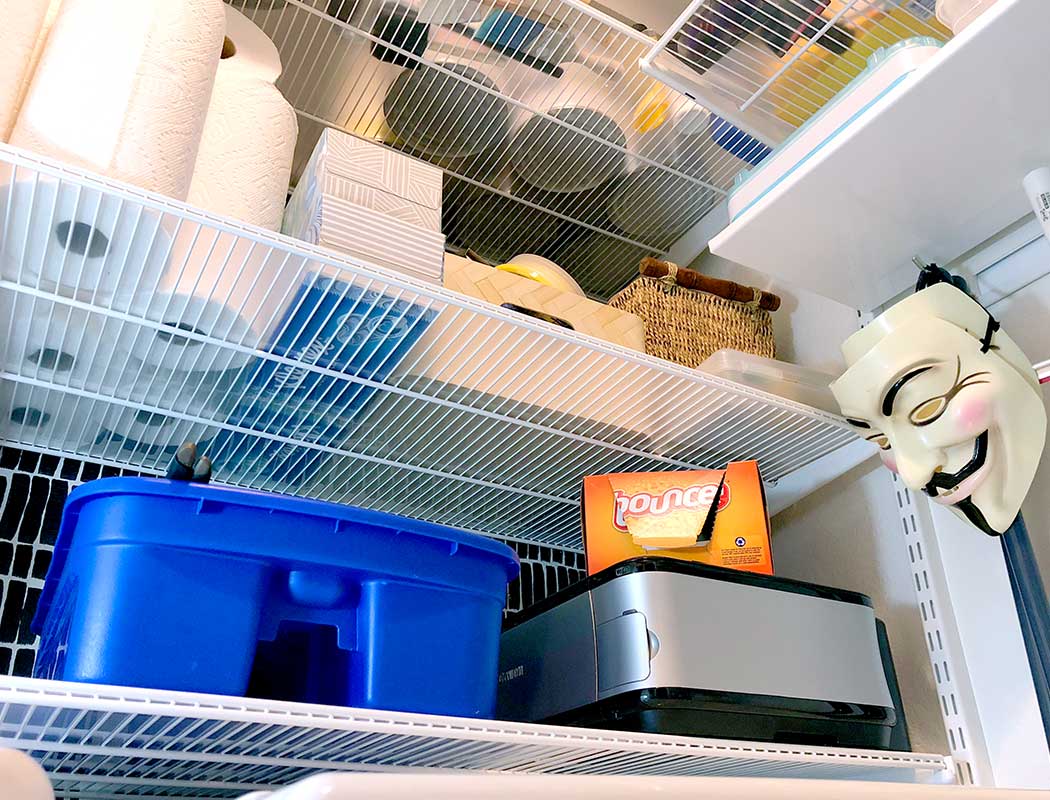
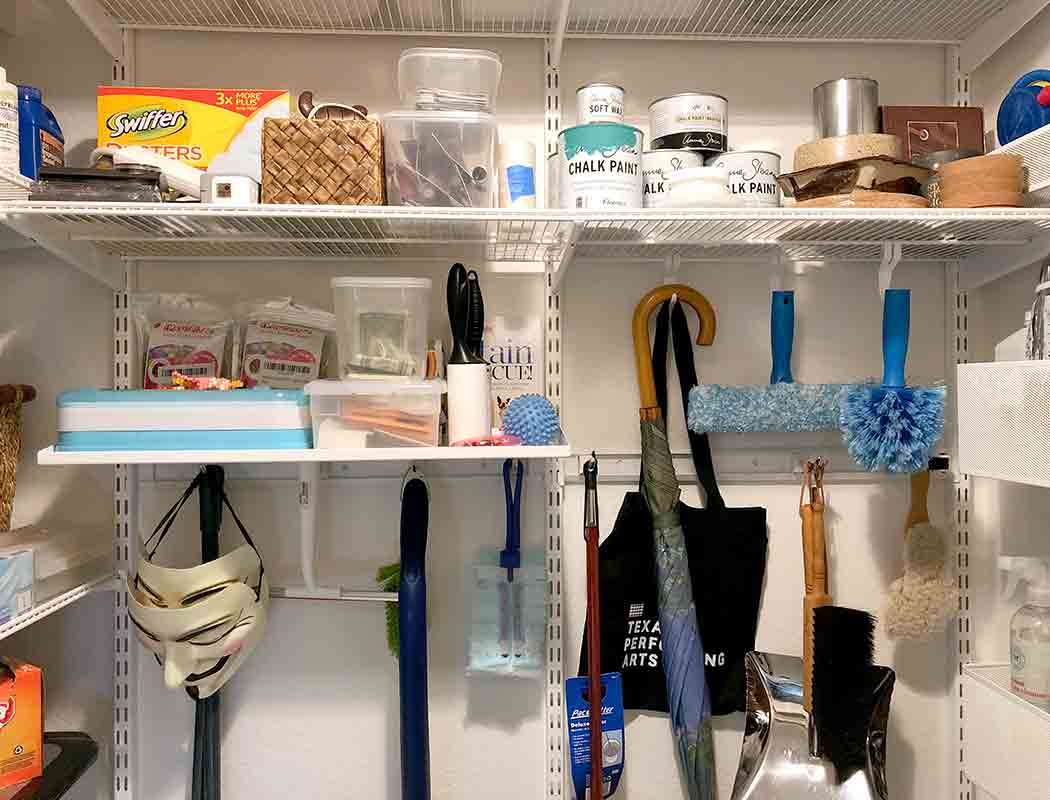
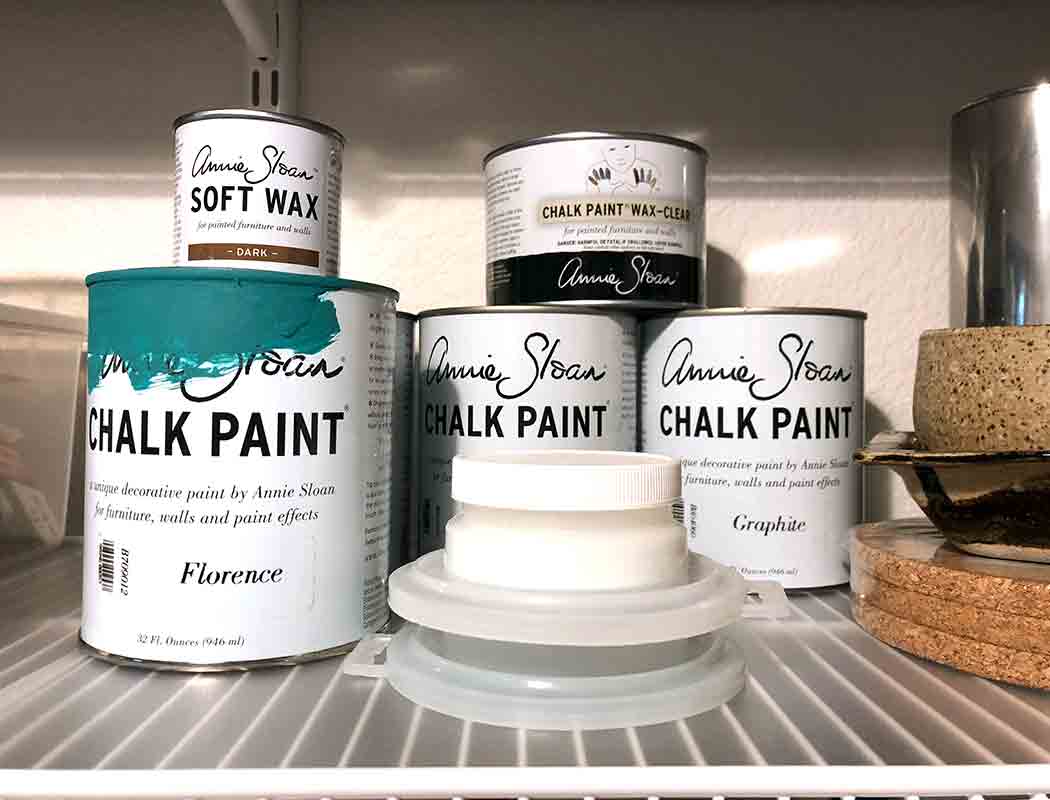
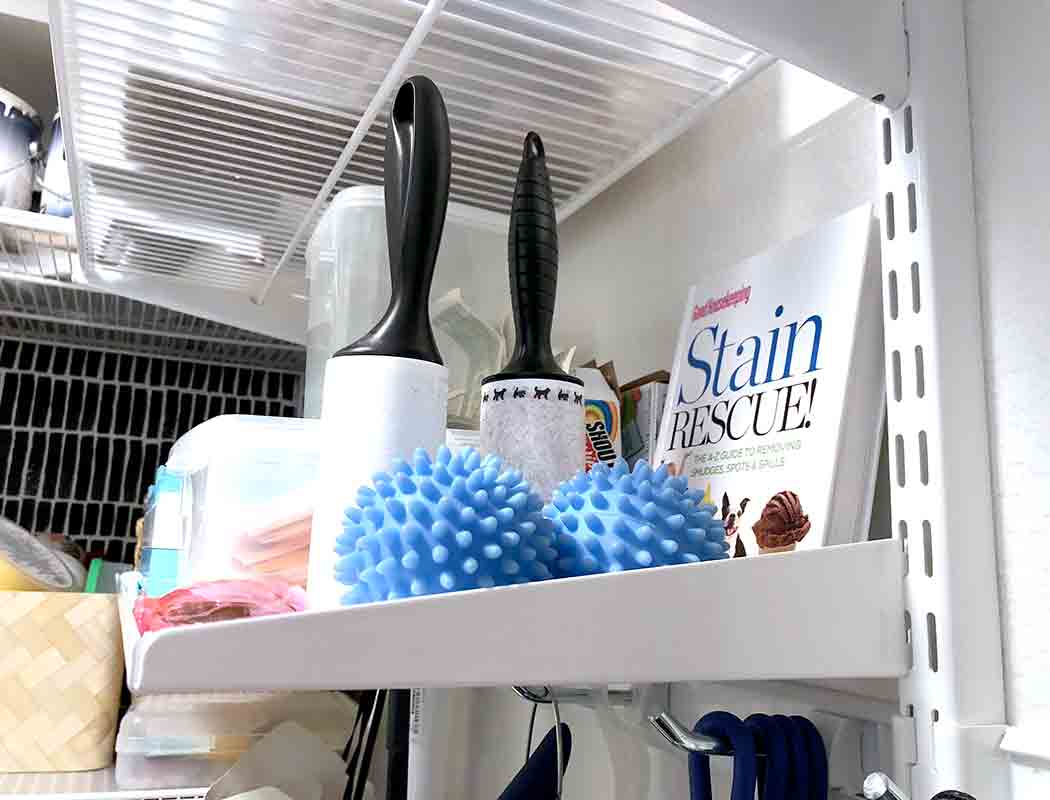
On the right wall, two rows of 12" shelving and one 10" deep utility shelf/tray sit above extra utility tracks. I used several utility Accessory Hooks, a couple utility Tool Holders, and some white Shelf Hooks to hold and hang various tools.
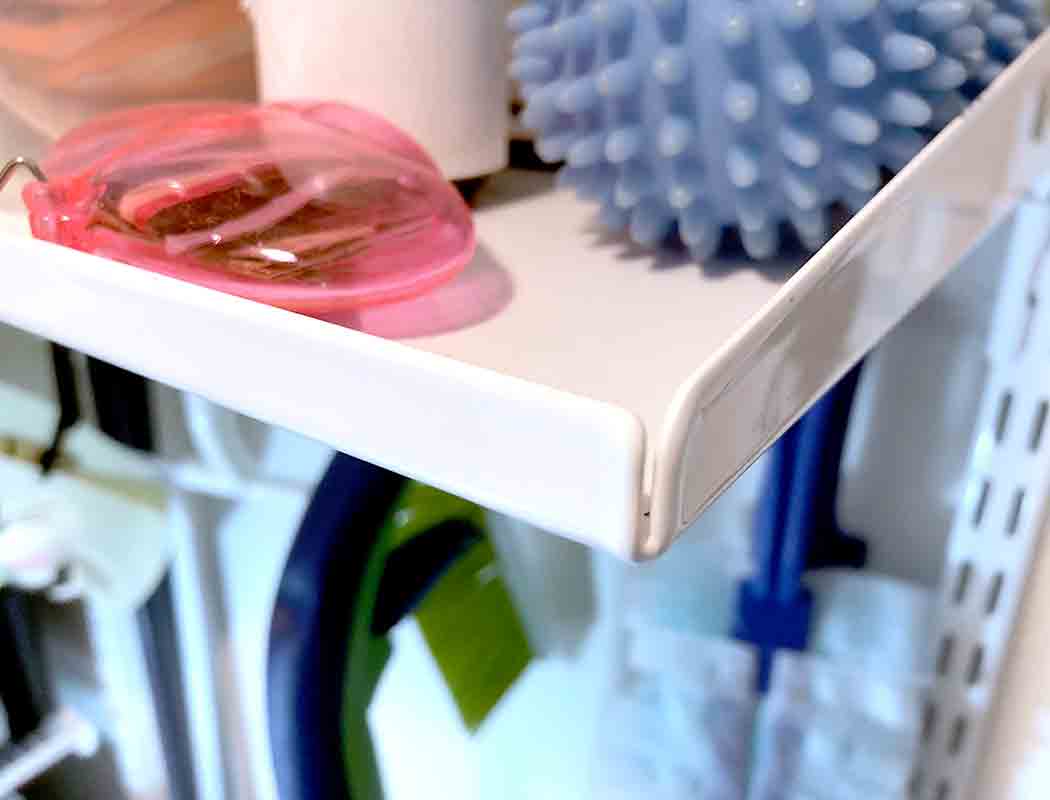
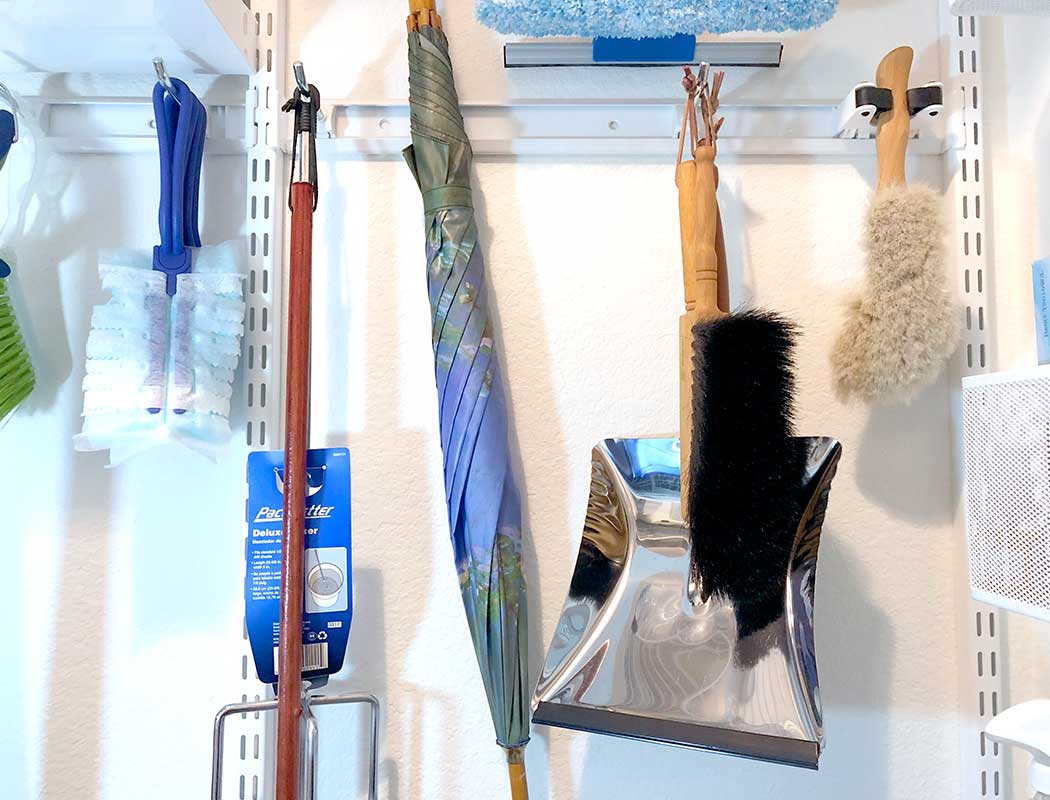
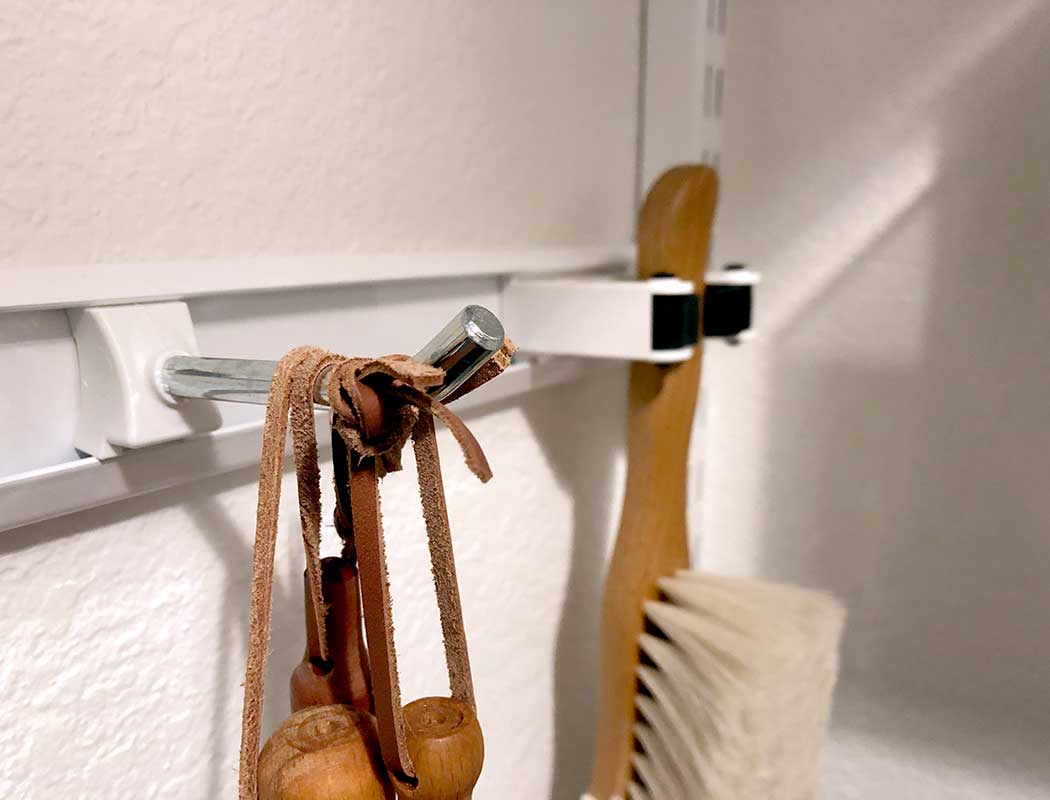
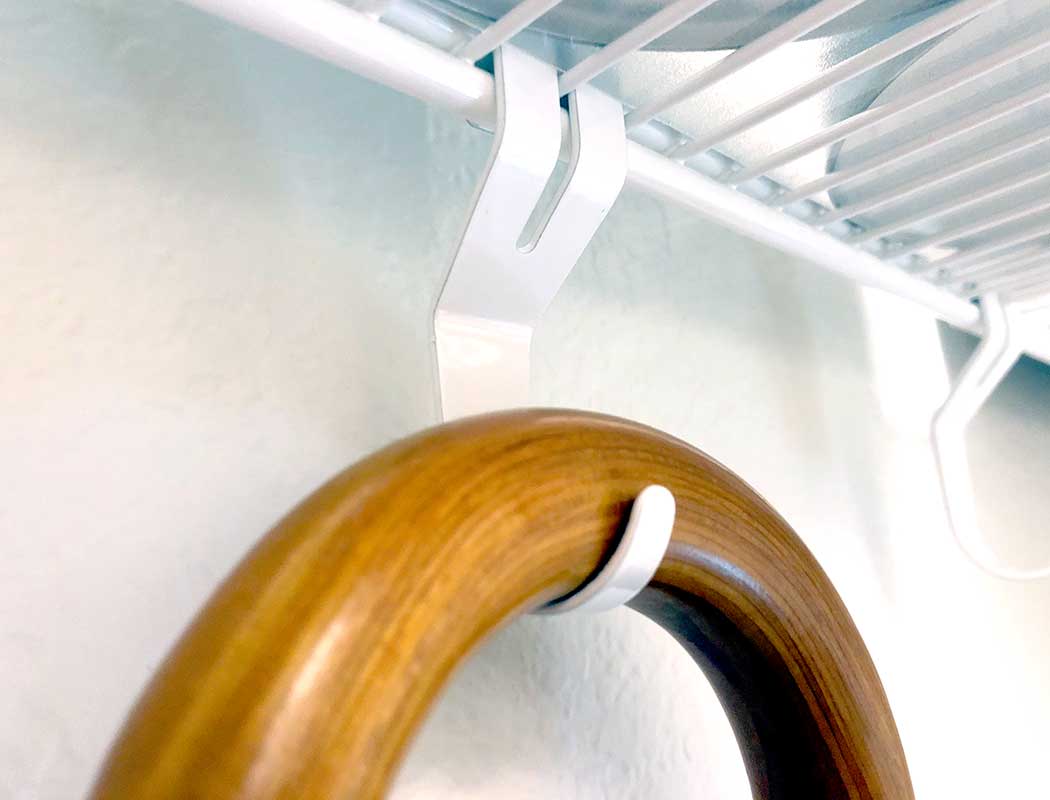
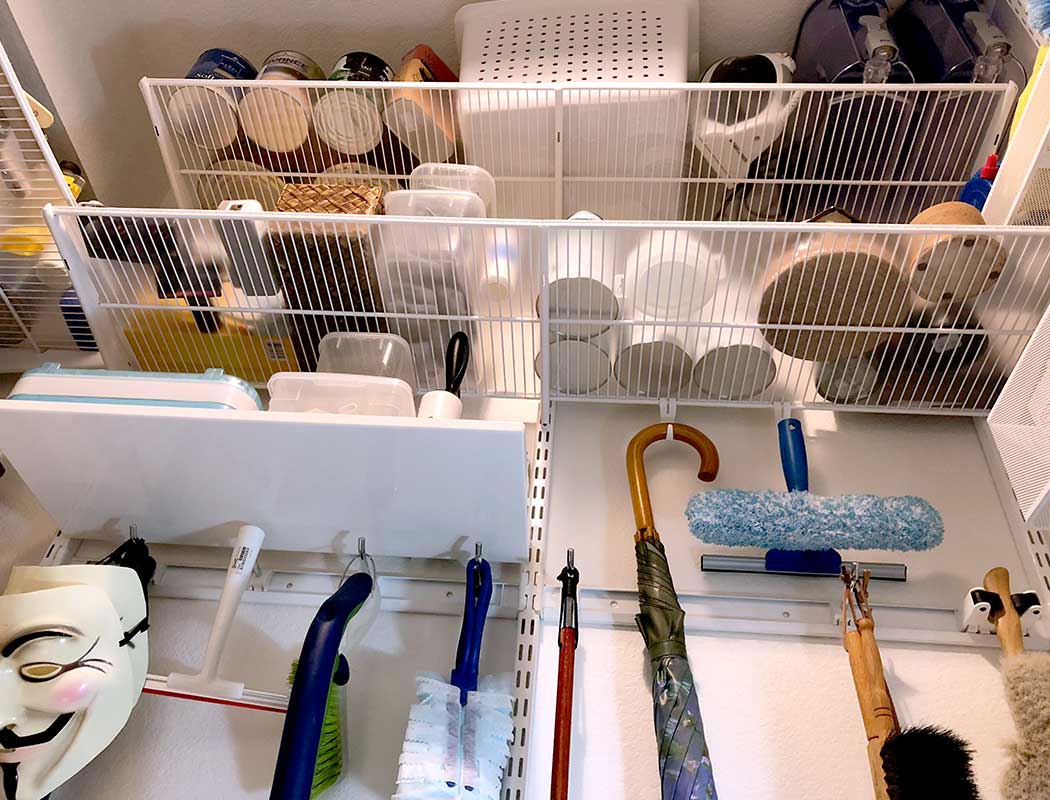
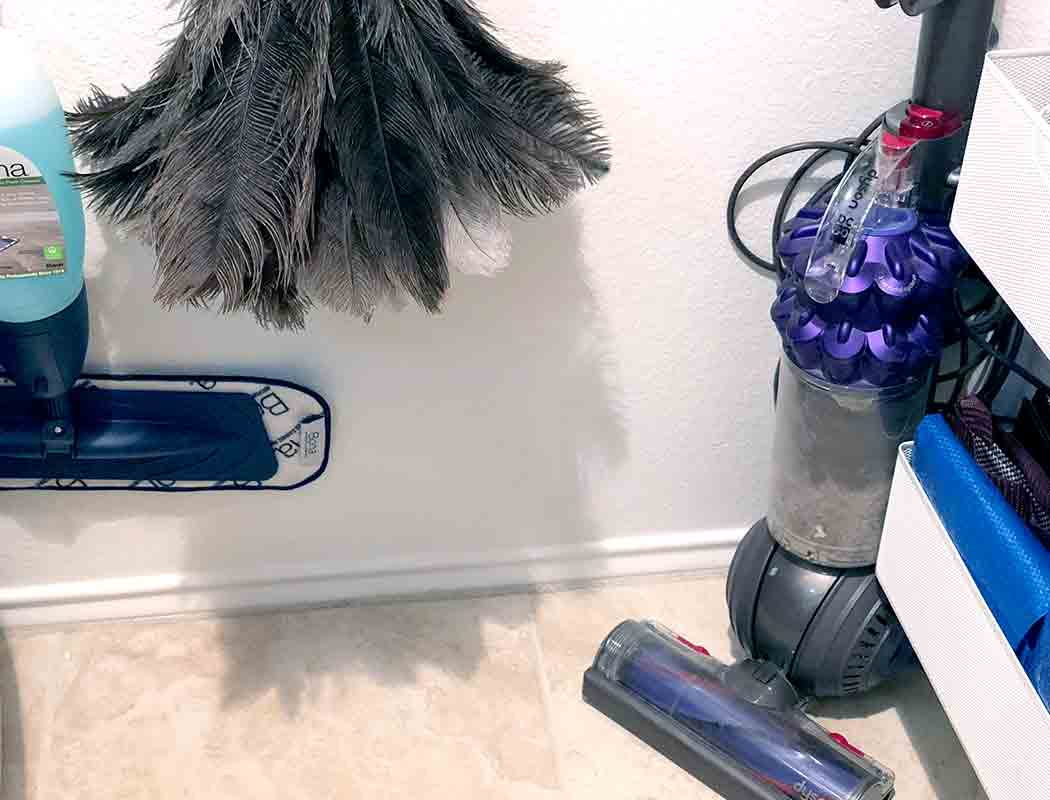
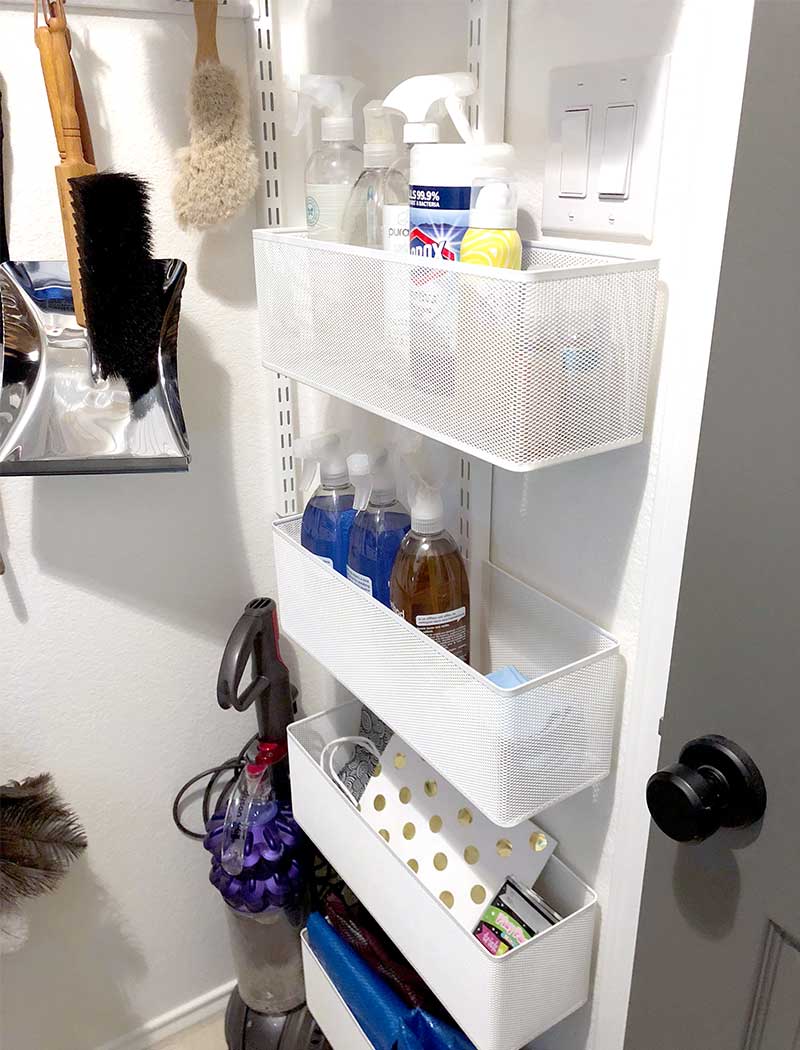
On the door wall I used a single Easy Hang Standard with more Large Mesh baskets to hold bags, frequently used cleaners and other miscellaneous items.
In summary, while I love the paint, Elfa steals the show. This room alone has provided so much amazing storage. I have since added Elfa to the master closet, garage, and even our living room. The parts are mostly interchangeable, and for every room except the living room, I used their cheaper ventilated shelving. It’s awesome knowing that I can change pieces around to accomodate whatever I need to store, it’s future proof! I have plans already drawn up for E’s closet and our loft area. #futuregoals
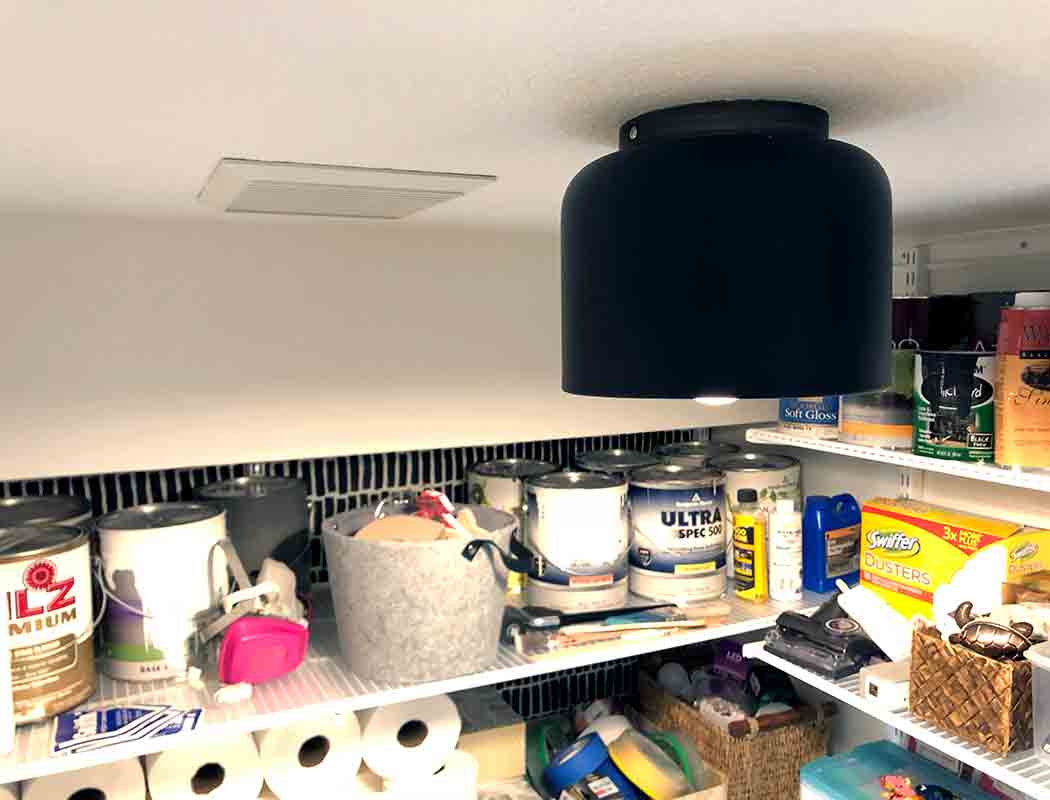
PS. We purchased everything shown full price or through publicly available sales (mostly sales lol), nothing was donated or unusually discounted.
