How to Paint Stripes on a Wall: Achieving A Clean Sharp Line
Long-Term Review, Last Updated: Winter 2022
This has turned out to be one of those projects that still triggers a grin when you look at it long after completion - a little bit of ambient happiness if you will. No cracking or flaking to report, highly recommend fun paint treatments. Also, we finally got around to replacing the builder shelves with Elfa which wasn’t nearly the trouble we expected (holding on to paint leftovers for years after the original project was a win as they were usable without issue for the needed touch-ups after some aggressive stirring).
Paint is one of the cheapest ways to change the look of a room, and my go-to for making my home uniquely, well, me. It’s easy to execute a plan with paint, partly because if the plan fails, it is quickly remedied with a little dry time and some more paint.
I think it’s safe to say that I’m a HUGE fan of stripes. Wide stripes, skinny stripes, multi-colored stripes, and even tone on tone stripes, all of them are safe choices and great wall paint patterns. Stripes are classic and fun.
Getting these simple straight lines on walls may seem daunting. I’ll walk you through the process so you can learn to paint straight lines and enjoy stripes in your own home.
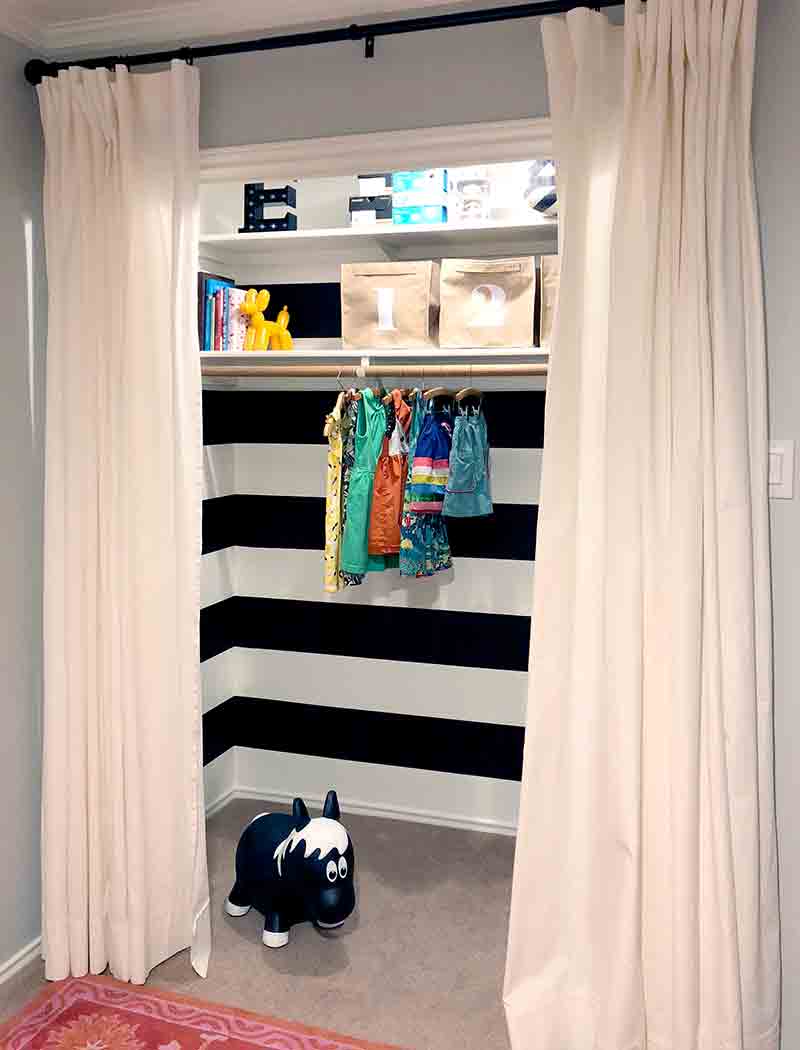
After: A Closet with some Personality
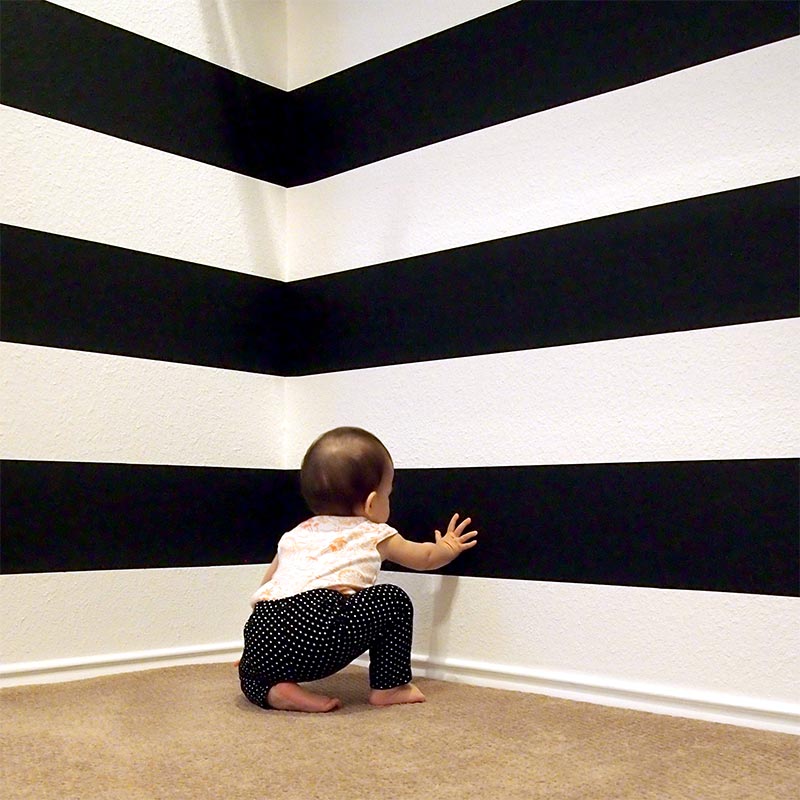
First the reveal. This is what a difference few hours work, some paint, and (lots of) tape can make.
When we were finally getting around to working on little E’s bedroom, I definitely wanted striped walls. I envisioned a black and white striped wall, which was a bit much for the whole room, but perfect to make her closet a lot more interesting and playful.
We opted to remove the sliding doors to this closet, since one of the two was broken, and replace them with a curtain rod and some curtains. I’ll take soft curtains that can be used for making puppet shows over broken doors any day.
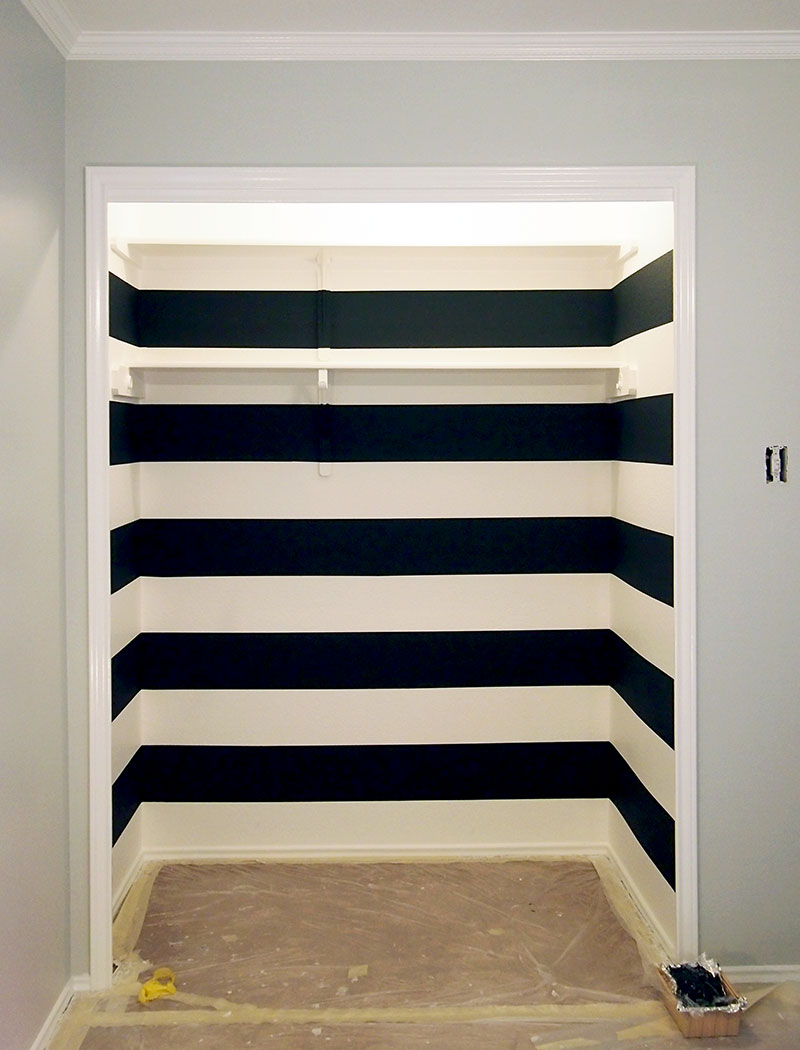
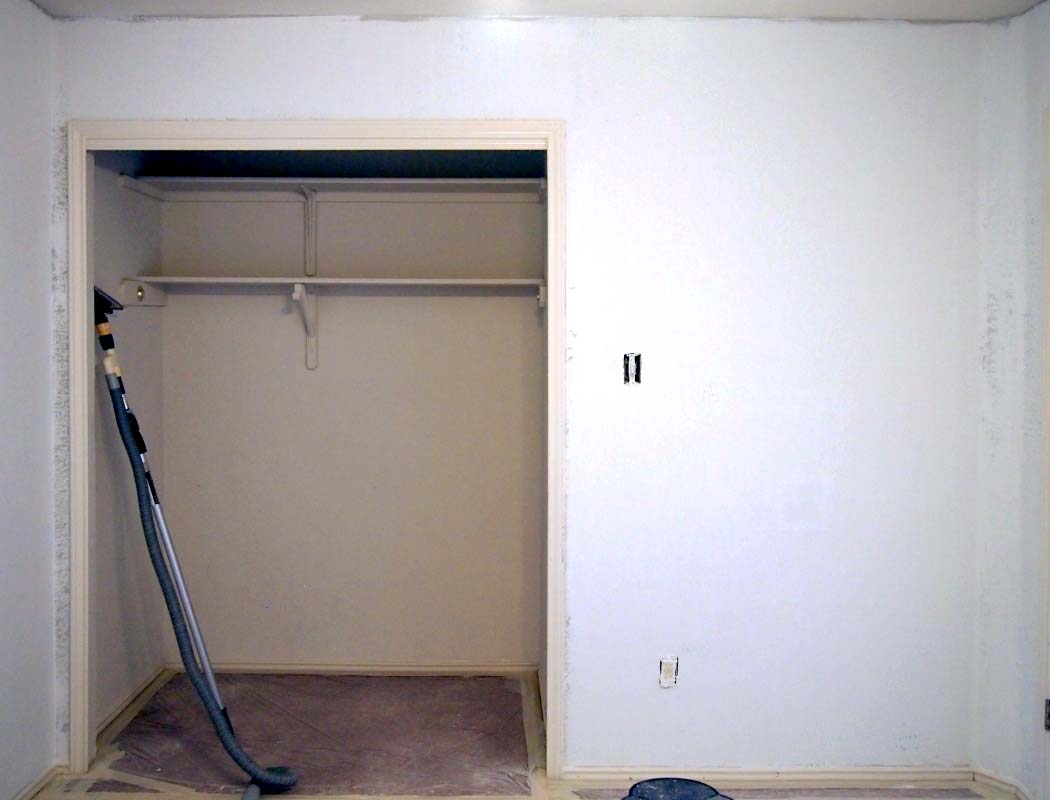
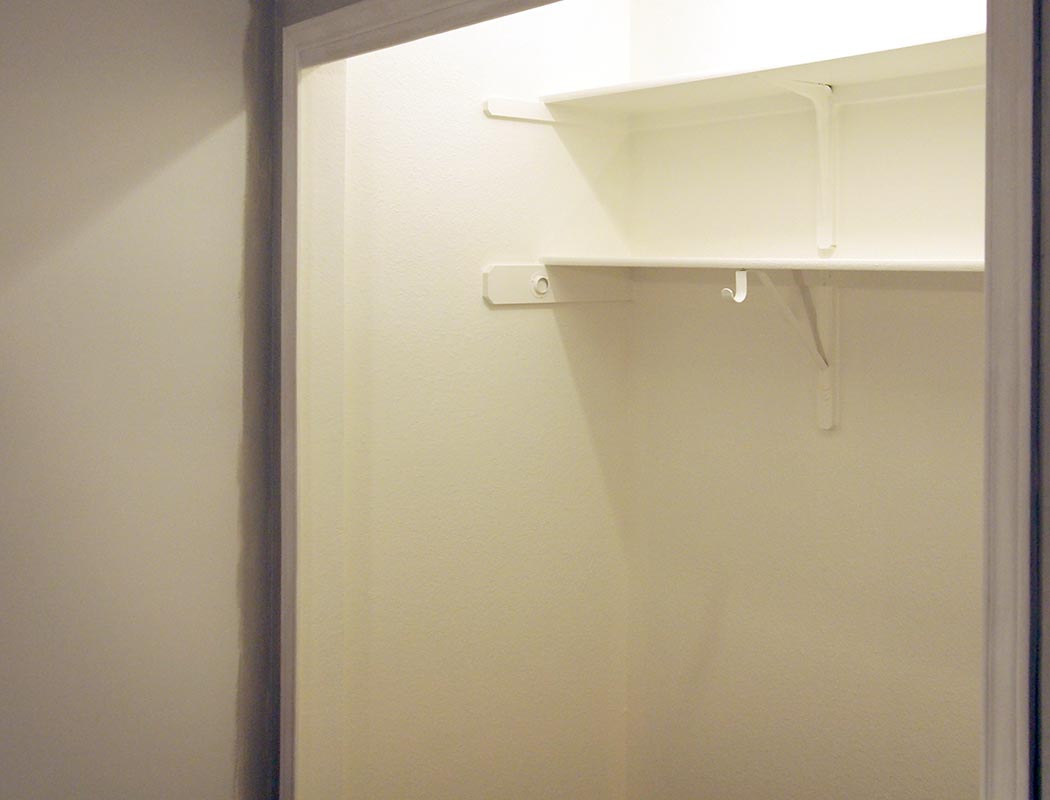
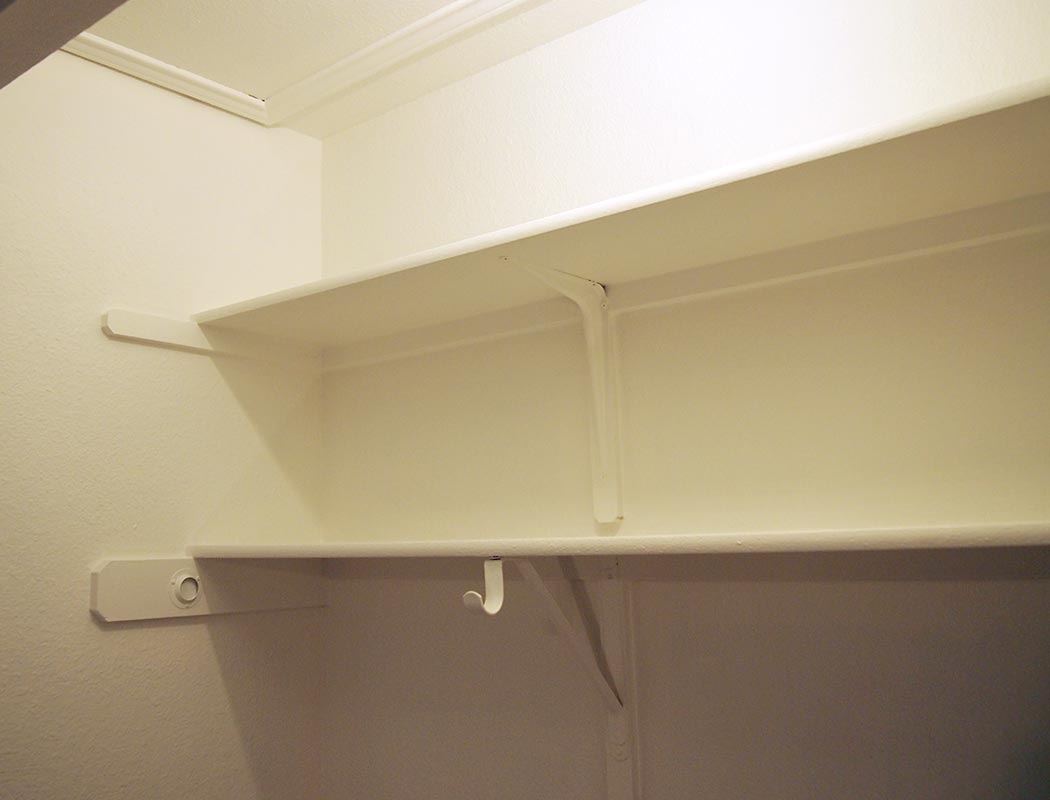
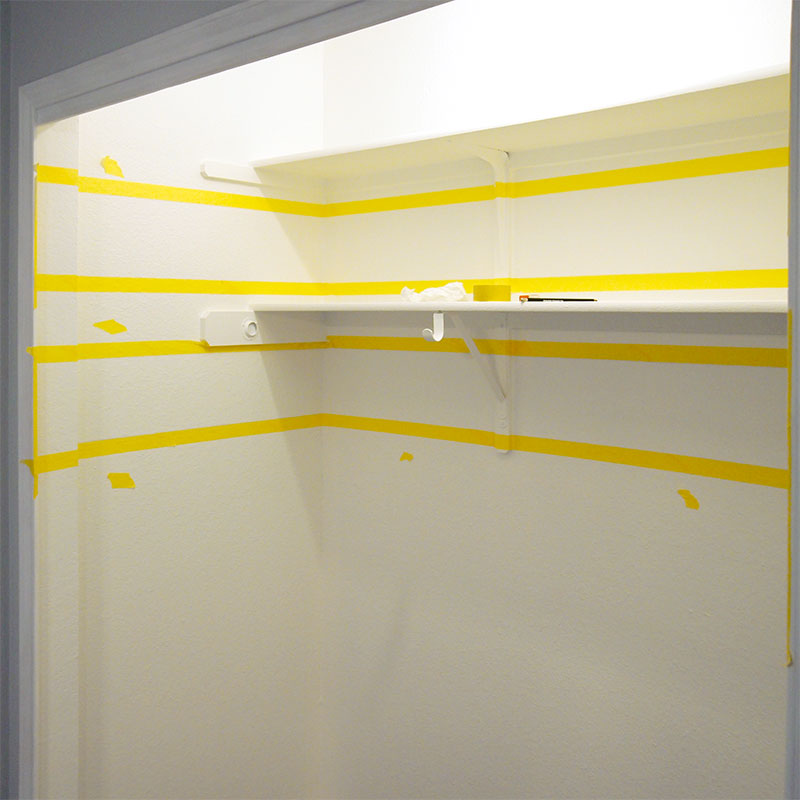
Before: A Boring Closet
I’m not going to lie, we live in a sea of builder specials, and all the perks (and beige) that go along with it. Our closets were Boring, yes with a capital B.
Make a Plan
The first part is up to you. There is no shortage of striped wall ideas, but before making them a reality on your walls, you’ll need a plan. My inspiration came from Young House Love’s subtle tan and cream stripes, I just upped the drama by using more contrasting shades.
Decide on Your Colors and Pattern
You’ll need to pick your colors, and pick your pattern (or stripe thickness). This might be the hardest part since there are so many options. Ask yourself some questions to narrow down the possibilities if you are having trouble deciding.
How many colors do you want to use?
Two colors will be the easiest to execute, but if you are inspired by lots of colored stripes, go for it! It’s only paint.
Are you looking for something subtle or high impact?
Picking two shades from a paint swatch or two or three colors similar in tone will yield subtle stripes. Dis-similar shades such as black and white will look more dramatic.
Do you want a tone on tone effect?
This could be accomplished by painting stripes with different sheens of the same paint color, think flat and semi-gloss.
How many stripes?
While not technically “stripes” even just one band of color around the room or along one wall is an easy way to incorporate color to change things up.
How wide will the stripes be? Will they all be the same size, or will they vary or be random?
Do you want lots of small stripes or evenly spaced large stripes? You could make the stripes as wide as your tape (tape comes in different widths), it’s a bit of prep work but could be fun if you want a busy pattern.
Do you want vertical or horizontal stripes? What about diagonal?
Horizontal stripes help carry your eye around the room. Vertical stripes can help emphasize height by drawing your eye up. Don’t feel that you need to do the whole wall, a few strategically placed stripes might be the perfect striped accent wall.
Even or odd number of stripes?
An odd number will give you a solid stripe at the top and bottom (or on both side walls for vertical stripes).
Will you stripe the whole room, or just do an accent wall?
A whole black and white striped room might be overwhelming for some, but could be perfect for a smaller bathroom, closet, or hallway. I don’t think you could go wrong with a striped feature wall.
Answering these questions should get you started and once you’ve finalized your plan, you can move on to the next step. As for my design, the stripes for this closet are laid out 7.5” apart. I opted not to take the stripes all the way to the ceiling, placing my top stripe below what is currently the top closet shelf. Someday I’d like to pull out the builder closet shelves and rods and replace them with Elfa, so I worked around what is currently there.
Gather Your Materials * this post contains affiliate links
A Level - a longer one will make things easier on long expanses of wall, mine was 24”
A Laser Level would save you lots of time, and make placing tape lines a snap! (I do wish I had purchased one for this project, but hindsight is always 20/20.)
Paint Brushes, maybe a mini roller for larger stripes
Miscellaneous items from around the house
Calculator
Pencil
Eraser
Vacuum
Nonabrasive all-purpose cleaner
Sponges
Buckets
Paint container, roller tray, anything you use for painting
Drop cloths
* as an Amazon Associate we earn from qualifying purchases
Paint
I’m not going to talk a lot about paint, as there are many brands that offer wonderful paint and I simply have not tried them all to compare. I can tell you I am very happy with, and continue to purchase paint from, Benjamin Moore. The white is Ultra Spec - Low Sheen in Simply White (OC-117) and the black is in Natura Indoor Paint - Flat in Twilight Zone (2127-10).
Painters Tape
I will talk a lot about tape. Tape is the workhorse, in my opinion, to paint lines on a wall. It needs to be applied properly in order to do it’s job effectively. That means clean walls before application, sufficient pressure applied to make sure the tape has really adhered to the wall, not keeping the tape on longer than necessary, and slowly removing the tape while the paint is still wet.
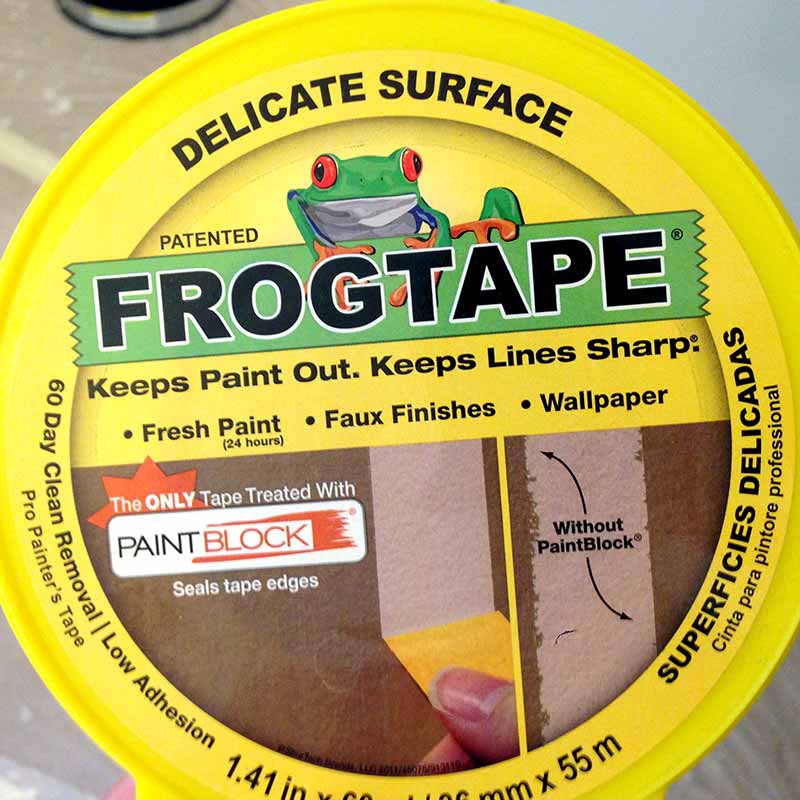
Since I am impatient, and didn't want to wait days for the base paint color to cure, I took the opportunity to try FrogTape's yellow delicate surface painter’s tape. Following the manufacturer's instructions, I waited for the white base color to dry for 24 hours before applying any tape. The results speak for themselves. I highly recommend it as the best painters tape for painting stripes on walls. Painting E's closet was my first painting project at our house, and every project since has involved FrogTape.
The green frog tape is also an excellent all around tape for masking off trim or adjacent walls, and would be great to use if you are planning on using your current wall color as your base color and adding stripes on top.
Get Started: Tips for Painting Straight Lines on Walls
Some of these are general tips for painting walls. Feel free to skip to the marking tape lines part if you have painted and prepped walls.
Prep Work
My admittedly least favorite part of any project, but an important step that can make a big difference in your results.
Prepare to paint the walls
This would be the time to scrape any cracked or flaking paint, fill in holes, and smooth away any imperfections on the walls. You may have more work in this step depending on the shape of your walls.
Clean your Surfaces
You’ll want a clean surface to ensure your tape and paint adheres properly.
Vacuum the walls with a soft brush attachment.
Walls painted with latex paint (I’ll admit to knowing very little about walls painted with oil-based paints) should be washed using warm water and a small amount of nonabrasive all-purpose cleaner. Mix up one bucket with this soap and water mixture, and another bucket with clean water.
Take a clean sponge dipped in the soapy water, squeeze out the excess, then gently rub the wall in circular motions.
Start at the top of the wall, and work your way down. Work in sections and alternate between the soapy sponge and the clean water sponge to rinse.
Periodically change the clean water and soapy water as needed. Let the wall completely dry before moving on.
Paint your Walls
Skip this step if you are using your current wall color as the base color for your stripe design. For this tutorial I’m assuming you know some basics of getting paint on your walls.
Ensure surface is dry and dust-free
The cleanliness and dryness of the walls will make a difference in the final results, so we want to make double sure the walls are clean and dry. If you are using the delicate surface tape from FrogTape, waiting 24 hours after painting should suffice, and is exactly how long I waited for my project.
Mark your Tape Lines with a Pencil
This is where you lay out your plan on your wall. It is better to take your time to get this part right than to rush through and have to re-do your work.
Using your ruler and pencil, in the middle of your wall, mark where you want your lines to be, just a tick mark will work. Pencil lines are great since you can erase them easily, but they are also hard to see. Tear off a bit of tape (painters tape of course), and place it near your pencil mark so you’ll be able to identify them later. Be sure to place these tape indicators inside an area where you are NOT going to paint.
Using the tick marks from above, hold your level to a tick mark, make sure it registers as level, and make another tick mark every foot or so. Move the level as needed, but always line it up with tick marks you have already made and make sure to keep it level.
Mark Paint Areas
Make an indication for where you need to paint so that you don’t accidentally tape and paint the wrong space.
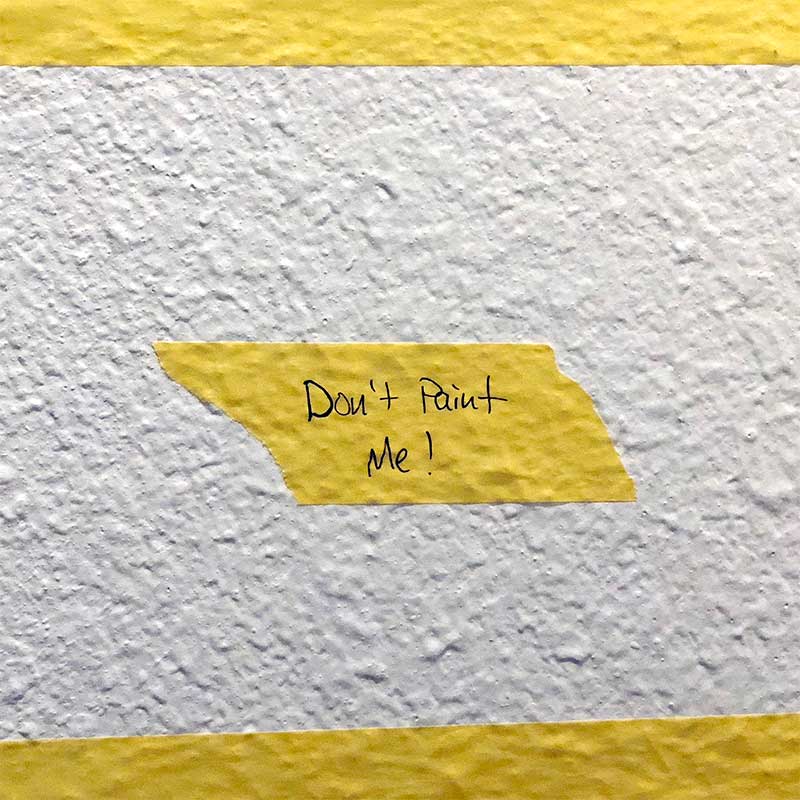
I used a small piece of tape every few feet on the section I would NOT be painting, that would remain white. PostIt notes would work well for this as well. Sections will start to look similar, so this visual cue will help make sure you are following your plan.
How to Tape for Painting
With most of the hard stuff out of the way, it’s time to get tape-happy!
Tape Tip:
Keep the tape in the plastic container it comes in. You want clean edges and the plastic keeps the tape edge safe from bumps that could bend the tape and cause curves instead of straight lines.
Apply your Tape
Using the tick marks from above, connect them with tape.
If you’ve opted to purchase a laser level, you’ll want to aim it at your tick marks, and then tape along the lines.
You want to be mindful of the inside and outside of your stripe lines. Place the edge of the tape on the tick marks, and the other tape edge inside the area you are NOT painting.
For my evenly spaced stripes, the tape made it look like some stripes were thinner than others. The width of the tape covered part of the stripe I was not painting.
I recommend placing tape in short sections (not over two feet long) and overlapping tape very carefully. When I tried longer sections, I sometimes stretched the tape and had to re-do my work.
Creating a Seal Between Tape and the Wall
Burnish or seal the tape edges. You might try a putty knife or other tool to press down the tape, I put on a pair of soft cotton gloves and used my finger. Do a little experimenting to see what works best for you, but the goal here is to really adhere the tape to the surface to prevent paint seepage, while not damaging your wall.
The Most Important Step for Achieving Perfect Paint Lines
Time to put some paint on the wall, but it is probably not the color you think!
Paint the Edge of the Tape with your Base Color
Nope, not time for the black paint quite yet. In addition to using quality tape, painting the base color on the tape edges helps to ensure that if any paint does seep underneath the tape, it will be the base color instead of the contrasting stripe color. See the note below about my experiment trying silicone instead of the base color.
Paint the Tape Edges
Load a small paintbrush with your base color, being careful not to overload it. Position your brush along the middle of your tape edge.
Here you’ll be painting the tape as well as the wall. Following the direction of your tape lines, place a parallel line of paint on the wall and tape. Do not run your brush against the tape or you risk pulling the tape up and paint seeping underneath.
Feather the paint back and forth if you got too much paint on the wall. You do not want to build up texture, and you are not looking for coverage. This step is to seal the tape to the wall, so you are aiming for an even thin layer that completely seals the tape’s edge.
Let the Paint Dry Completely
The paint should be dry to the touch before moving on. If the paint is still wet, it might mix with the contrasting stripe color.
Paint the Stripe
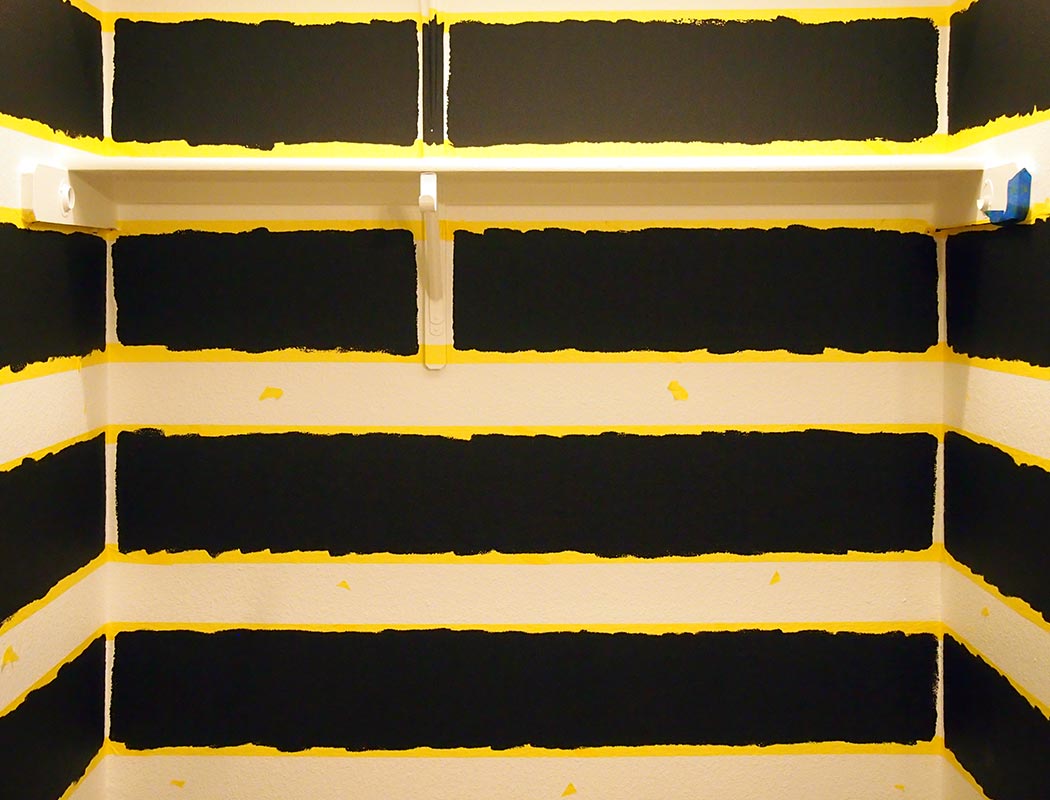
Finally a different color! Roll or use a brush to get your contrasting paint onto your stripes. Try to still be mindful about going against your tape edges. You'll probably need two thin coats of paint.
Remove the Tape Before the Paint Dries
Knowing when to remove painters tape is important. After your last coat, and while the paint is wet, gently pull off the tape. Try to pull the tape back towards itself at a 45 degree angle to the wall. Pull the tape slowly. Be careful not to touch the still wet walls with your hands or the tape while you go.
Touch-up
Hopefully you won’t have any. But if you do, wait until the paint is dry to the touch and take a really small paintbrush with the right paint color and correct the problem.
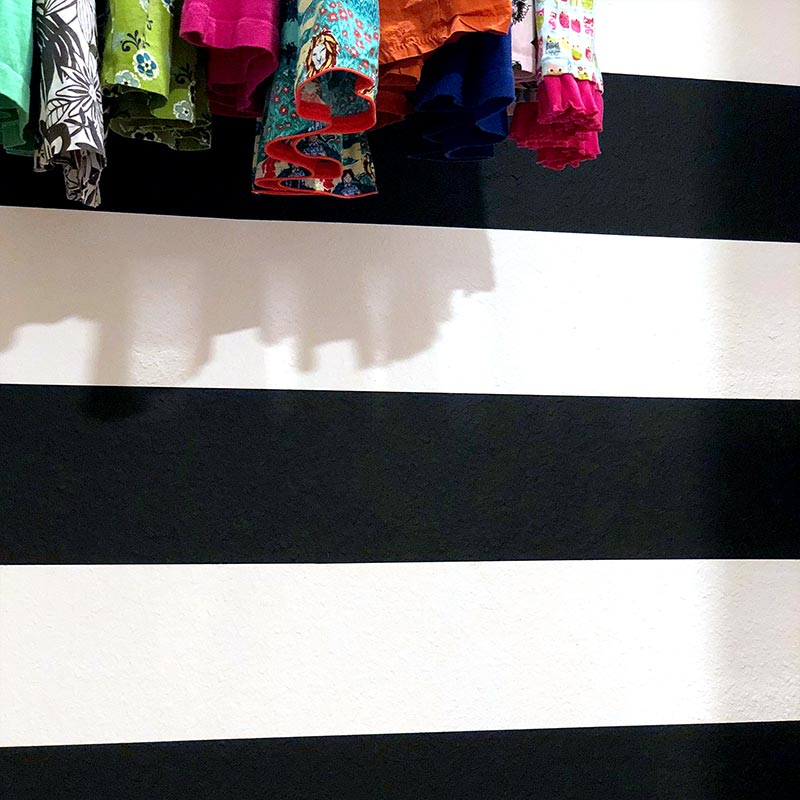
Enjoy your New Stripes!
Pat yourself on the back, stand back and admire your work!

*Note: Textured Walls and my Experiment
The walls throughout our house have a knock down or orange peel texture. I was nervous about being able to make crisp stripes without any paint bleeding so I ran an experiment. I’d read about using clear silicone caulk on tape edges to prevent paint seepage on textured walls. I had some on hand from another project, so I tried it. (Dap 18401 Crystal Clear Alex Plus Acrylic Latex Caulk Plus Silicone to be specific.)
For a few stripes, I ran a bit of the silicone on the tape edge. For the remaining stripes I used the white paint on the tape edge. From a distance, I did not see much of a difference in results. The silicone was indeed paintable, and the black stripes that overlapped the silicone look fantastic. The white stripes also look great at a few feet, but up close I could see minor differences. In areas where the silicone did seep underneath the tape, it created a somewhat odd texture and a slightly different sheen.
My vote is to just use the base coat and to skip the silicone unless you have some extremely textured walls and you need the extra “filling” to get your tape to seal properly to the wall. If you go this route, I would recommend waiting for the silicone to dry, then going with your base coat color, letting it dry and then finally moving on to your stripe color.
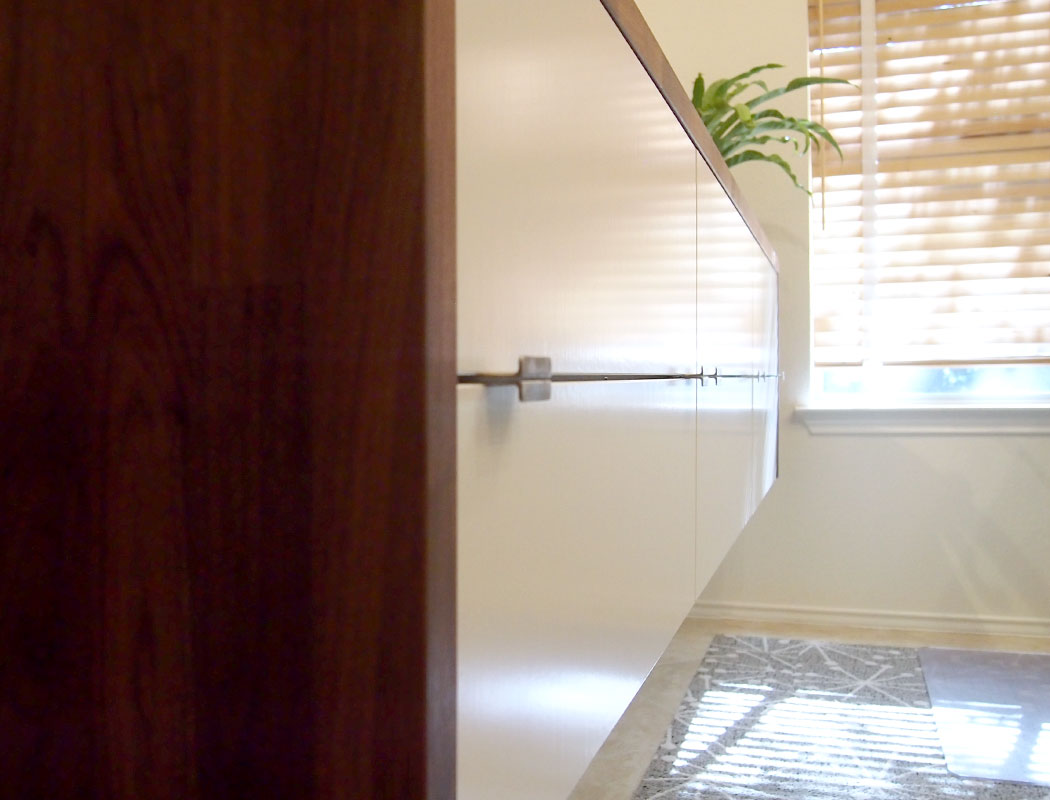
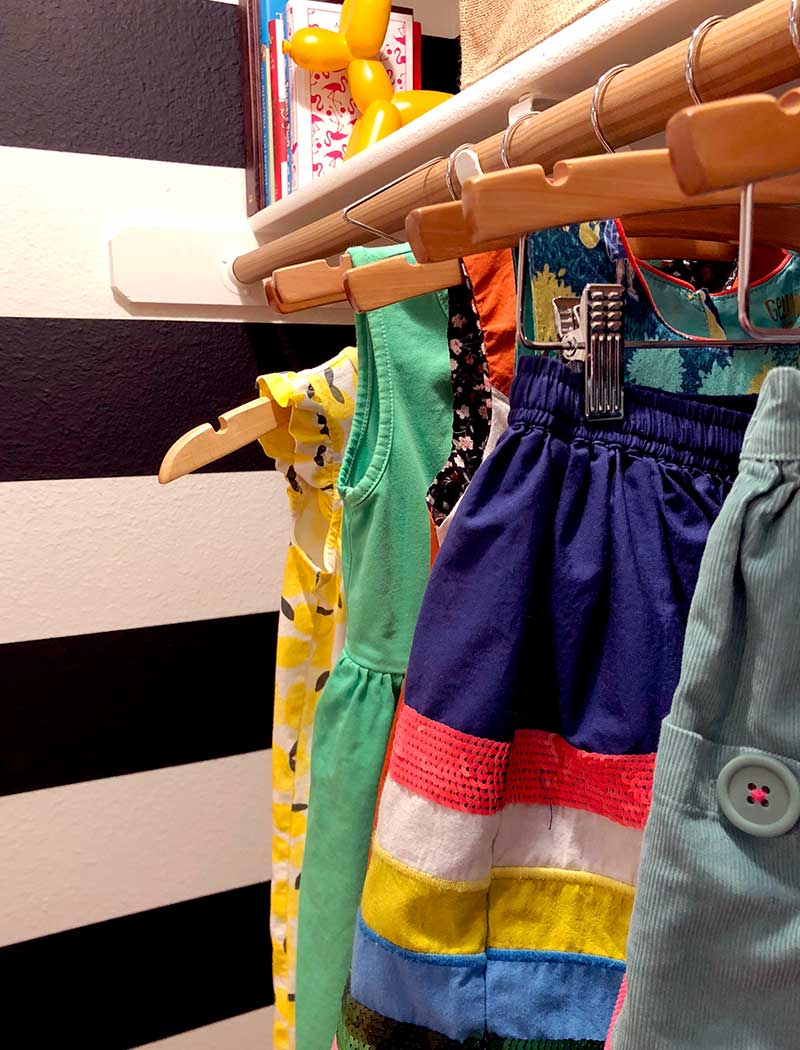
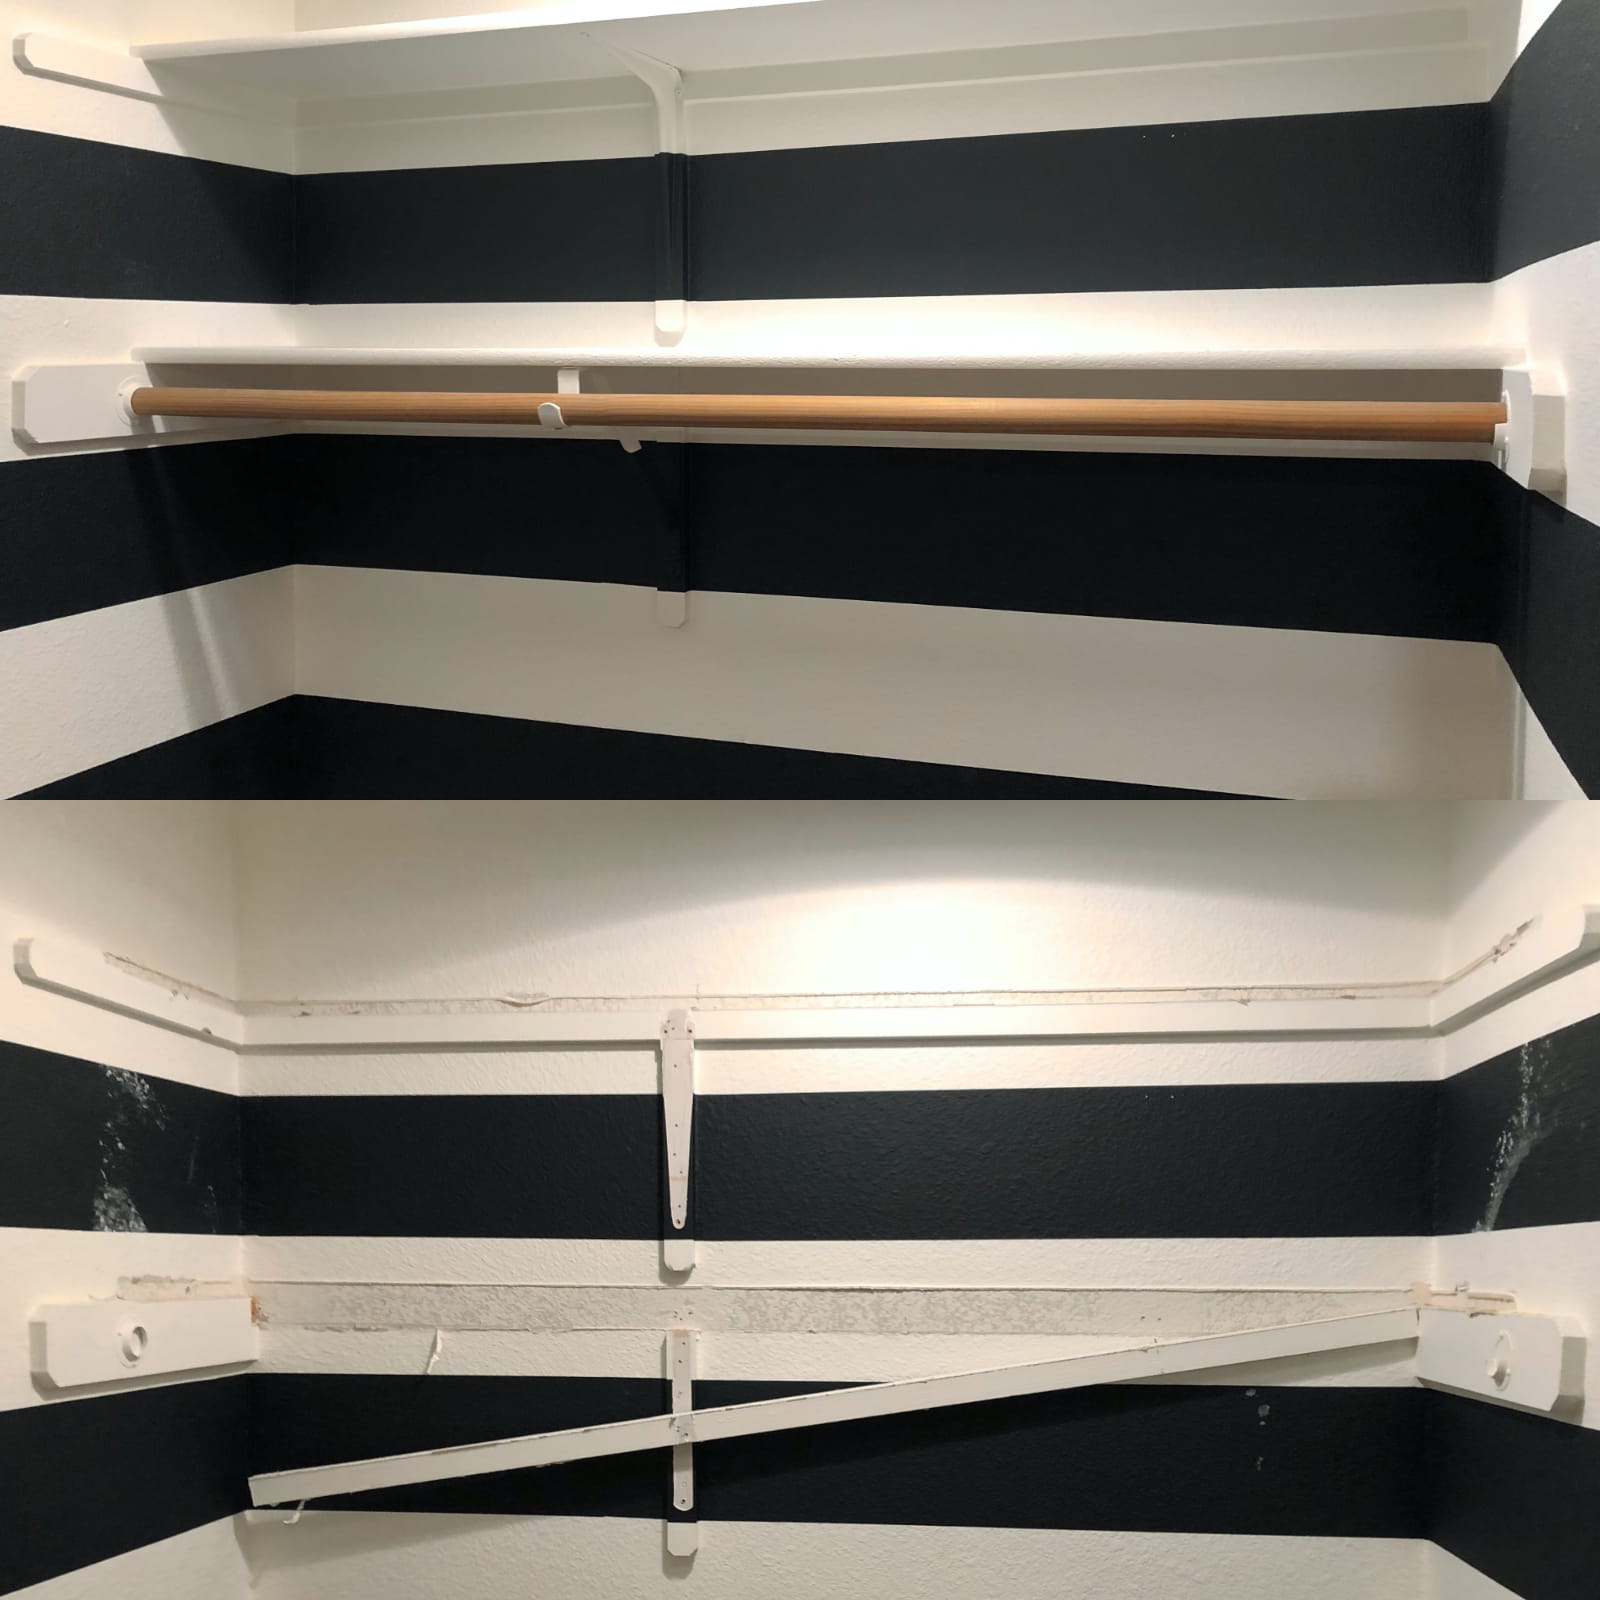
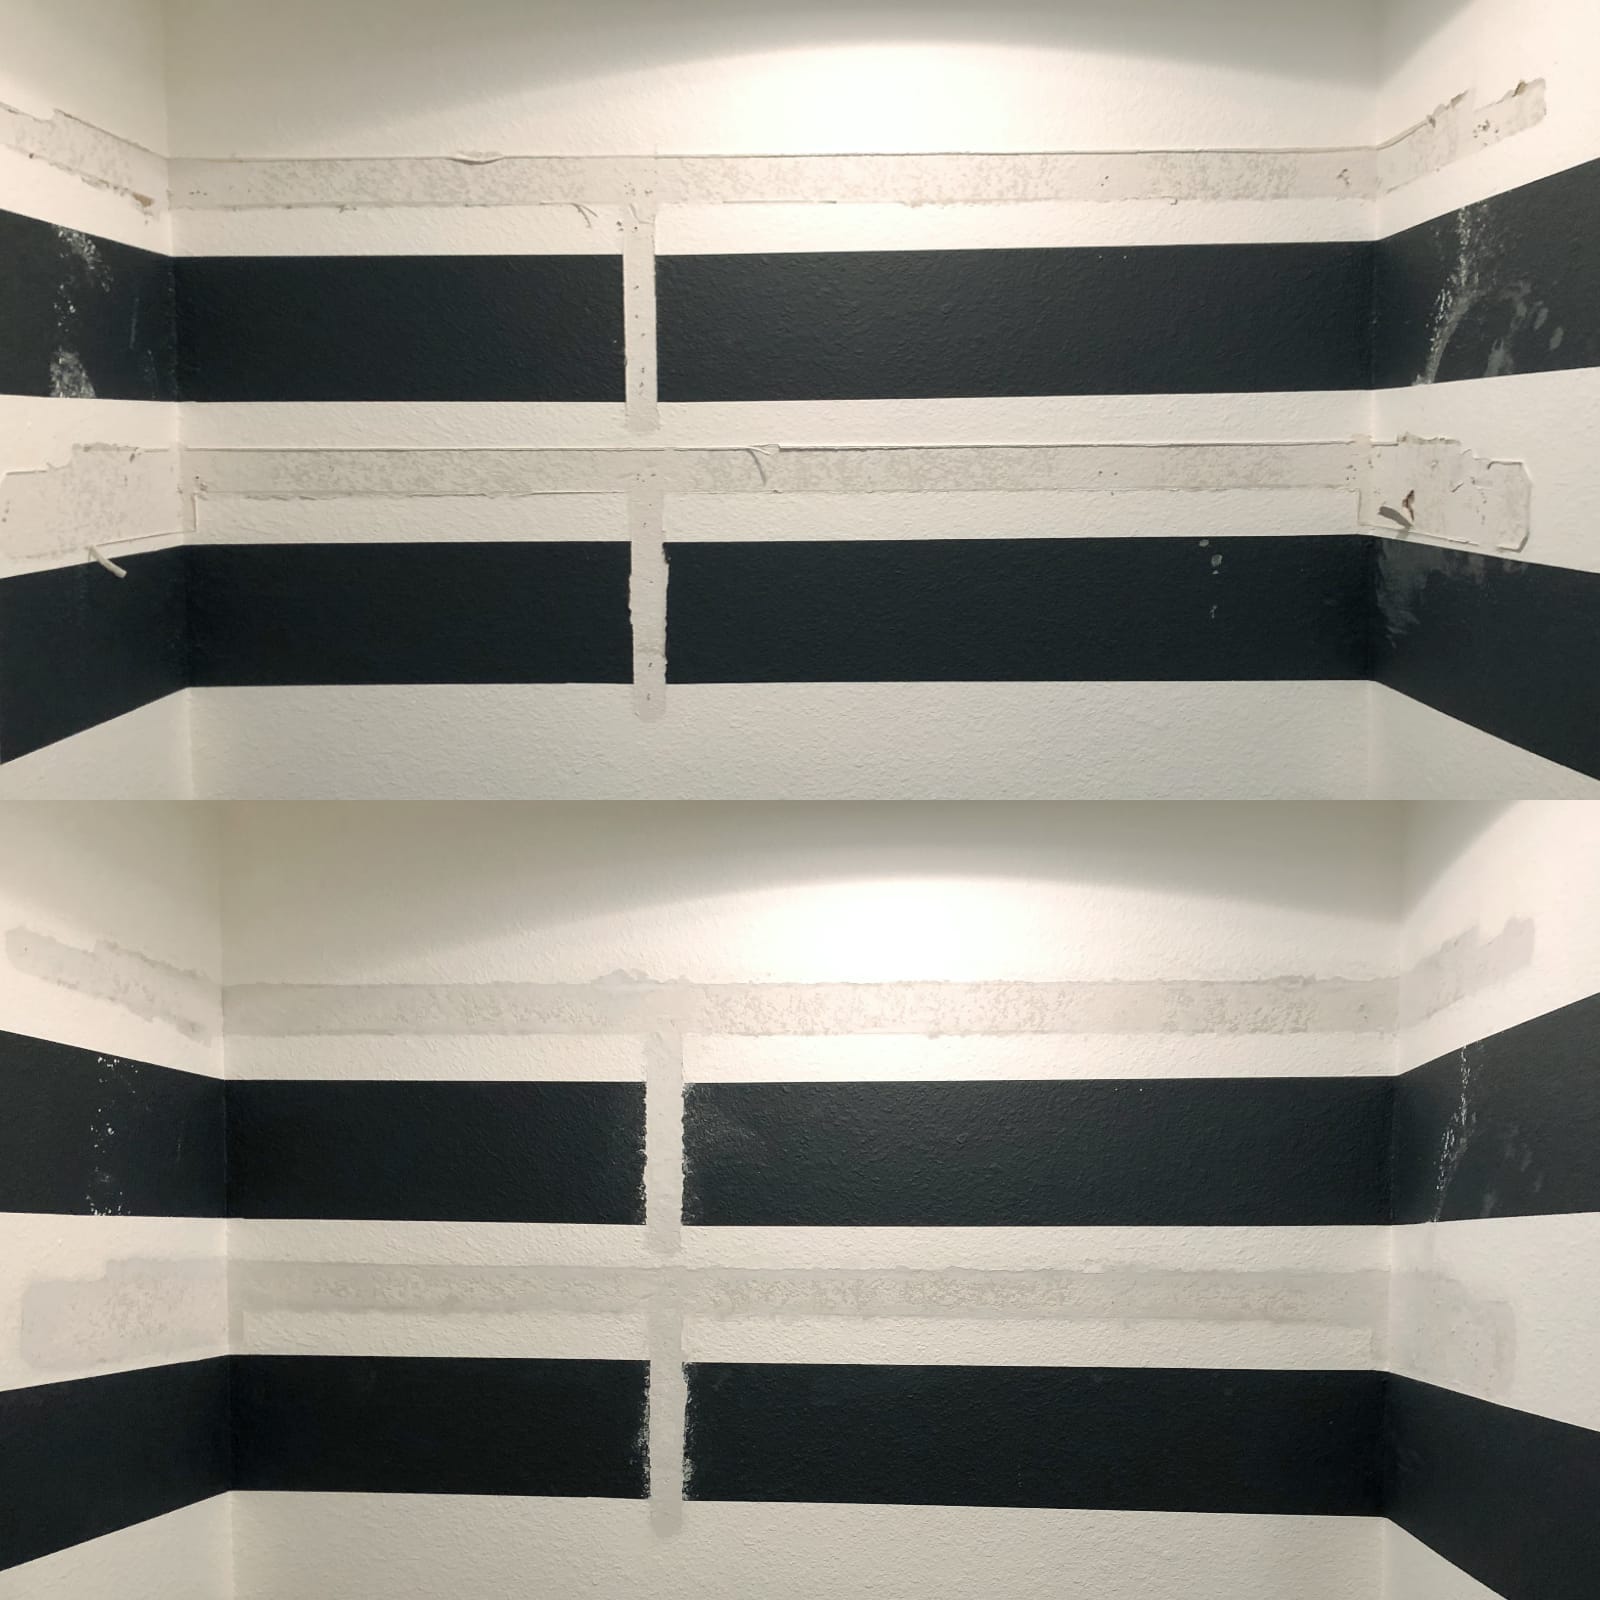
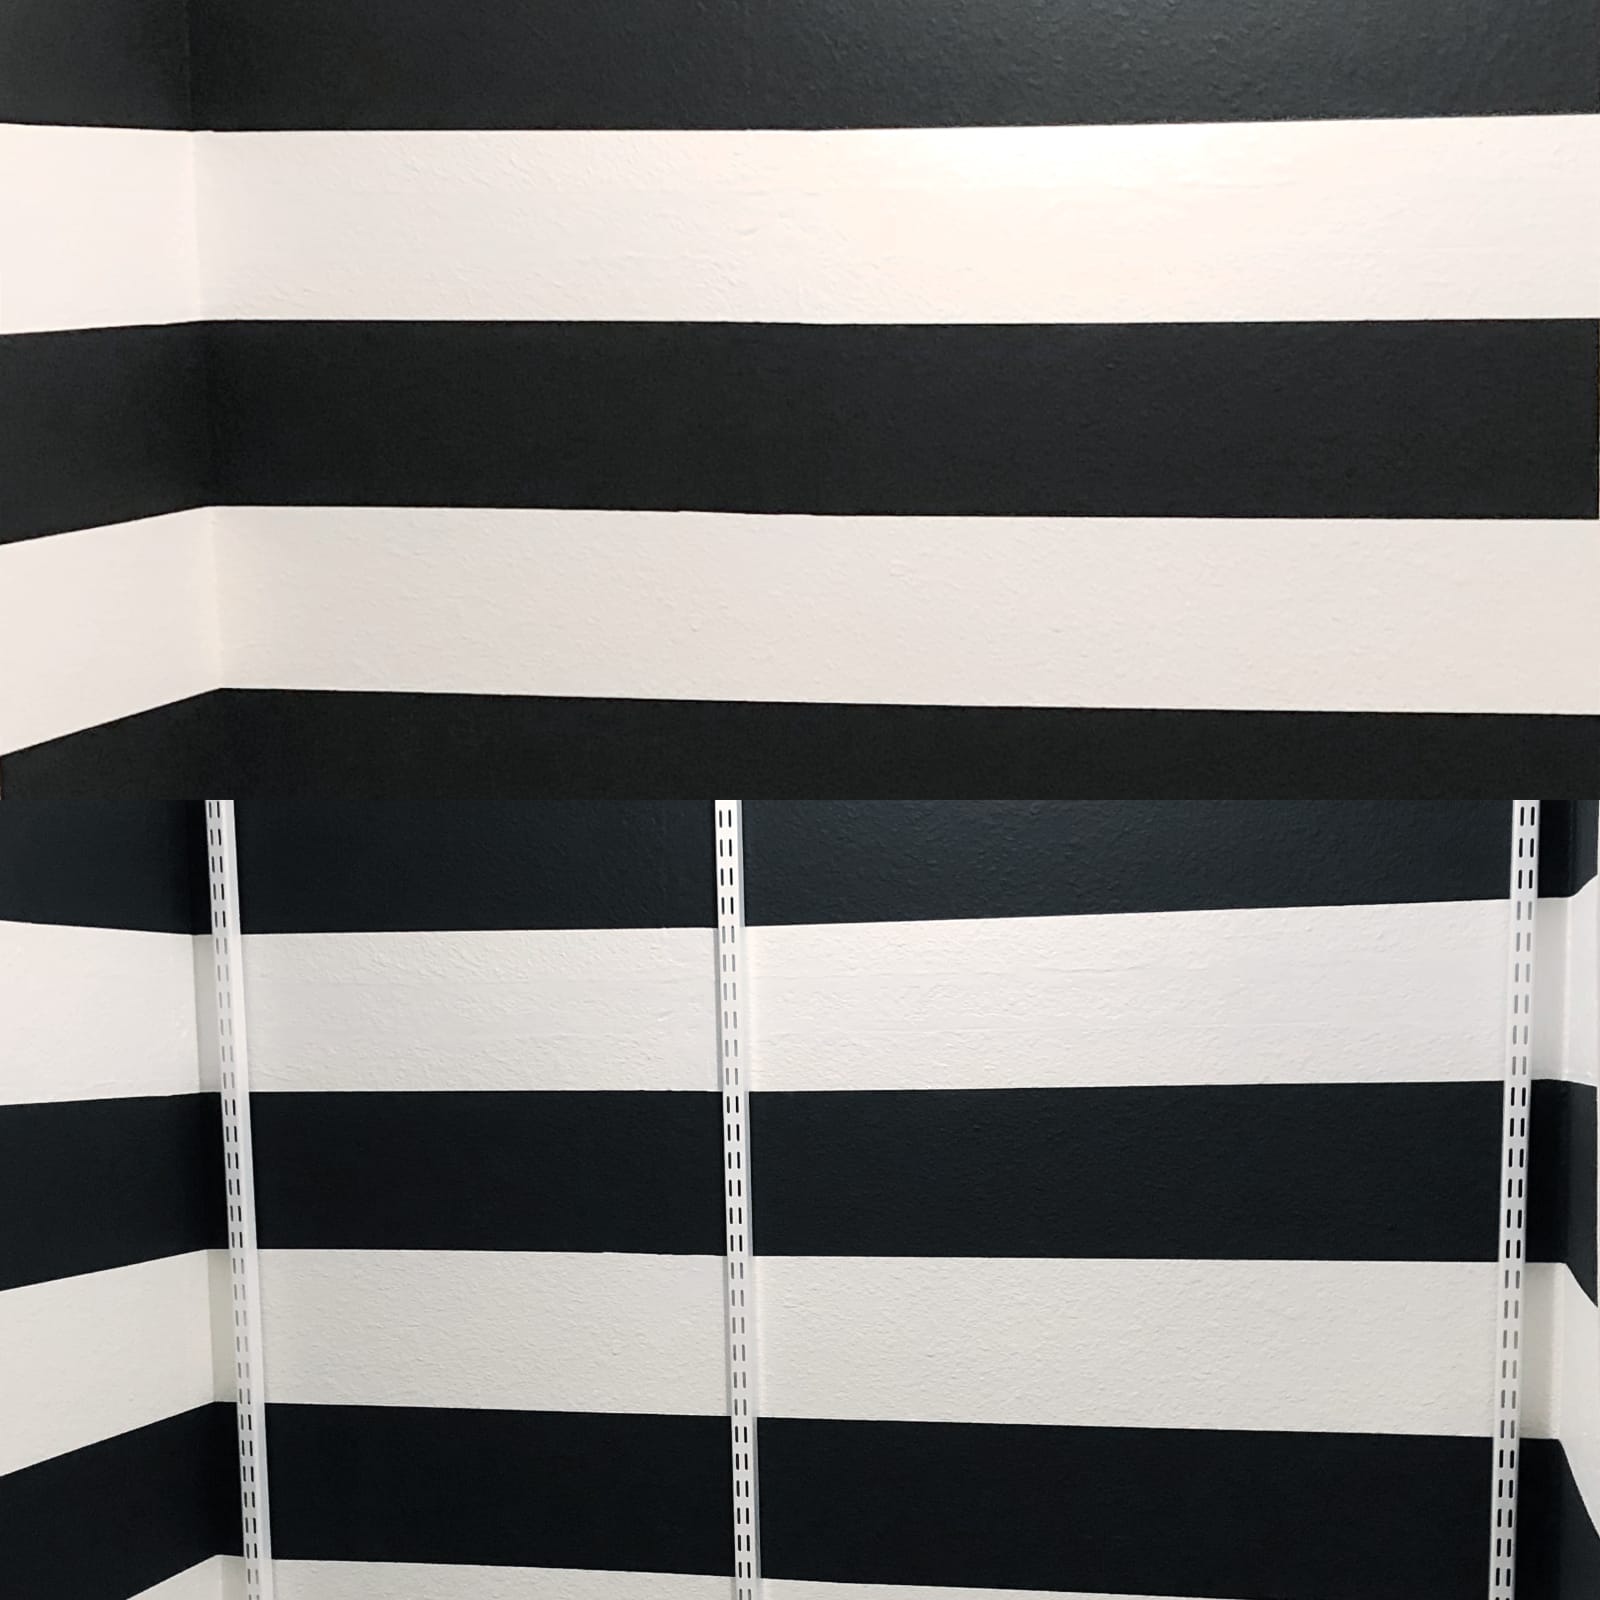
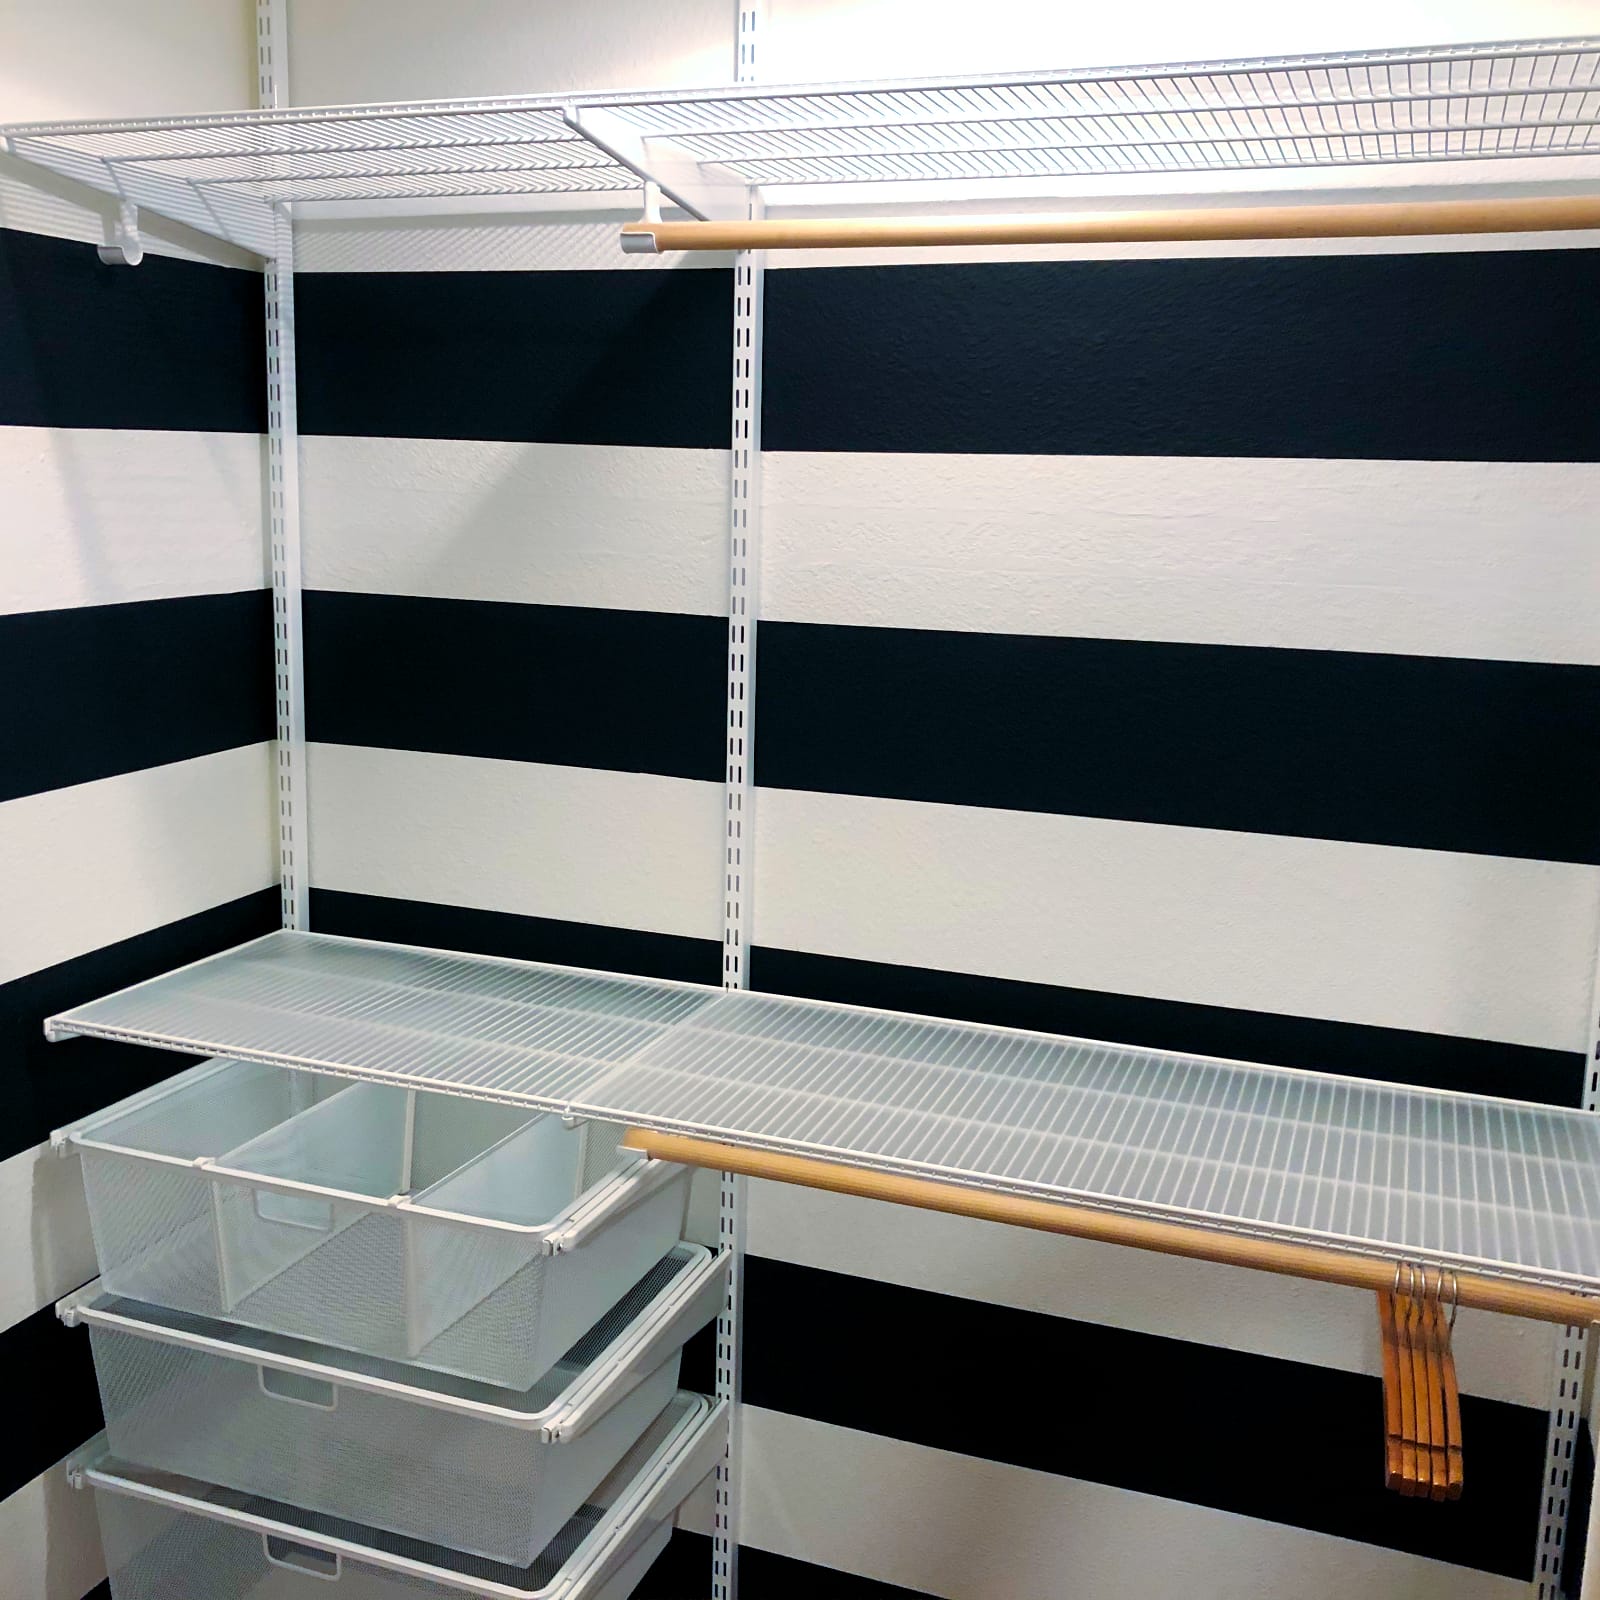
Quick update: Out with the builder shelves, in with Elfa!
I wanted my daughter to be able to reach things hanging in her closet, so the sensible thing to do would be to purchase one of those double hang closet rods and be done with it. I did not choose the sensible thing. Instead we tore out the builder shelving and hung Elfa shelves and drawers.
We’ve installed Elfa in the laundry room, master closet, pantry, garage and master bedroom, and LOVE the storage they provide. I knew I could scrounge a few pieces from around the house, like the three drawers from the garage that were hardly being used, and purchase a few missing pieces and get a brand new super organized, daughter-reachable, fully functional closet.
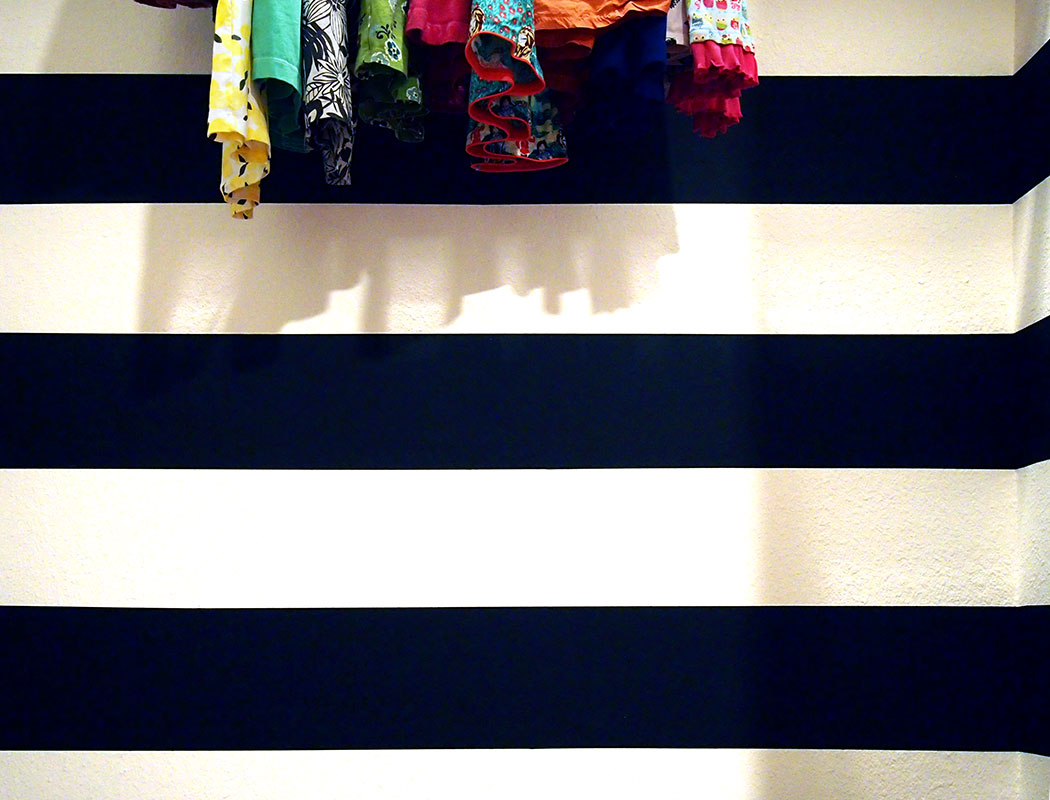
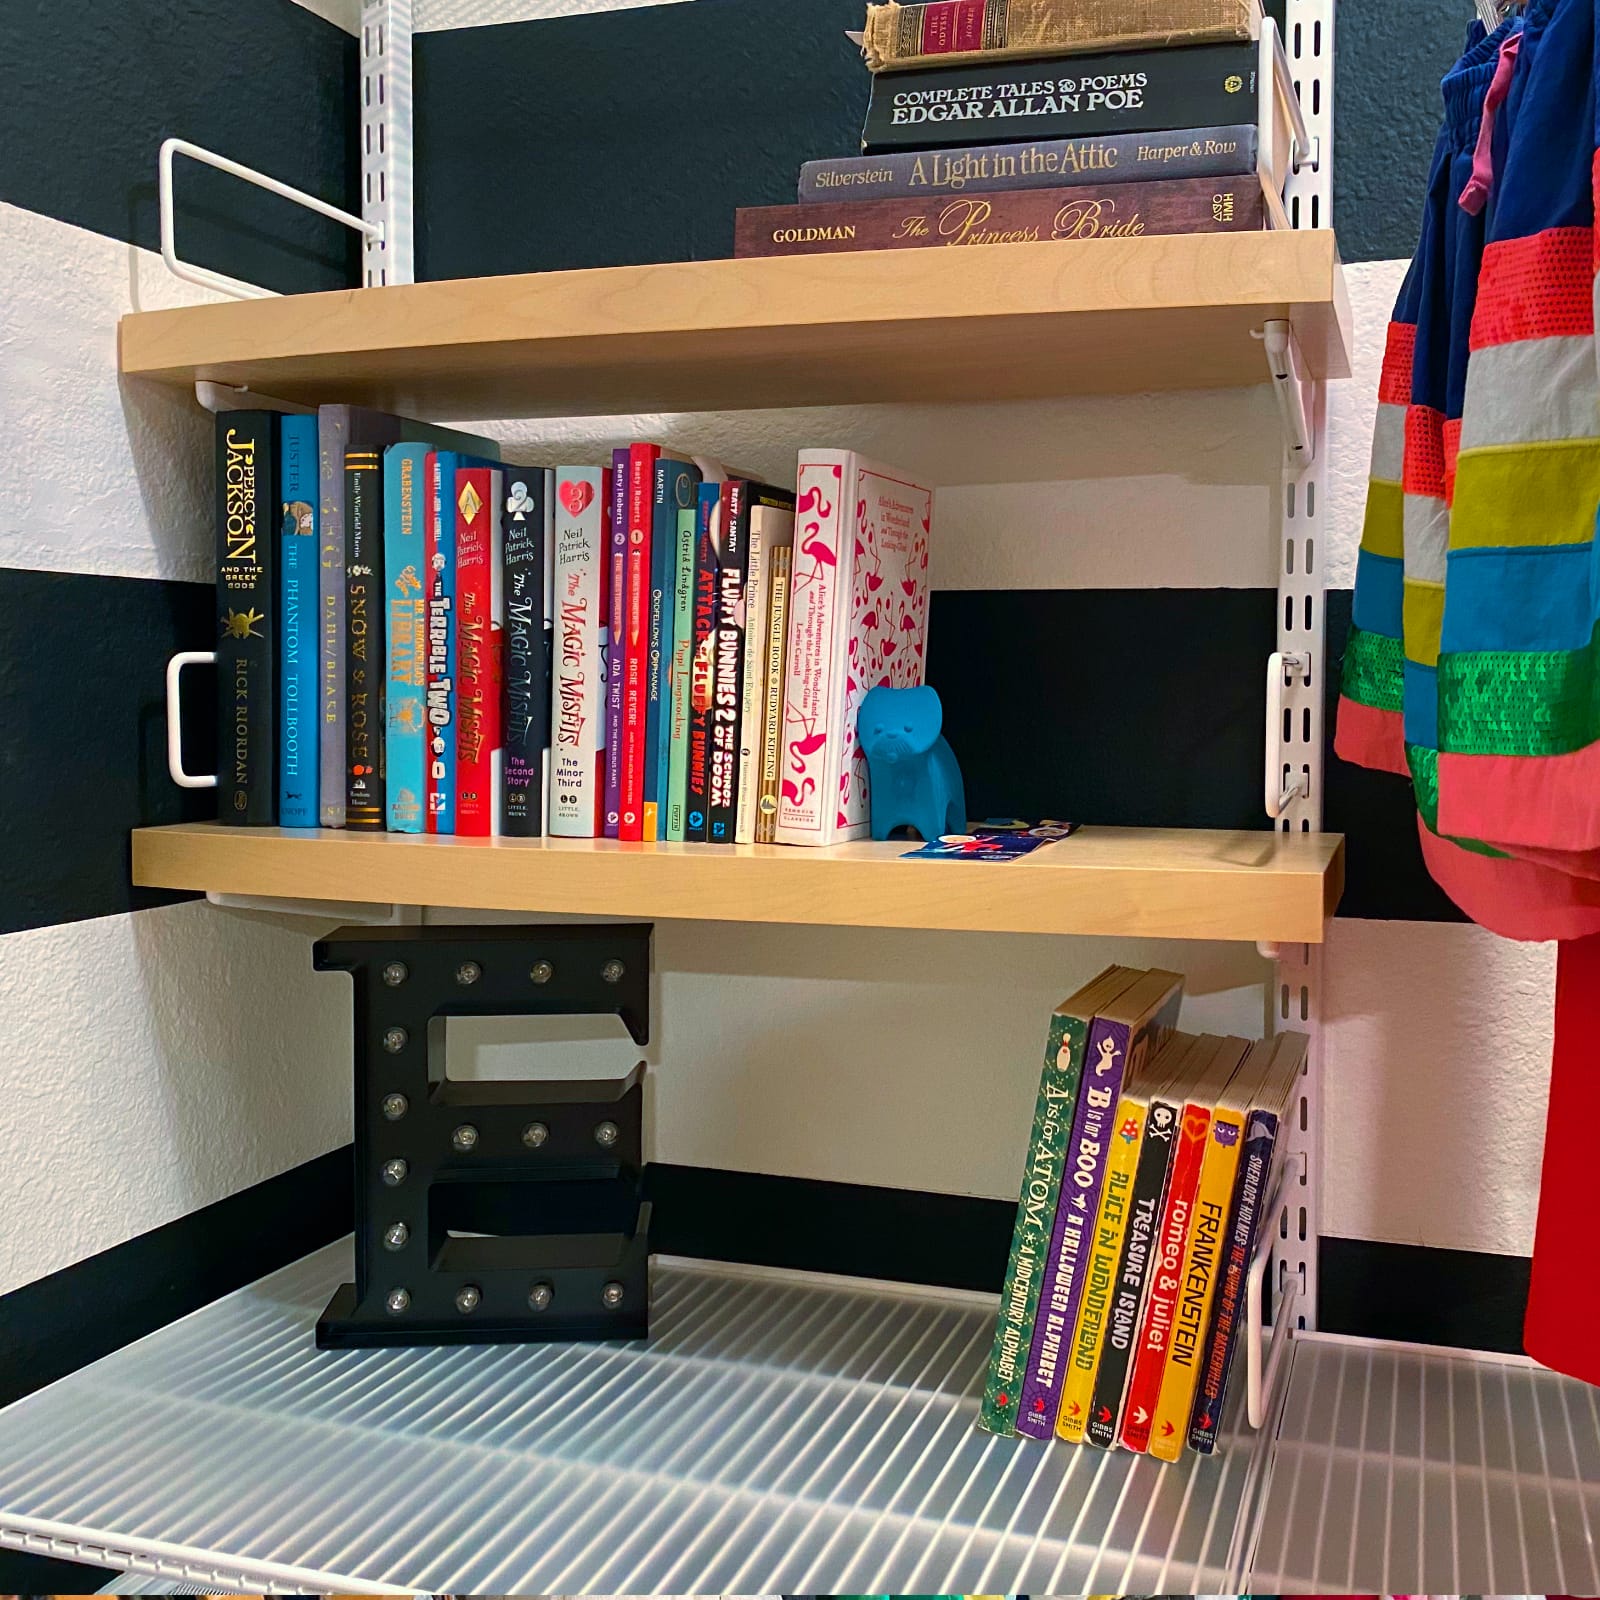
Re-painting the stripes and dealing with the inevitable damage from the demo wasn’t fun, but I’m super happy with the end result. After removing the shelves and patching up the walls, I was really happy to see that most of the damage happened in the white stripes. It made cleaning up the stripes much easier. I primed over the patched areas, painted all the effected areas white, then was able to fix the breaks in the black stripe by hand. I debated about using tape, but the damage was a lot smaller area, and the tape seemed like extra work.
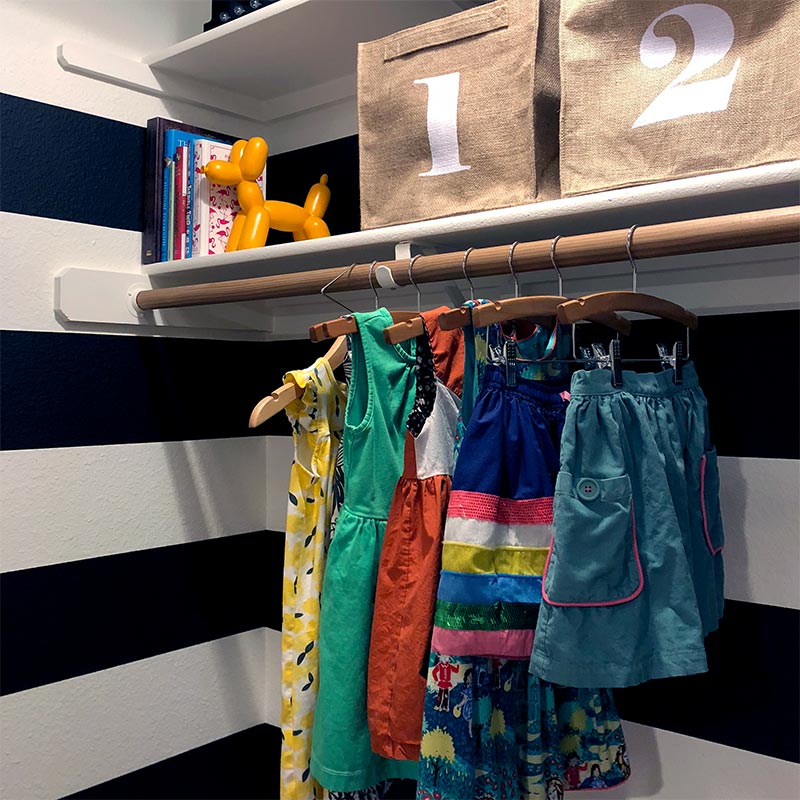
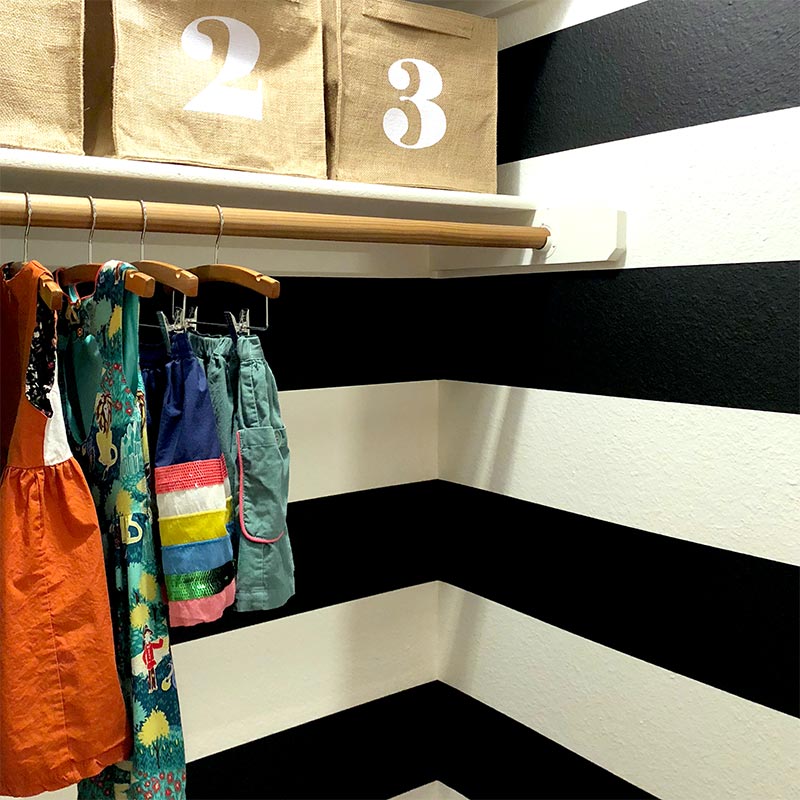
This closet was hardly being used, and was almost for decoration only. Now the closet is fully functional, houses all of E’s dresses, shirts, and dress-up clothes, and most importantly, is all within her reach.

PS. We purchased everything shown full price or through publicly available sales (mostly sales lol), nothing was donated or unusually discounted.